|
|
||
|---|---|---|
| .github | ||
| .vscode | ||
| Examples | ||
| IoT.Edge@ffb942ba1b | ||
| Templates@ff062519b7 | ||
| TypeEdge | ||
| TypeEdge.Host | ||
| TypeEdge.Proxy | ||
| images | ||
| .gitattributes | ||
| .gitignore | ||
| .gitmodules | ||
| LICENSE | ||
| NuGet.Config | ||
| README.md | ||
| TypeEdge - AD Example.sln | ||
| TypeEdge.sln | ||
README.md
Azure IoT TypeEdge
The Azure IoT TypeEdge introduces a strongly-typed flavor of the inherently loosely coupled vanilla Azure IoT Edge.
Specifically, TypeEdge:
- Removes all configuration burden from an IoT Edge application, because configuration can be now automatically generated.
- Introduces compile-time types checking across all modules
- Adds the ability to emulate an IoT Edge device in-memory with no containers involved
- Simplifies the IoT Edge development, down to an single F5 experience
Here is a quick video that demonstrates the value of TypeEdge
Prerequisites
The minimum requirements to get started with TypeEdge are:
- The latest .NET Core SDK (version 2.1.300). To find your current version, run
dotnet --version - An Azure IoT Hub
To be able to publish your application, you will also need:
- Docker
- An Azure Container Registry, or any other secure container registry.
Create a new TypeEdge application
Here is the quickest way to get started with TypeEdge. In this quick start you will create an IoT Edge application with two modules and run it in the emulator:
-
Install the TypeEdge .NET Core solution template. Just type:
dotnet new -i TypeEdge.ApplicationNote: to upgrade to a newer template version, you need to clear the dotnet http and template cache first
dotnet nuget locals http-cache --clear dotnet new --debug:reinit -
Copy the iothubowner connection string from your Azure IoT Hub.
The iothubowner is required because TypeEdge needs to provision a new device with the generated deployment configuration.
-
Create a new IoT TypeEdge application:
You can customize the TypeEdge application and modules names when you use the template. In the next example, the application is called Thermostat, and the two modules are called SensorModule and PreprocessorModule. These names will be used as class names, so Pascal casing is suggested.
dotnet new typeedgeapp -n Thermostat -m1 SensorModule -m2 PreprocessorModule -cs "YOUR_IOTHUBOWNER_CONNECTION" -cr YOUR_CONTAINER_REGISTRYNote: a localhost registry is not supported at the moment.
Build and debug the application
After you use the template to create a new TypeEdge application, all you have to do is build and run the emulator.
-
Navigate in the application folder:
cd Thermostat -
Open in VS Code/Visual Studio 2017 and hit F5:
-
For VS Code run
code . -
For VS 2017 run
Thermostat.sln -
To run the application in the command line (no IDE):
dotnet build Thermostat.sln
cd Thermostat.Emulator
dotnet run
Note: In all three cases, your application is being emulated in-memory without any containers involved. This is very useful for quick develop and test iterations.
-
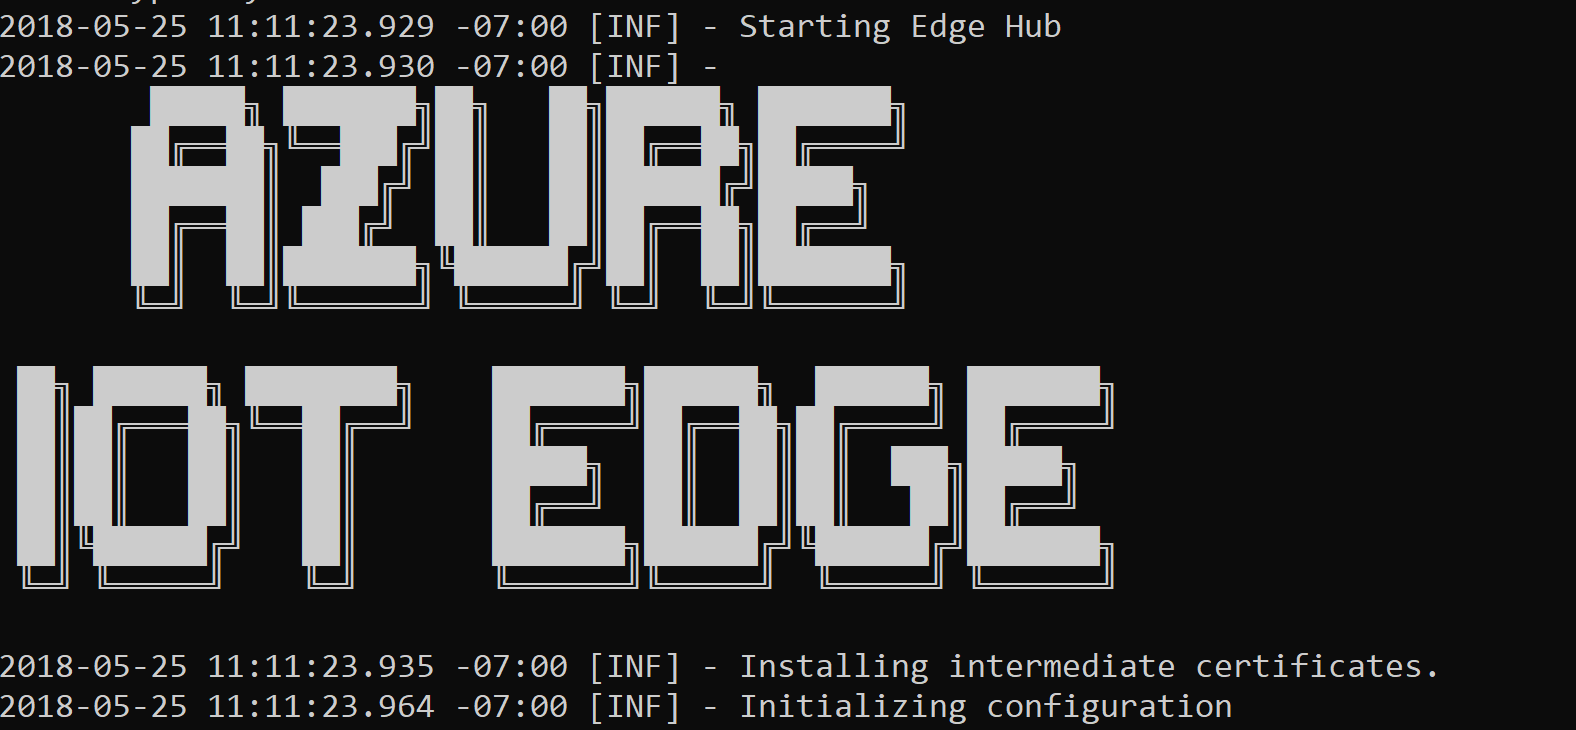
You should see now the Edge Hub starting up..
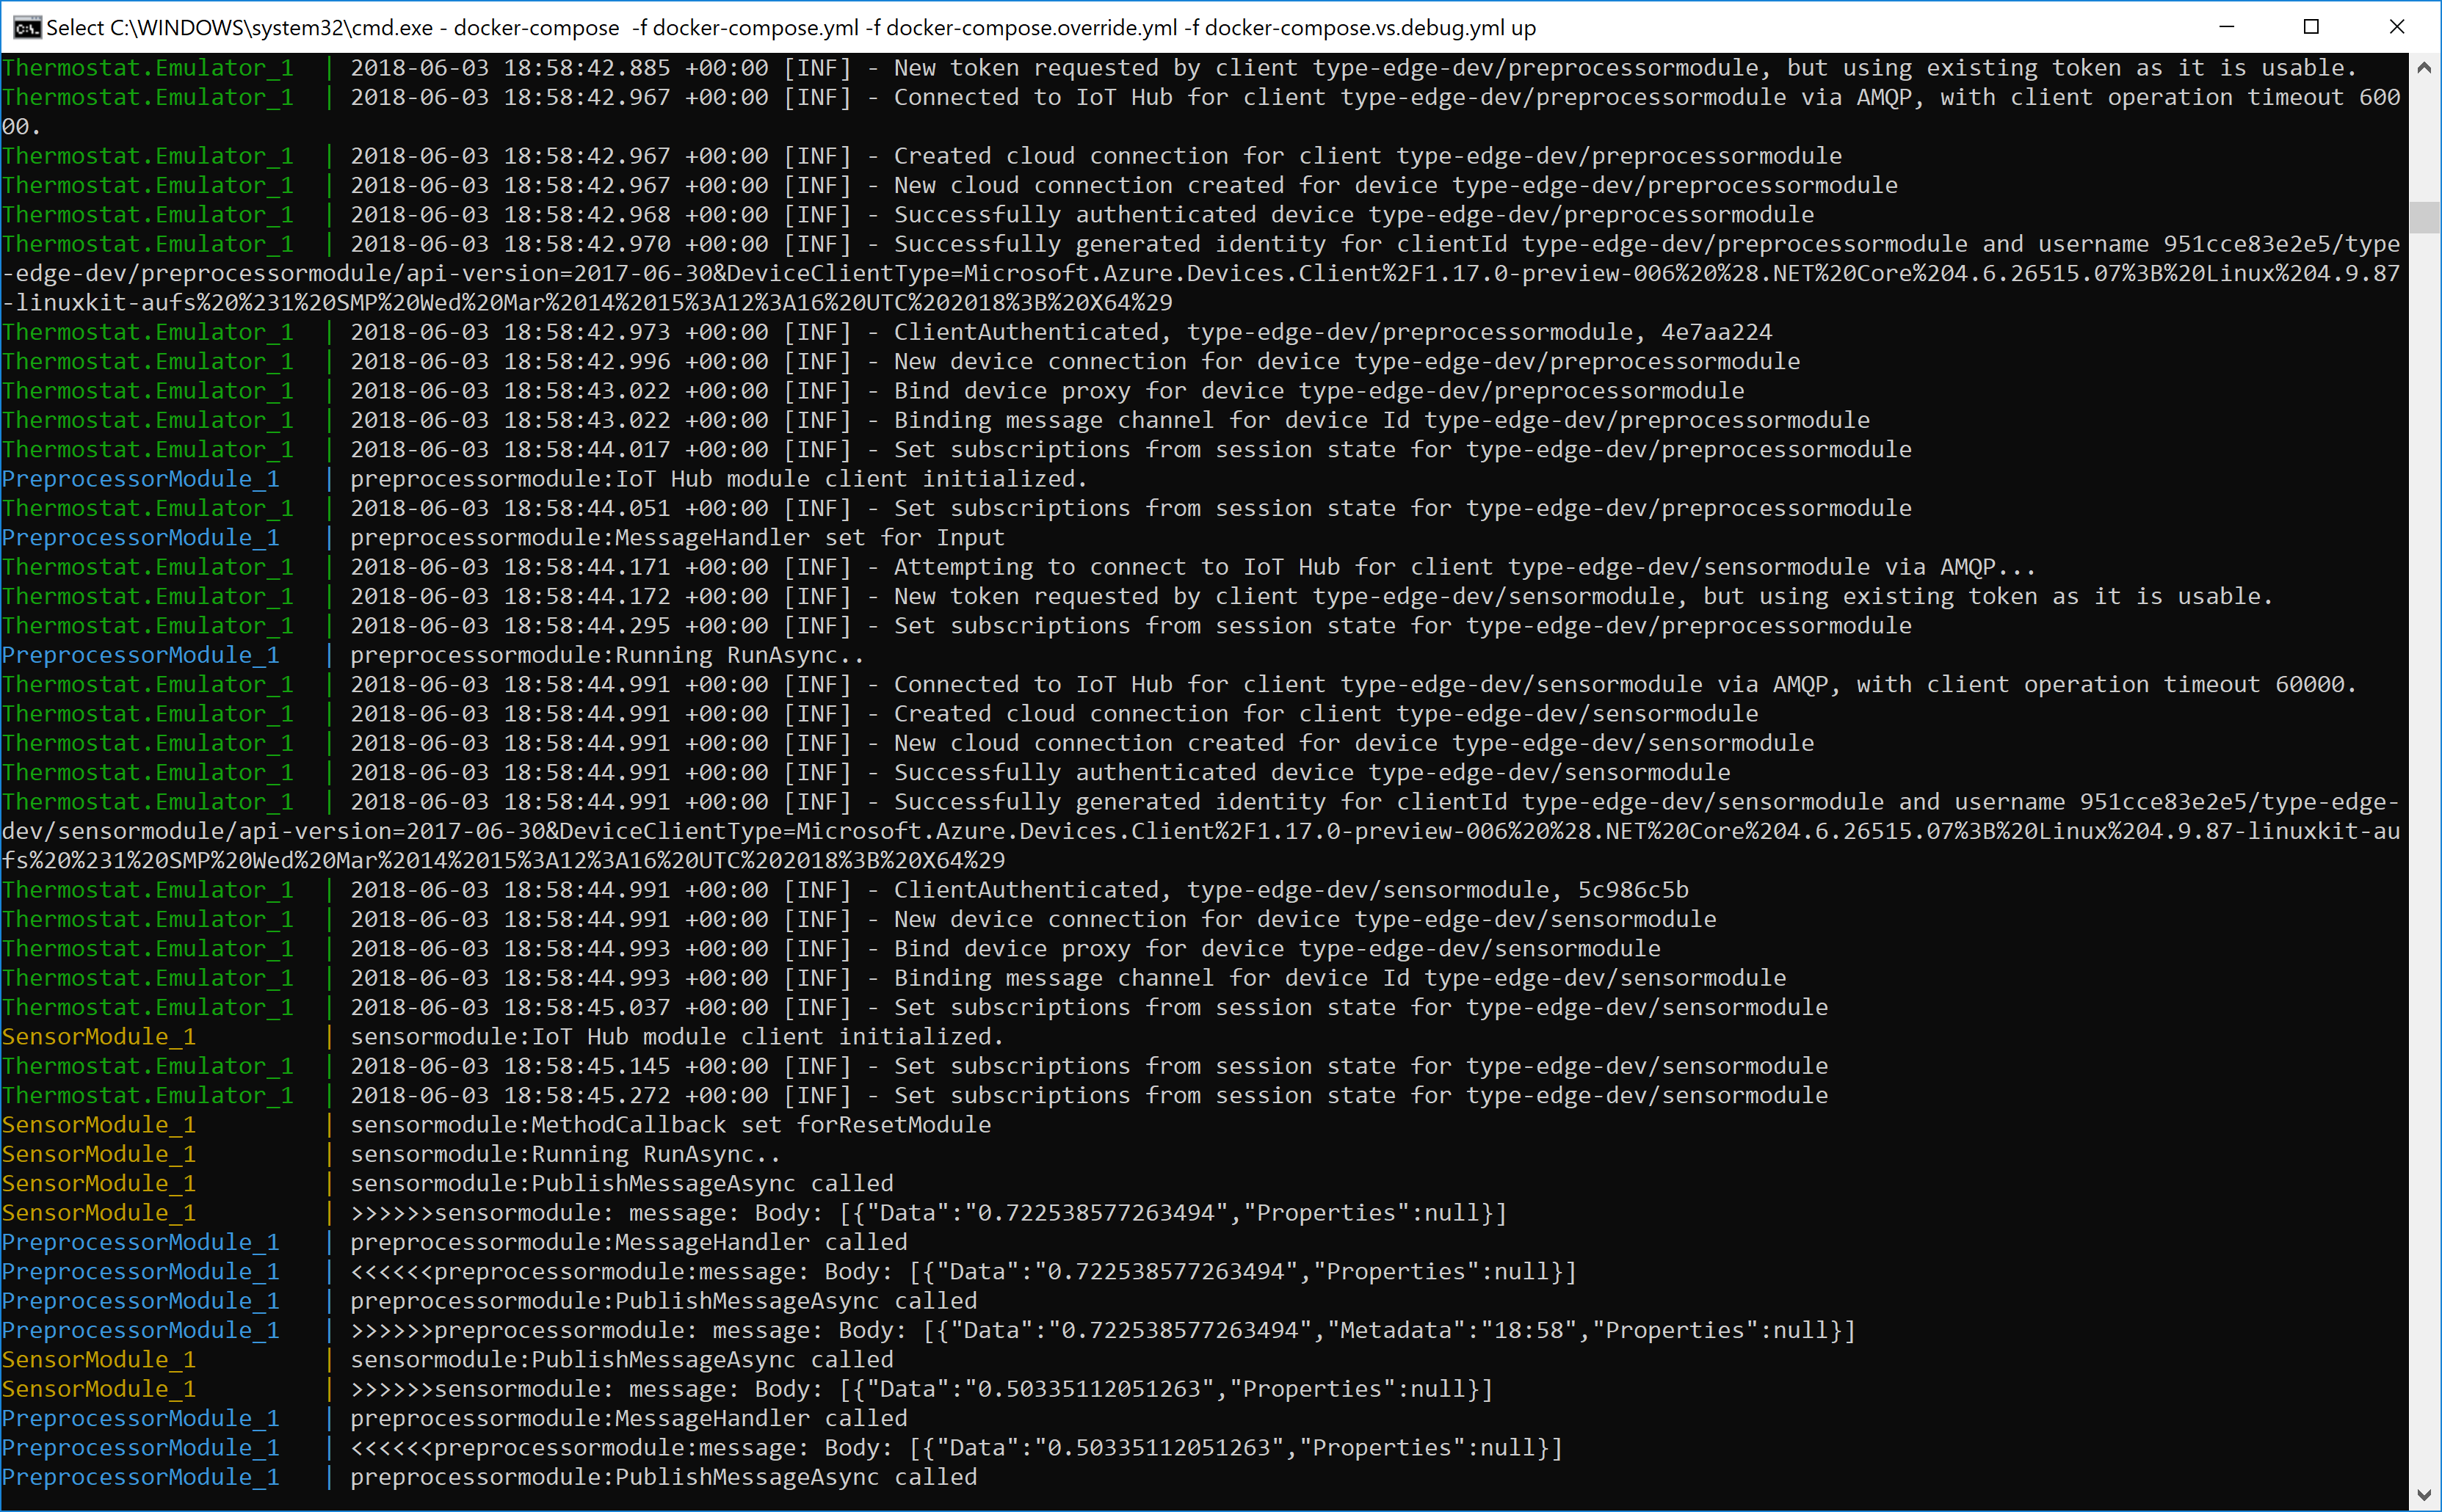
.. and the messages flowing in ..

Debugging inside the containers
If your modules have system dependencies and you want to debug them inside the containers, you can leverage the docker support feature of VS 2017. Simply right click the docker-compose project and start it from VS 2017 to debug your application inside the docker containers.
Alternatively, you can run your application inside the containers in command line:
docker-compose -f docker-compose.yml -f docker-compose.override.yml up
Congratulations!
You just created your first TypeEdge application. Continue reading to learn how to deploy this application to an IoT Device, or take the time to understand how it works.
Publish the Application
-
You can build the container images using docker-compose:
docker-compose build -
The final step is to push these images to your docker registry. Make sure Docker can access your registry:
docker login YOUR_REGISTRY -u YOUR_USERNAME -p YOUR_PASSWORDPush the images to your registry
docker-compose pushNote: The registry is configured in the .env file inside the root folder. If you edit the .env file, make sure you run the the emulator afterwards to update the cloud IoT Edge Device deployment configuration.
Device Deployment
-
Get the device connection string from Azure portal, and on the device host run:
iotedgectl setup --connection-string "THE_DEVICE_CONNECTION_STRING" --auto-cert-gen-force-no-passwordsNote: The device name is configured in the appsettings.json of the emulator project. Make sure you run the emulator and rebuilt the containers if you change that name. The emulator will provision a new device if the device does not exist.
-
If your registry requires authentication, you need to run
iotedgectl login --address YOUR_REGISTRY_ADDRESS --username YOUR_REGISTRY_USERNAME --password YOUR_REGISTRY_PASSWORD -
Finally, start the runtime:
iotedgectl start
Read more here about the IoT Edge device deployment.
How it works
TypeEdge uses C# code to define the behavior and structure of a module. A TypeEdge application is a collection of TypeEdge Modules.
Module interface
TypeEdge leverages interfaces to define the structure and behavior of the modules. A typical example of a TypeEdge module definition is:
[TypeModule]
public interface ISensorModule
{
   Output<SensorModuleOutput> Output { get; set; }
   ModuleTwin<SensorModuleTwin> Twin { get; set; }

   bool ResetModule(int sensorThreshold);
}
This module has a strongly typed output called Output and the messages type is SensorModuleOutput. Similarly, it has a module twin called Twin with type SensorModuleTwin
Note: TypeEdge allows you to define multiple twin properties in the same module to enable partial twin updates
Finally, this module has a method that can be invoked directly with the following method signature:
bool ResetModule(int sensorThreshold);
Module implementation
After describing the module behavior and structure with an interface, the next step is to implement the module interface. This is effectively the code that will run in the TypeEdge module. Here is an implementation example of the above interface:
Click to see the full SensorModule implementation code
public class SensorModule : EdgeModule, ISensorModule
{
    public Output<SensorModuleOutput> Output { get; set; }
    public ModuleTwin<SensorModuleTwin> Twin { get; set; }

    public bool ResetModule(int sensorThreshold)
    {
        System.Console.WriteLine($"New sensor threshold:{sensorThreshold}");
        return true;
    }

    public override async Task<ExecutionResult> RunAsync()
    {
        while (true)
        {
            await Output.PublishAsync(
                new SensorModuleOutput() {
                    Data = new System.Random().NextDouble().ToString() });

            System.Threading.Thread.Sleep(1000);
        }
        return await base.RunAsync();
    }
}
A TypeEdge module can override any of the virtual methods of the base class ``EdgeModule``. As demonstrated in the above example, the ``RunAsync`` method is used for defining long running loops, typically useful for modules that read sensor values. Another virtual method is ``Configure``, which can be used to read custom module configuration during startup.
The complete EdgeModule definition is:
public abstract class EdgeModule
{
    public virtual CreationResult Configure(IConfigurationRoot configuration);
    public virtual Task<ExecutionResult> RunAsync();
}
Module Subscriptions
TypeEdge uses the pub/sub pattern for all module I/O, except for the direct methods. This means that a module can subscribe to other module outputs, and publish messages to their inputs. To do this, a reference to the module interface definition is required. TypeEdge uses dependency injection to determine the referenced modules.
Below, is the constructor of the second module included in the application template called PreprocessorModule, that references the SensorModule via its interface.
public PreprocessorModule(ISensorModule proxy)
{
    this.proxy = proxy;
}
Using this proxy, the PreprocessorModule module can interact with the SensorModule:
proxy.Output.Subscribe(this, async (msg) =>
{
    await Output.PublishAsync(new PreprocessorModuleOutput()
    {
        Data = msg.Data,
        Metadata = System.DateTime.UtcNow.ToShortTimeString()
    });
    return MessageResult.OK;
});
In this example, the PreprocessorModule subscribes to SensorModule's output, called Output, and defines a subscription handler, a delegate in other words that will be called every time the SensorModule sends a messages through its Output .
The complete code of the template's PreprocessorModule is:
Click to see the full PreprocessorModule implementation code
public class PreprocessorModule : EdgeModule, IPreprocessorModule
{
    public Output<PreprocessorModuleOutput> Output { get; set; }
    public ModuleTwin<PreprocessorModuleTwin> Twin { get; set; }

    public PreprocessorModule(ISensorModule proxy)
    {
        proxy.Output.Subscribe(this, async (msg) =>
        {
            await Output.PublishAsync(new PreprocessorModuleOutput()
            {
                Data = msg.Data,
                Metadata = System.DateTime.UtcNow.ToShortTimeString()
            });
            return MessageResult.OK;
        });
    }
}
Emulator
The emulator references the Runtime bits to achieve the emulation. Under the hood, the emulator starts a console application that hosts the Edge Hub and all referenced modules. It will also provision a new Edge device to your designated IoT Hub. This device will contain the complete deployment manifest, ready to be used to an actual device deployment.
To reference modules in an emulator application, both the interface and the implementation class of the module are required:
host.RegisterModule<ISensorModule, Modules.SensorModule>();
Finally, all subscriptions beyond to context of a single module can be defined here. For example, an upstream route can be defined using:
host.Upstream.Subscribe(host.GetProxy<IPreprocessorModule>().Output);
Below is the complete template emulator code for reference.
Click to see the full emulator code
public static async Task Main(string[] args)
{
    //TODO: Set your IoT Hub iothubowner connection string in appsettings.json
    var configuration = new ConfigurationBuilder()
        .AddJsonFile("appsettings.json")
        .AddEnvironmentVariables()
        .AddDotenvFile()
        .AddCommandLine(args)
        .Build();

    var host = new TypeEdgeHost(configuration);

    //TODO: Register your TypeEdge Modules here
    host.RegisterModule<ISensorModule, Modules.SensorModule>();
    host.RegisterModule<IPreprocessorModule, Modules.PreprocessorModule>();

    //TODO: Define all cross-module subscriptions
    host.Upstream.Subscribe(host.GetProxy<IPreprocessorModule>().Output);

    host.Build();

    await host.RunAsync();

    Console.WriteLine("Press <ENTER> to exit..");
    Console.ReadLine();
}
Proxy
TypeEdge also accelerates the service application development (cloud side application). The provided template will include a Proxy project, useful for cloud side interaction with the TypeEdge application. The code to call a direct method of a TypeEdge module from the could side is literally one line:
ProxyFactory.GetModuleProxy<ISensorModule>().ResetModule(4);
Solution structure
Apparently, to reference the module definition interfaces and to avoid coupling the module implementation code together, these interfaces need to be defined in a separate project that will be commonly shared across the solution, containing only the definition interfaces and the referenced types.


