|
|
||
|---|---|---|
| .. | ||
| images | ||
| mycluster | ||
| pbspro.txt | ||
| readme.md | ||
readme.md
Azure CycleCloud Template for building a cluster with pbs with mount points needed for apps in azurehpc
Pre-requisites:
- An installed and setup Azure CycleCloud Application Server (instructions here or using the azurehpc script)
- The Azure CycleCloud CLI (instructions here)
Overview
This guide will go through the steps required to extend the Azure CycleCloud PBS Pro template ready for installing and running azurehpc app benchmarks.
If you do not wish to follow the steps you can use the version in this repo by running the following commands:
pushd mycluster
NOTE: you can edit the default/cluster-init/scripts/01_install_packages script to add any dependency or custom steps before you proceed
cyclecloud project upload <insert-locker-name>
popd
cyclecloud import_template -f pbspro.txt
Note: you can view your lockers with cyclecloud locker list
Creating the cluster in Azure CycleCloud
A few changes to the default PBS project are required:
-
Stop the Linux Agent on the execute VMs
We will stop the Linux Agent on the execute nodes in the cluster as this can impact performance at the large scale for a tightly coupled MPI application when running with all the cores.
-
Export the scratch disk on the master node
The standard PBS project has an NFS server on the master node but this exports directories from the OS disk associated which is only 30GB in size. This is sufficient for the application binaries but the larger benchmark would exceed this. The master will be updated to export the local disk in the VM. Note: a local disk should only be used for scratch data.
Creating a project
First make sure you know the name of you Azure CycleCloud locker:
$ cyclecloud locker list
azure-storage (az://azurecyclestorage/cyclecloud)
In my setup it is called azure-storage.
Now create the project:
$ cyclecloud project init mycluster
Project 'mycluster' initialized in /home/user/cyclecloud-simple-pbs/mycluster
Default locker: azure-storage
Change to the new project directory to complete the steps that follow:
cd mycluster
Add a default cluster init for the project where we install any dependency:
$ cat <<EOF >>specs/default/cluster-init/scripts/01_install_packages.sh
#!/bin/bash

#you can add your custom steps here
EOF
$ chmod +x specs/default/cluster-init/scripts/01_install_packages.sh
We create a new project spec to disable the Linux Agent that we can apply to the execute nodes. Create this as follows:
$ cyclecloud project add_spec disable-agent
Spec disable-agent added to project!
Add a script in the cluster init:
$ cat <<EOF >>specs/disable-agent/cluster-init/scripts/01-disable-agent.sh
#!/bin/bash

systemctl stop waagent
EOF
$ chmod +x specs/disable-agent/cluster-init/scripts/01-disable-agent.sh
Next, create another spec for the master to add a symlink for /scratch and change the permissions to allow write access by everyone:
$ cyclecloud project add_spec scratch-setup
Spec scratch-setup added to project!
Add the cluster init script:
$ cat <<EOF >>specs/scratch-setup/cluster-init/scripts/01-scratch-setup.sh
#!/bin/bash

chmod a+rwx /mnt/resource
ln -s /mnt/resource /scratch
EOF
$ chmod +x specs/scratch-setup/cluster-init/scripts/01-scratch-setup.sh
Now, upload the project:
$ cyclecloud project upload
Uploading to az://azurecyclestorage/cyclecloud/projects/mycluster/1.0.0 (100%)
Uploading to az://azurecyclestorage/cyclecloud/projects/mycluster/blobs (100%)
Upload complete!
Create the template
The PBS template can be used as a basis and updated for the required changes:
wget https://raw.githubusercontent.com/Azure/cyclecloud-pbspro/master/templates/pbspro.txt
Update the template file with the following changes:
-
Change the template name
Change the for the top-level section:
[cluster PBSProCustom] -
Install
libXton all VMsAdd the following line in section under
[[node defaults]]and[[[configuration]]]:[[[cluster-init mycluster:default:1.0.0]]] -
Stop the Linux Agent on the execute VMs
Add the following line in the section under
[[nodearray execute]]and[[[configuration]]]:[[[cluster-init mycluster:disable-agent:1.0.0]]] -
NFS Server
Add the following line in the section under
[[node master]]and[[[configuration]]]:[[[configuration cyclecloud.exports.nfs_data]]] type = nfs export_path = /mnt/resource -
NFS Client
Add the following line in the section under
[[nodearray execute]]and[[[configuration]]]:[[[configuration cyclecloud.exports.nfs_data]]] type = nfs mountpoint = /scratch export_path = /mnt/resource -
Set up the
scratchdirectory on the masterAdd the following line in the section under
[[node master]]and[[[configuration]]]:[[[cluster-init mycluster:scratch-setup:1.0.0]]]
Finally, upload the new template:
$ cyclecloud import_template -f pbspro.txt
Importing default template in pbsprocustom.txt....
-------------------------
PBSProCustom : *template*
-------------------------
Resource group:
Cluster nodes:
    master: Off -- --
Total nodes: 1
The new template will now show in the Azure CycleCloud webpage.
Starting the cluster
Now, go to the Azure CycleCloud web page and create a new cluster.
Fill in the name.
Set the node type to Standard_HC44rs in the required settings. Choose your maximum number of cores and select the vnet you wish to use.
Set the Base OS to OpenLogic:CentOS-HPC:7.6:latest and select custom image in the Advanced Settings.
Now save and start the cluster.
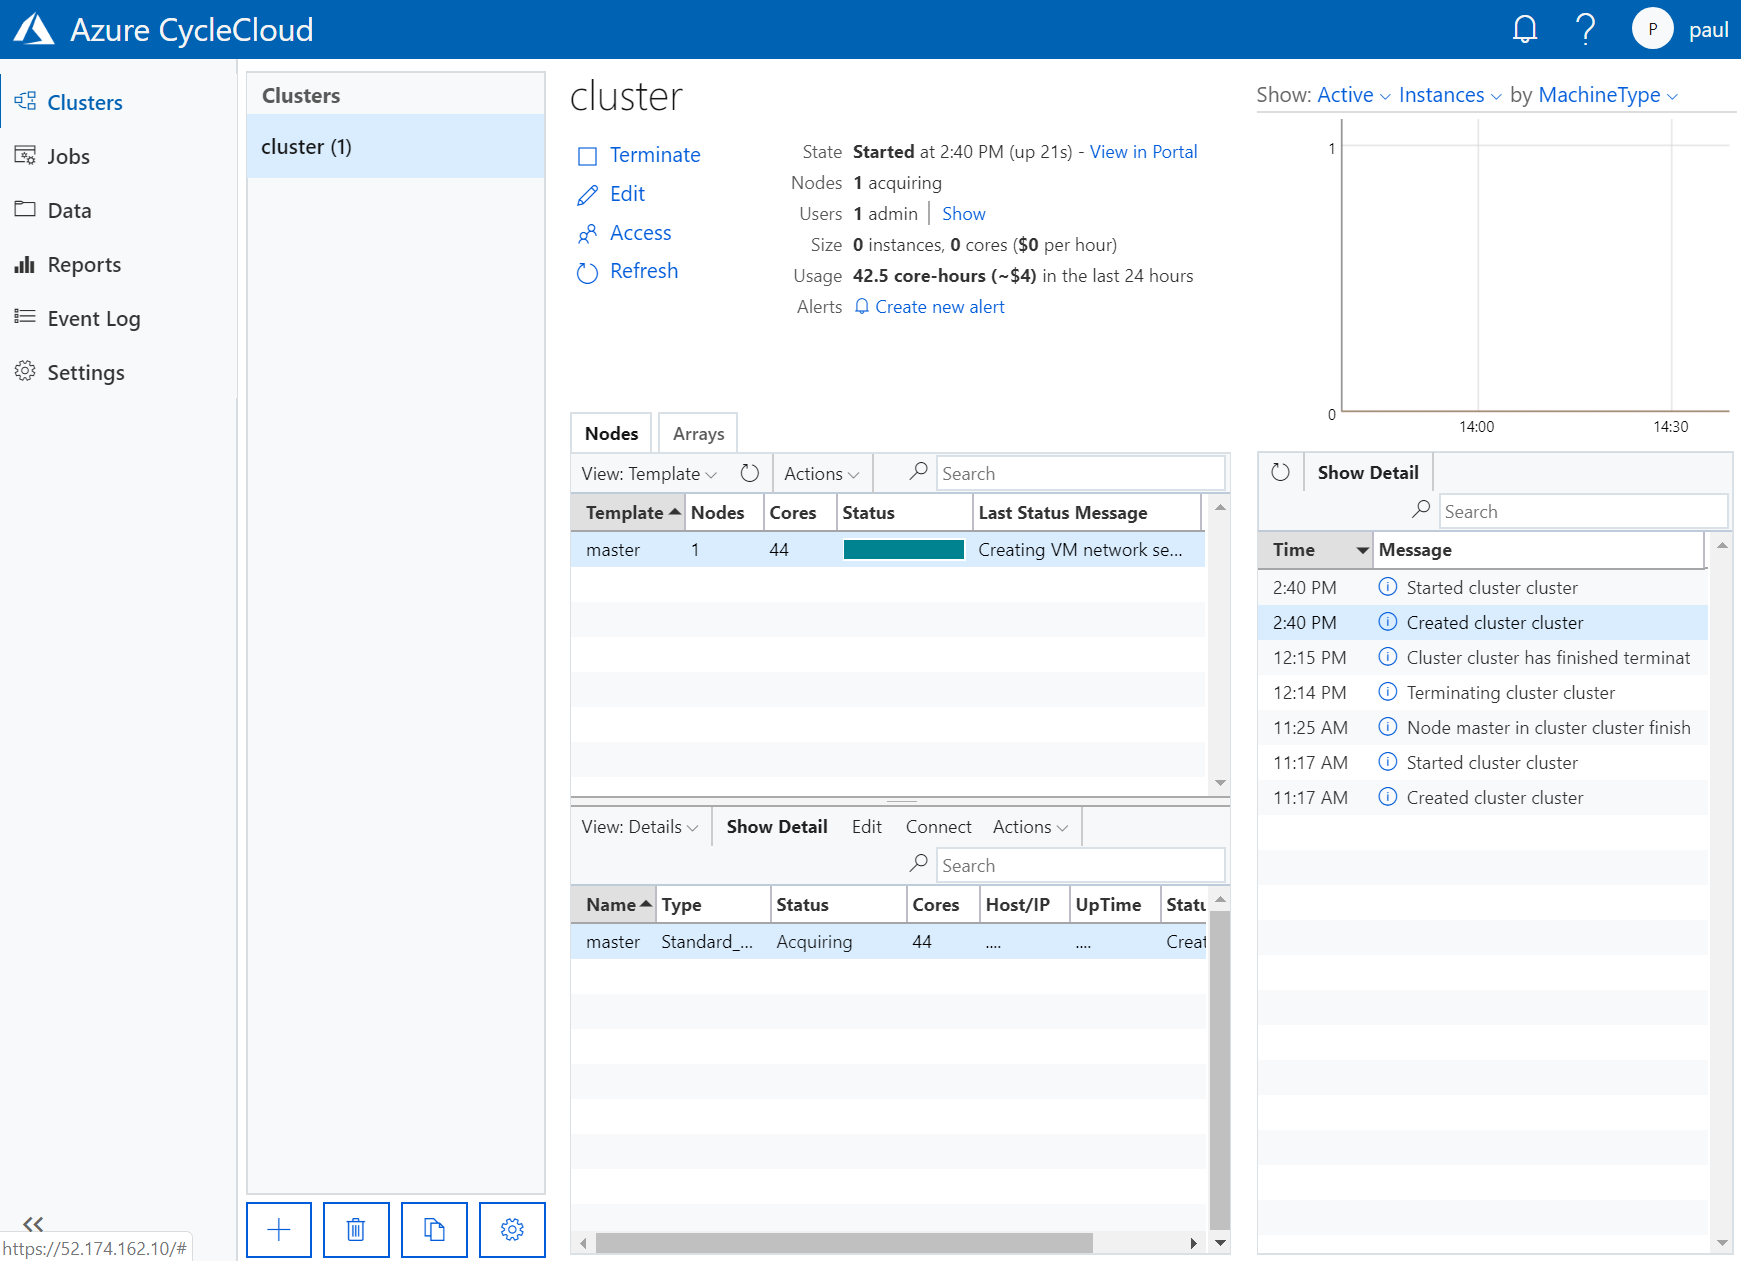
The web page will show progress as the headnode for the cluster starts.


