|
|
||
|---|---|---|
| .. | ||
| images | ||
| ad-config.json | ||
| anf-config.json | ||
| readme.md | ||
| variables.json | ||
readme.md
Setting up a DFS Namespace with multiple ANF volumes
This example sets up Active Directory, ANF with two volumes and two VMs: one for the DFS server and another for the client.
To run, set the location, resource_group and win_password and run the the following:
azhpc-build -c ad-config.json
azhpc-build -c anf-config.json
Now, everything will be deployed and the remainder of this document provides step-by-step instructions for setting up DFS Namespaces on the dfs VM. Once this is set up the share can be accessed from the client.
Set up DFS Namespaces to use the ANF volumes
Log in to the dfs VM with RDP.
Install the DFS role
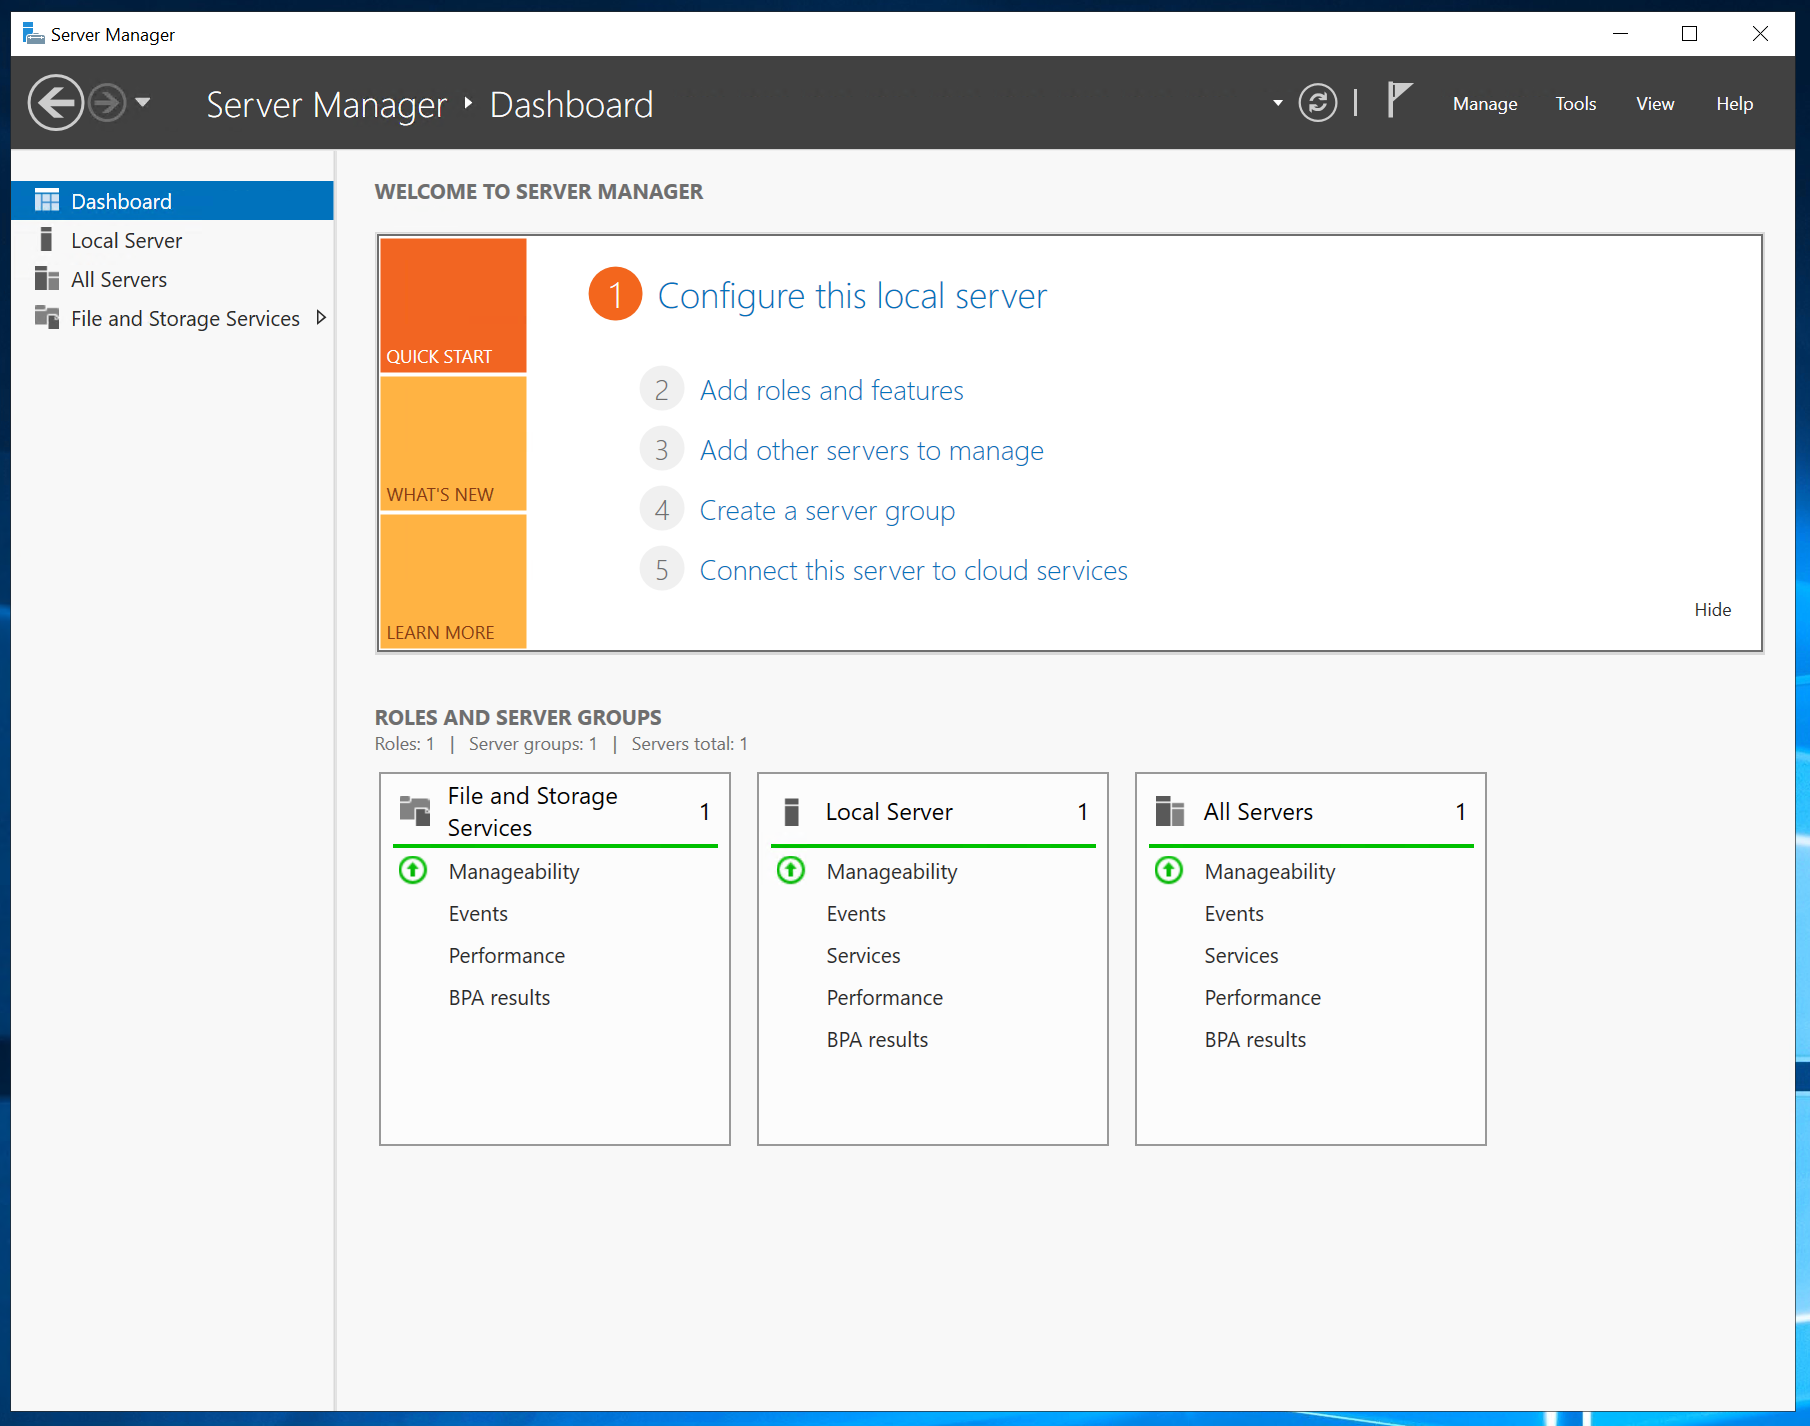
Open server manager
Click on "Add roles and features"
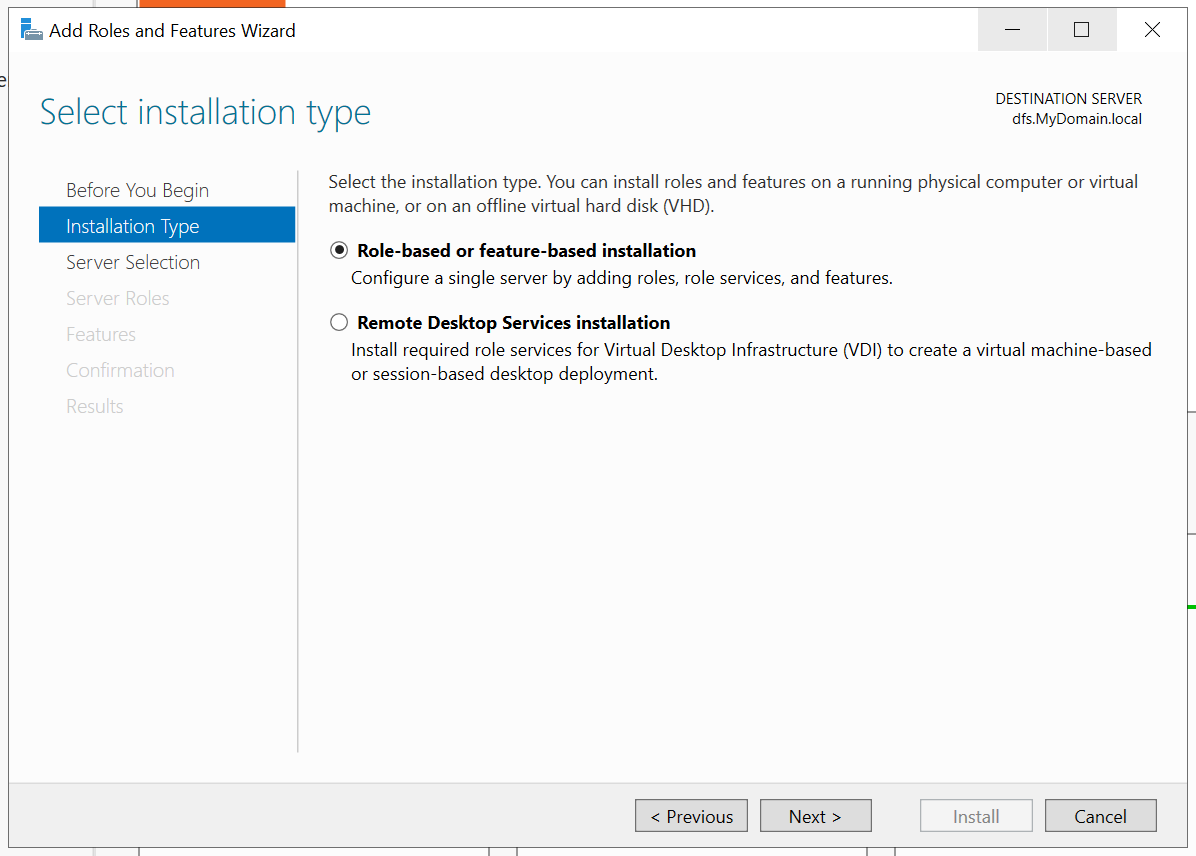
Click on "Next"
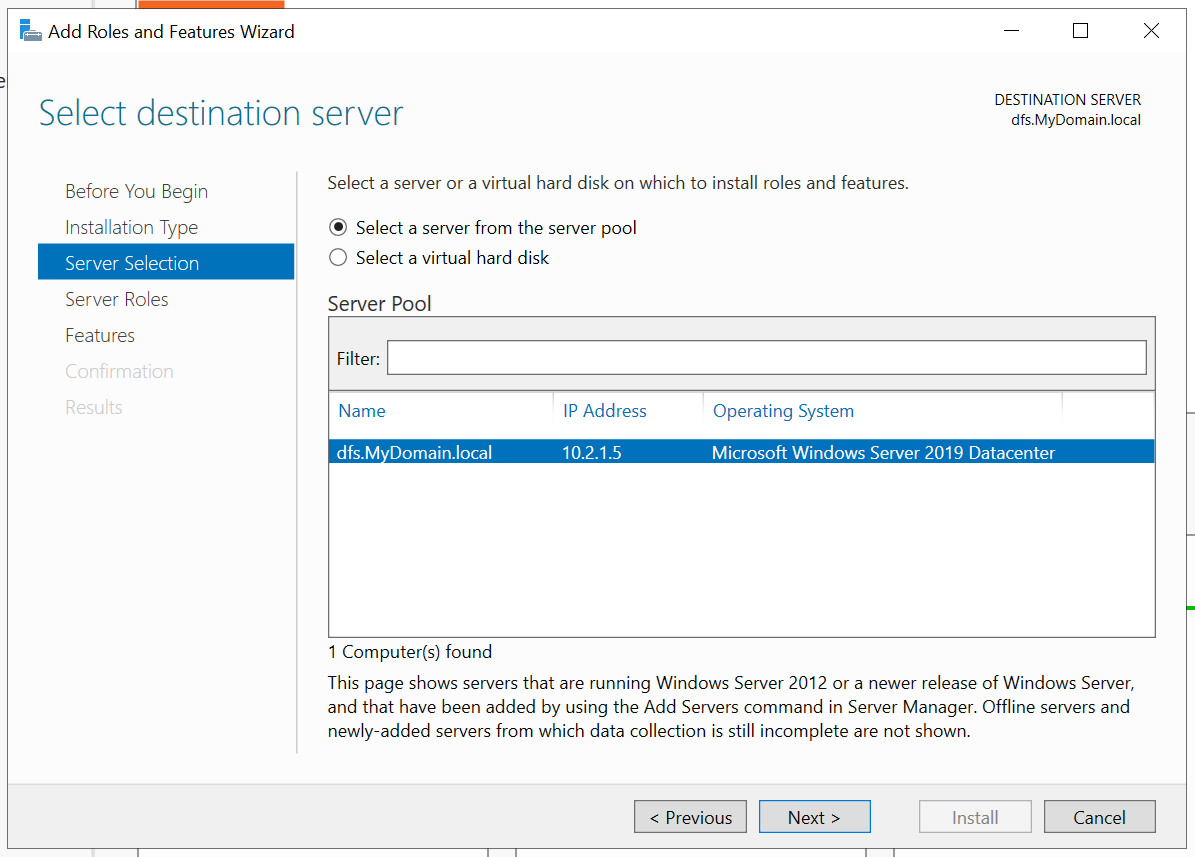
Select your sever and click "Next"
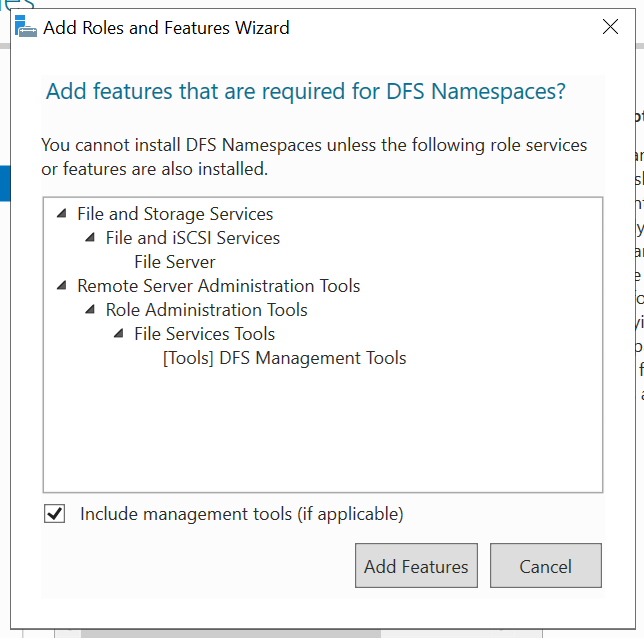
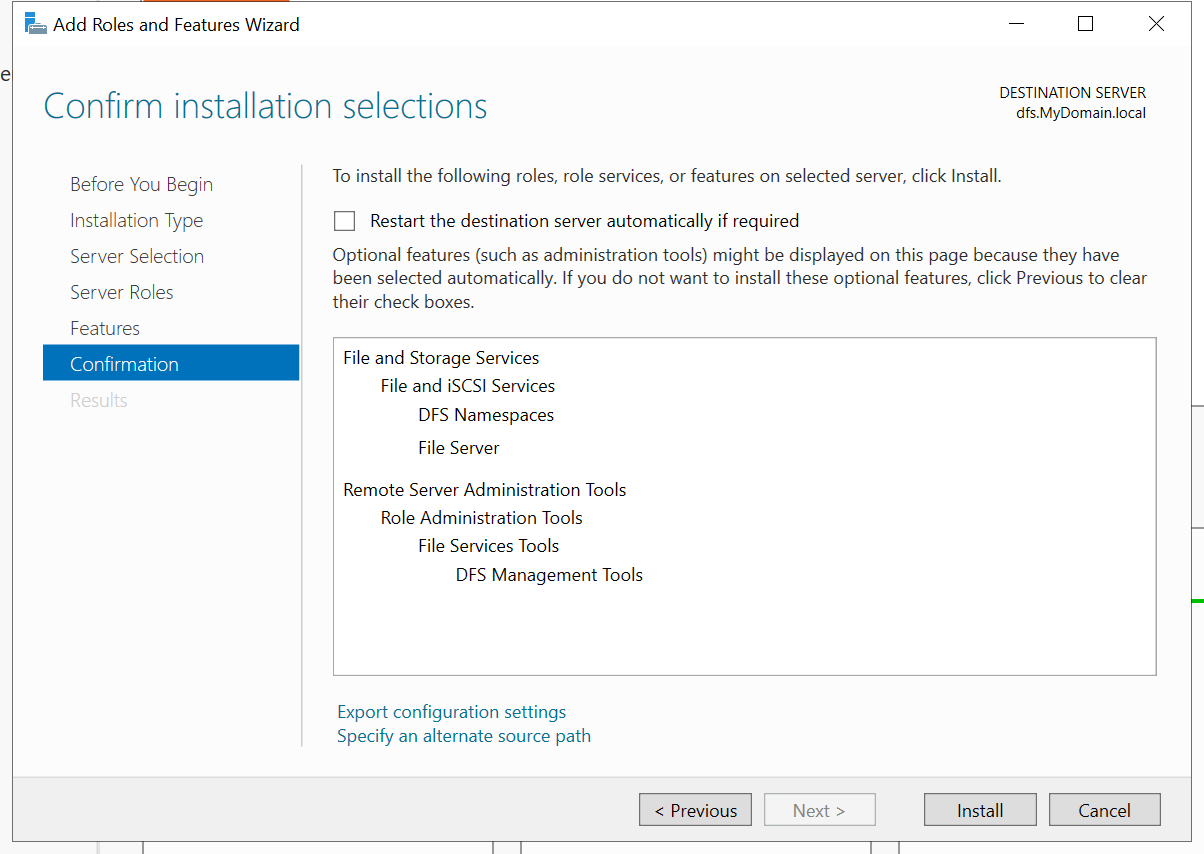
Expand "File and Storage Services" and "File and iSCSI Services" and select "DFS Namespaces"
Select to "Add Features" when prompted. Click "Next" on the wizard until you get to "Install"
Click "Install"
Configure DFS
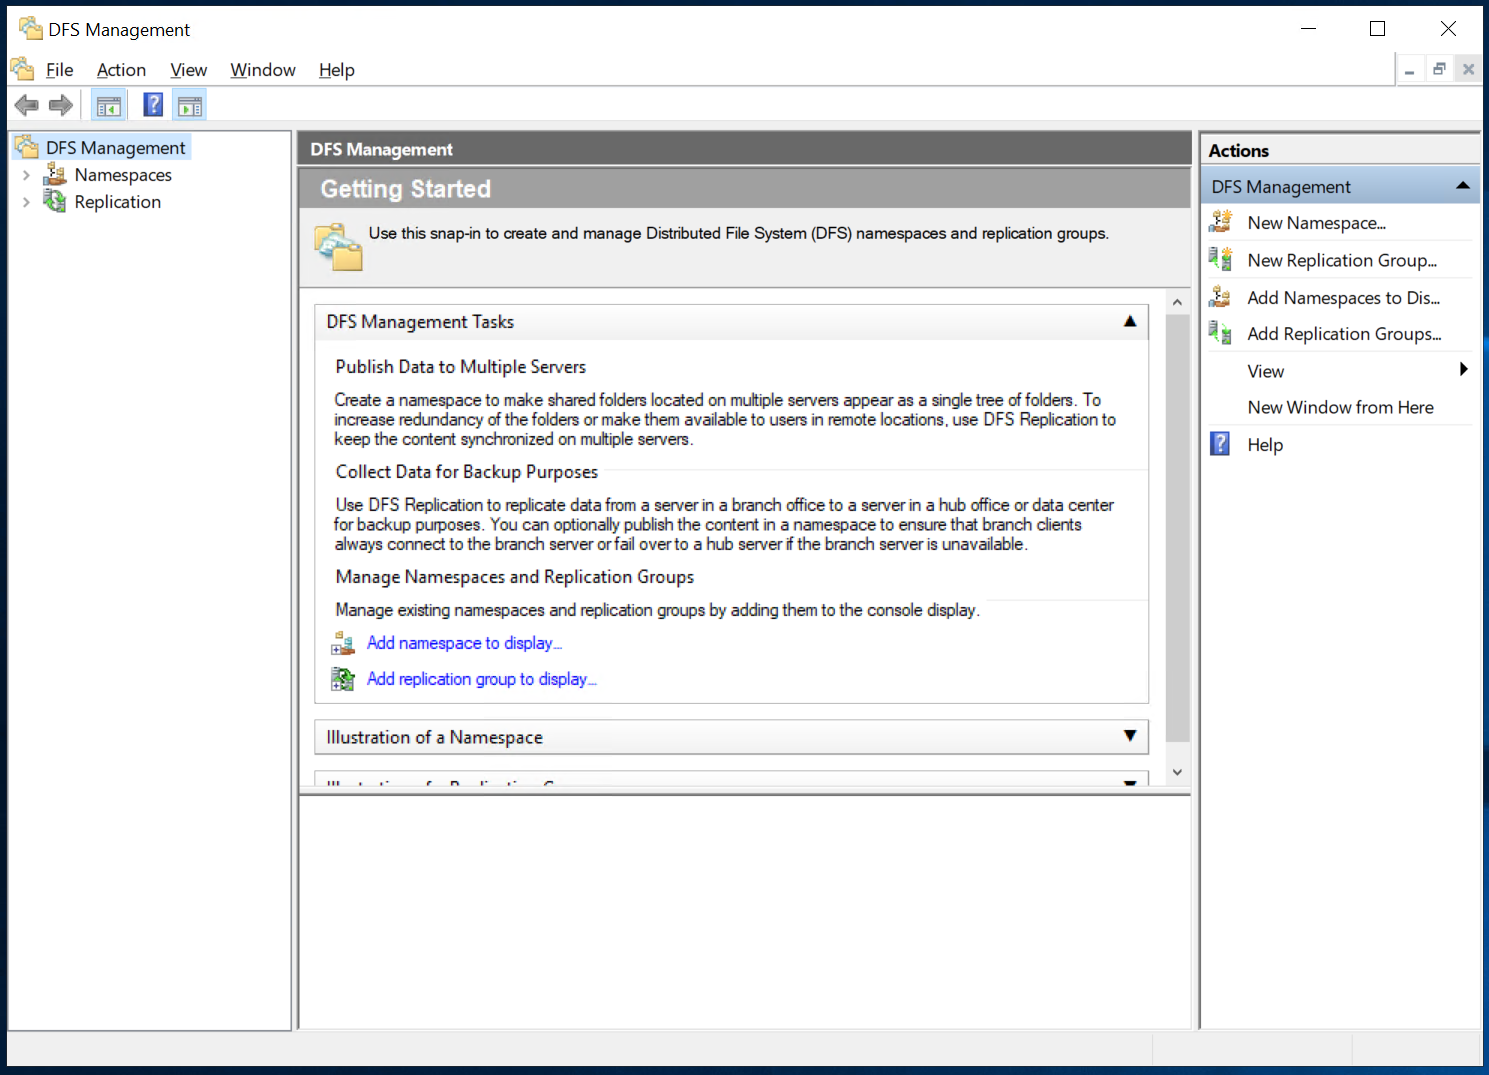
Open the "DFS Management" application (this will be available once the DFS role has been installed).
Right click on "Namespaces" and choose "New Namespace…"
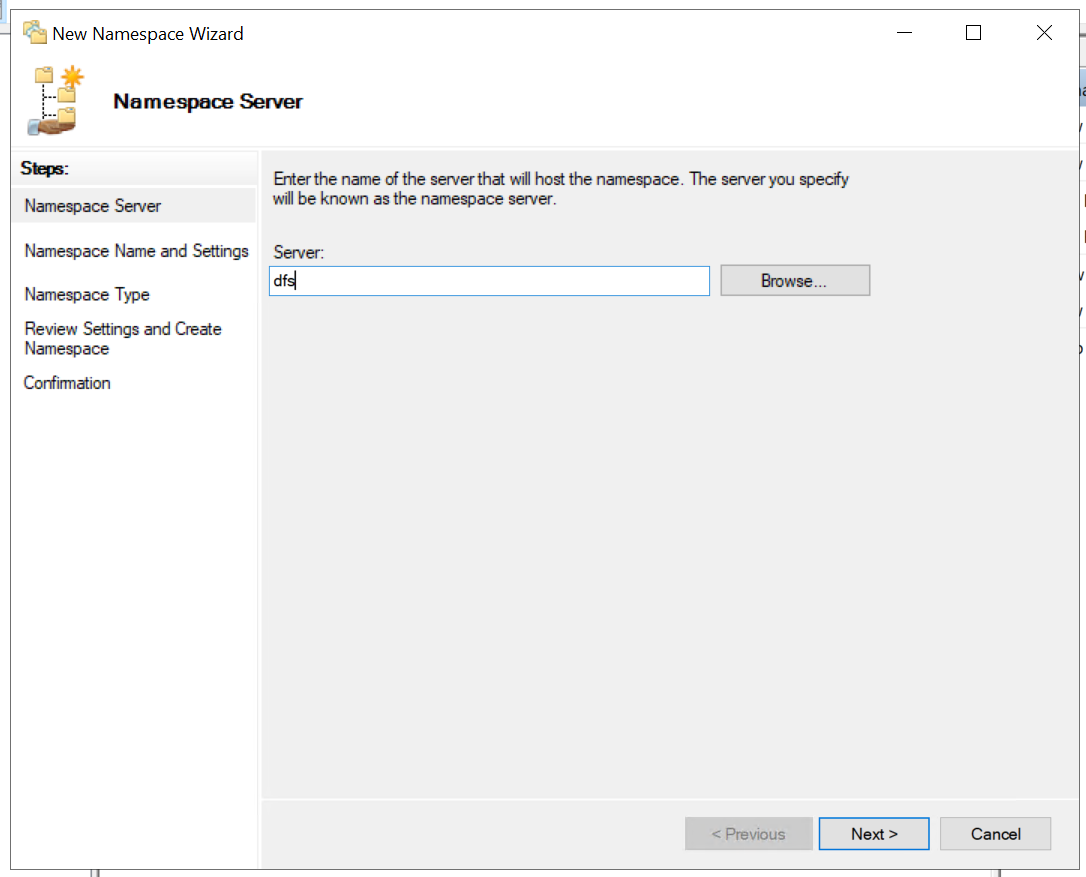
Enter the server that will host the namespace ("dfs" in my case) and click "Next"
Enter the namespace name and click "Next"
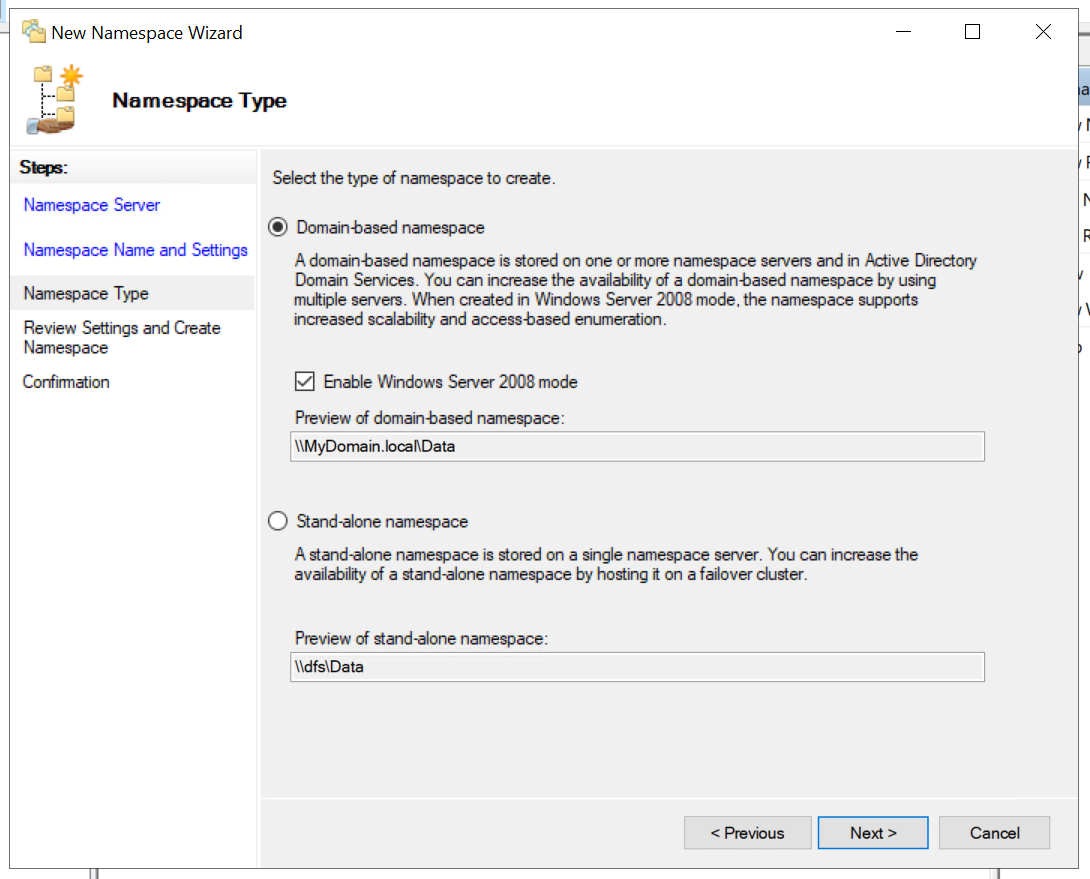
Choose "Domain-based namespace" and click on "Next".
Then click "Create".
Create DFS folders
Expand "Namespaces" and right-click on the new namespace that was created, and choose "New Folder…"
Set the "Name" and the "Folder targets" to be an ANF volume. Then click "OK".
Now, repeat for the other volume.
