Bumps [http-proxy](https://github.com/http-party/node-http-proxy) from 1.16.2 to 1.18.1. - [Release notes](https://github.com/http-party/node-http-proxy/releases) - [Changelog](https://github.com/http-party/node-http-proxy/blob/master/CHANGELOG.md) - [Commits](https://github.com/http-party/node-http-proxy/compare/1.16.2...1.18.1) Signed-off-by: dependabot[bot] <support@github.com> |
||
|---|---|---|
| .travis | ||
| .vscode | ||
| build | ||
| client | ||
| docs | ||
| scripts/deployment | ||
| server | ||
| .deployment | ||
| .dockerignore | ||
| .editorconfig | ||
| .gitignore | ||
| .travis.yml | ||
| Dockerfile | ||
| LICENSE | ||
| README.md | ||
| package.json | ||
| yarn.lock | ||
README.md
Ibex Dashboard 
Ibex is a dashboarding application that enables building dashboard and templates. It mainly supports Application Insights but data sources and visual components are easily extendable.
Changes
Version 1.3 (January 22, 2018)
Version 1.3 contains the following changes:
- Moving application insights queries from client to server
- Updated tests to answer some security risks presented by GitHub
- Updated tests to accommodate the new approach
- Added masking/unmasking of connection parameters (so that client side can only update API KEY but not see what it is)
- Fixed small bugs with Firefox rendering
Version 1.2 (October 16, 2017)
Version 1.2 breaks the persitency paths of dashboard files and custom templates. If you are upgrading to this version, copy your private dashboards from /dashboards into /dashboards/persistent/ as follows:
Private Files: Move files from
/dashboards/*.private.jsto/dashboards/persistent/private.
Custom Templates: Move files from
/dashboards/customTemplates/*.private.tsto/dashboards/persistent/customTemplates.
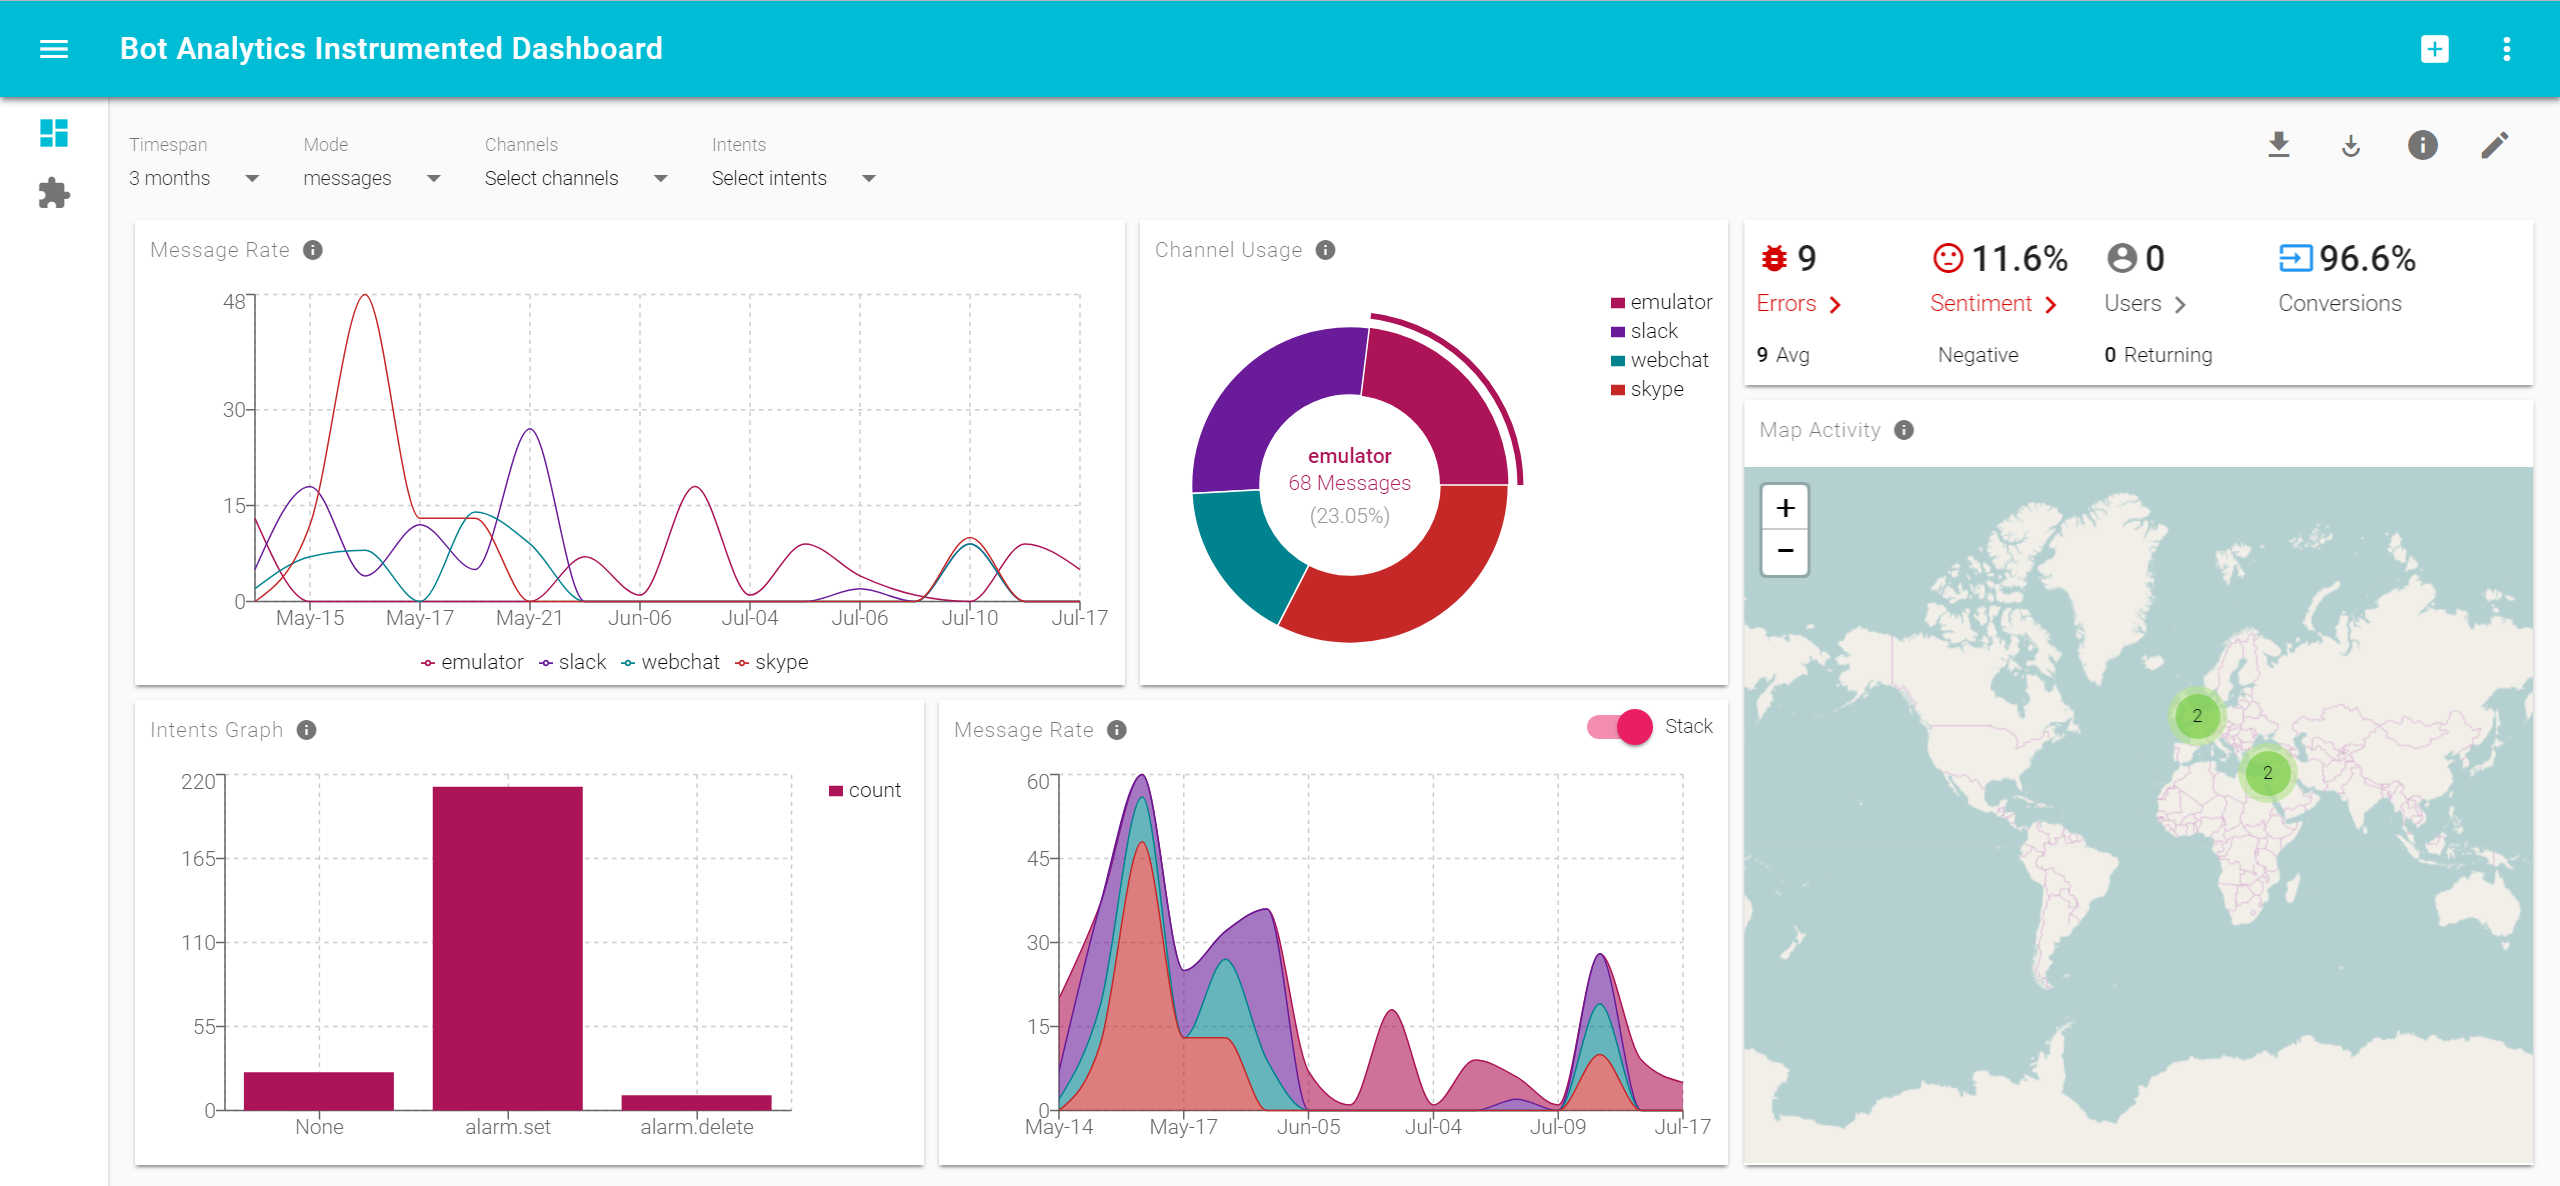
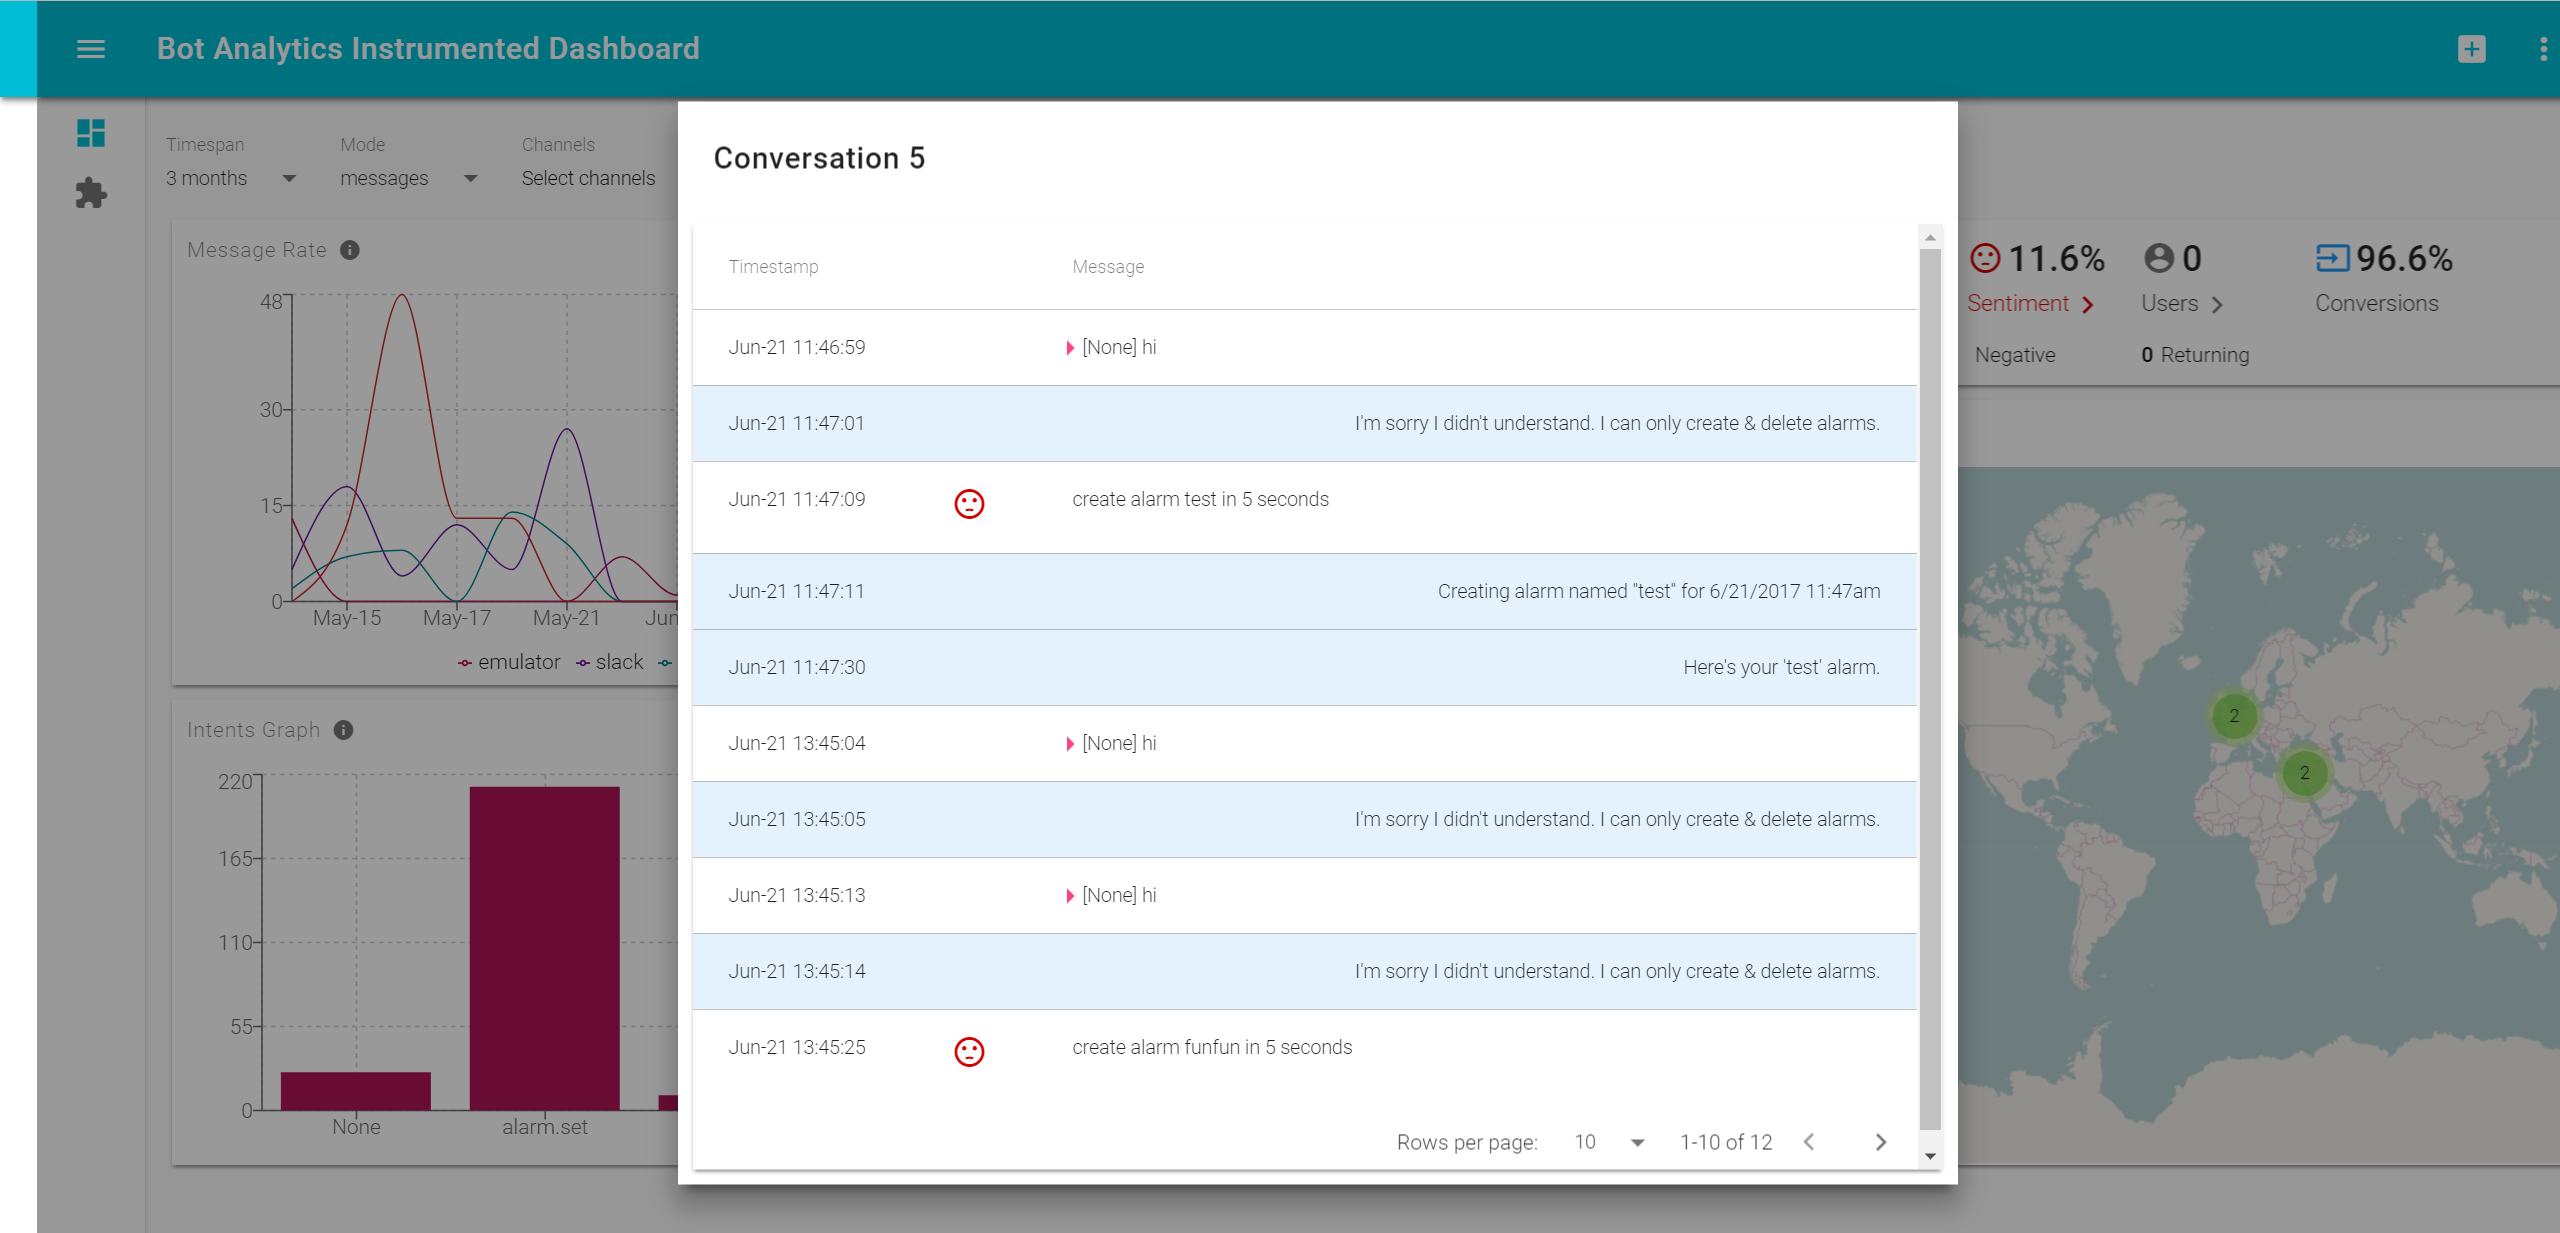
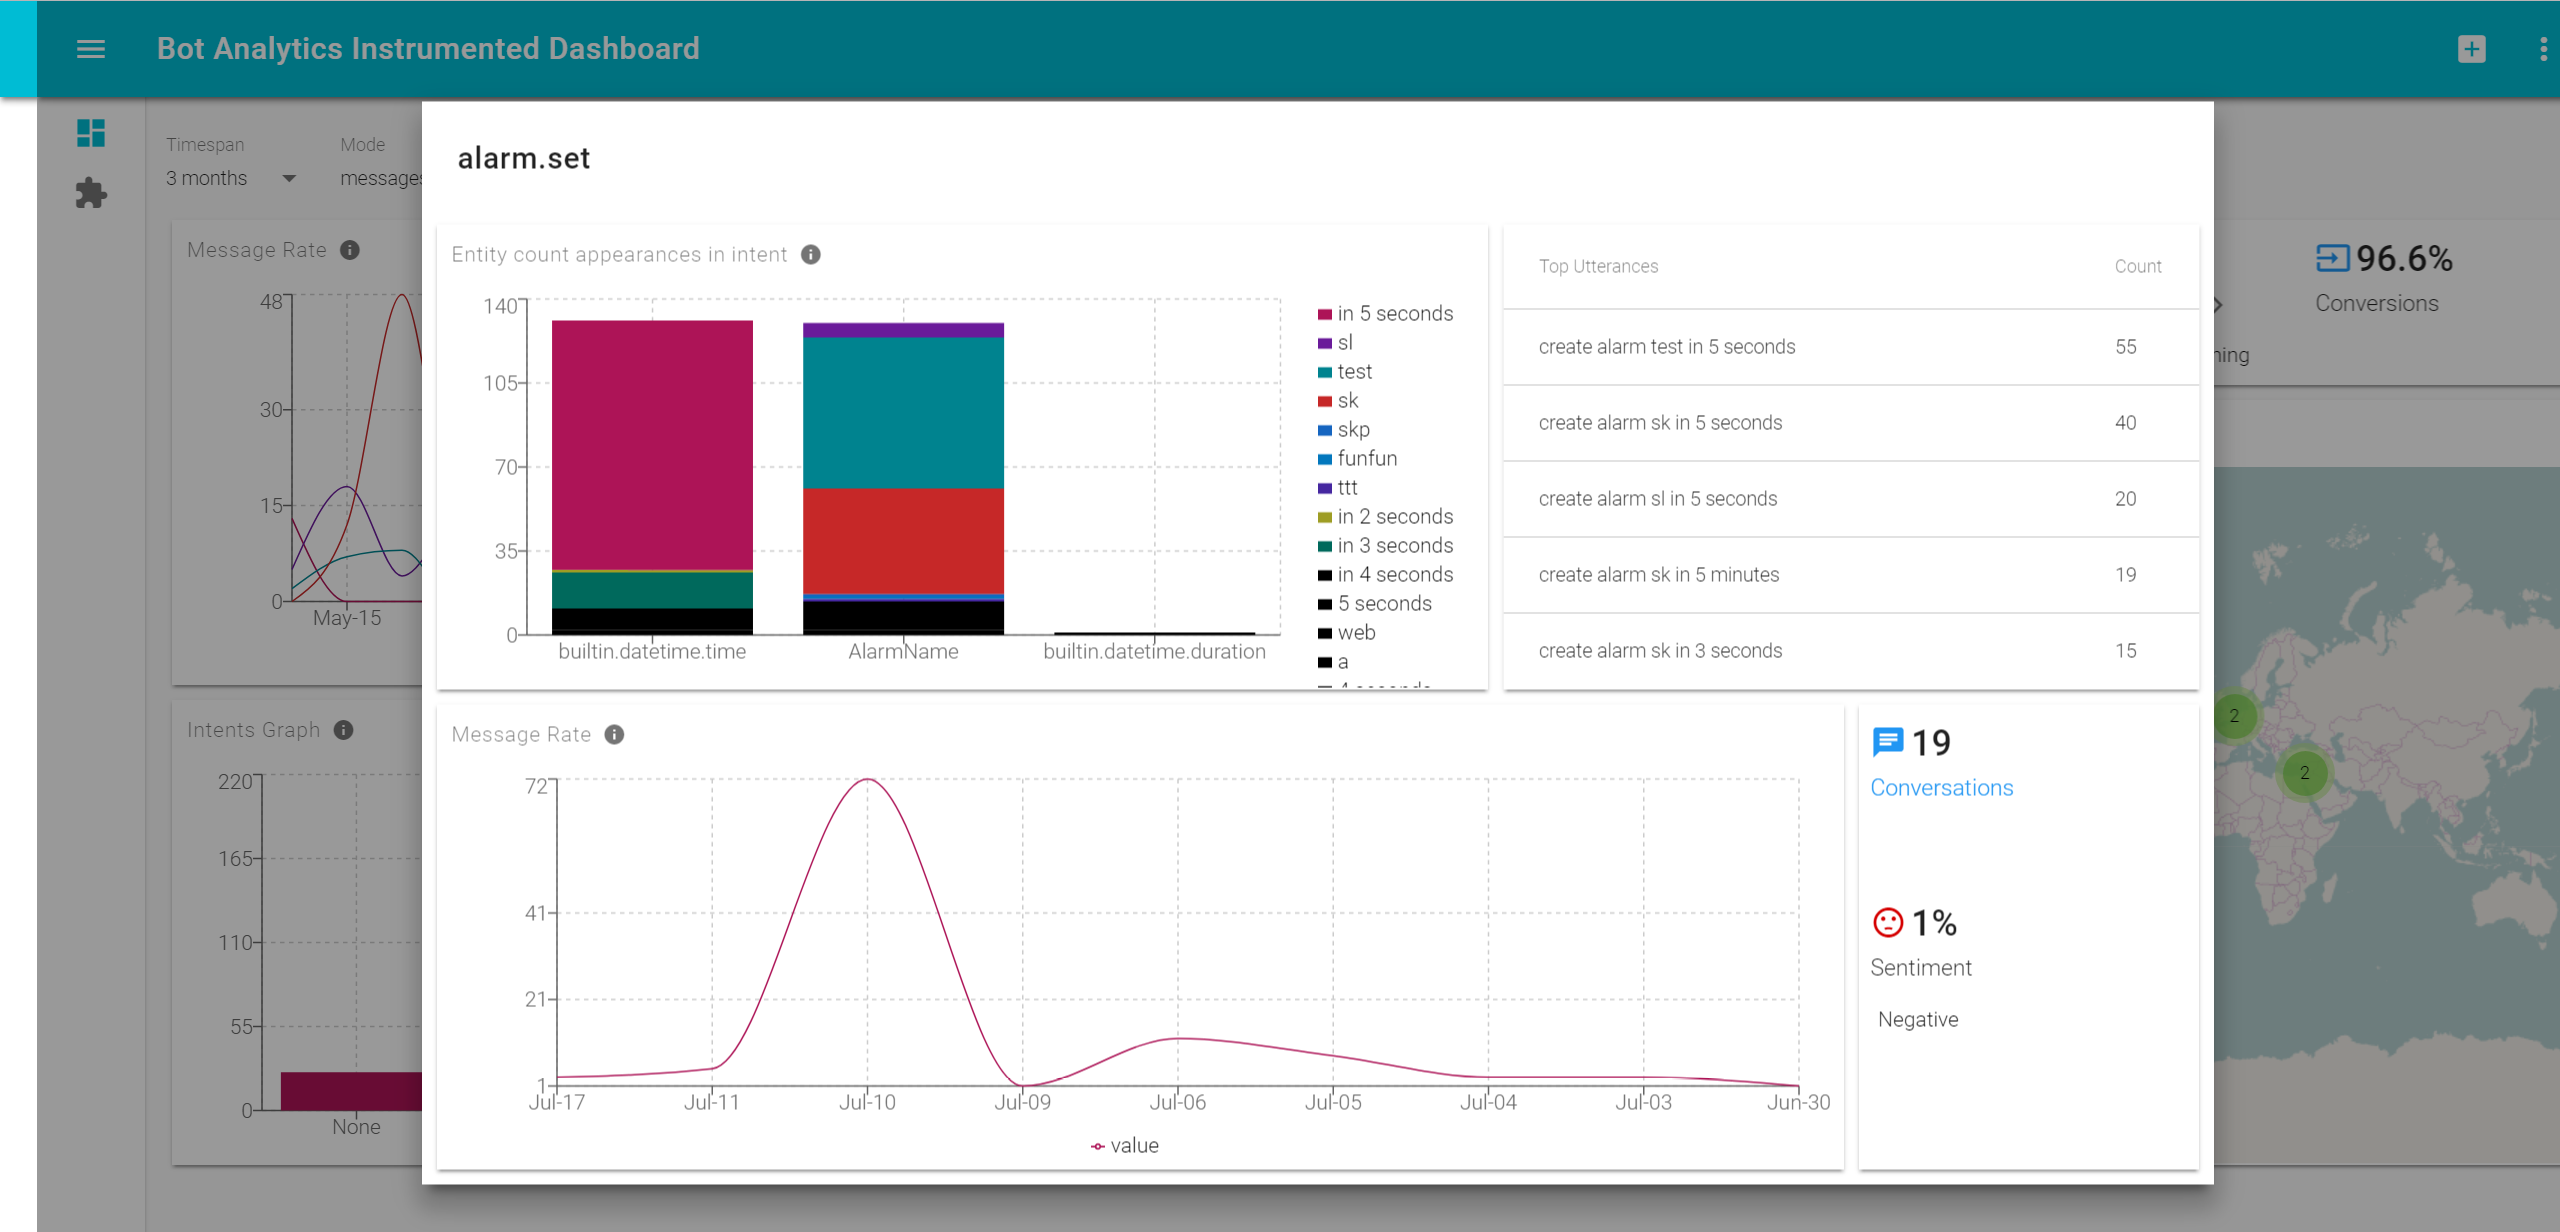
Preview
Installation
npm install yarn -g

git clone https://github.com/Azure/ibex-dashboard
cd ibex-dashboard
yarn
yarn start
Using Bot Analytics Instrumented Dashboard
- Open http://localhost:4000
- Create a new template from Bot Analytics Instrumented Dashboard
- Run through the Application Insights setup and fill in API Key and Application ID according to the application insights account associated with your registered bot.
Installation on Ubuntu
Use the following to install yarn on Ubuntu:
curl -sS https://dl.yarnpkg.com/debian/pubkey.gpg | sudo apt-key add -
echo "deb https://dl.yarnpkg.com/debian/ stable main" | sudo tee /etc/apt/sources.list.d/yarn.list
sudo apt-get update && sudo apt-get install yarn
Development
yarn start:dev
For contribution and code documentation follow: DEVELOPMENT & CONTRIBUTION.
Deploy To Azure
There are 3 ways to deploy to Azure:
1. Web App - Automated
- Fork this repo (to be able to automatically create github deployment key)
- Copy the fork url and use it with the following deployment button:

2. Web App On Linux - Automated with Docker Hub

3. Manual
- Fork this repo (to be able to automatically create github deployment key)
- Clone & Deploy:
- Create a new Web App in Azure
Deploy With Docker
docker build -t **image name** .docker run -d -e PORT=80 **image name**- Docker image is also available at Docker Hub -
docker pull morshemesh/ibex-dashboard
Application Insights Integration
Since application insights API doesn't support ARM yet, we need to manually create an API Key for the application insights service. The full instructions are also available when you create a new dashboard.
You can also follow the next headline.
Create new API Key and Application ID
The following steps explain how to connect Application Insights bot with your bot and your dashboard: [you can also follow the official Application Insights article].
- Go to azure portal
- Select: Resource Groups > [new resource group] > App Insights Service
- Copy Instrumentation Key and paste into your bot registration page (on the bottom)
- Click: API Access > Create New Key > + Read Telemetry
- Copy
Application ID+API Key - Open the URL of your web app
- Under AppId/ApiKey set the values you created.
Adding Application Insights instrumentation to your bot
Testing
The test watcher is integrated into the create-react-app mechanism and runs tests related to files changes since the last commit.
To run the test watcher in an interactive mode:
cd client
yarn test
Alternatively, you can also run the full commands that the Travis CI server will run to validate any changes.
.travis/ci.sh
Build
Our CI server Travis creates new production builds automatically for changes to master. If you need to create a build locally, you can execute the same commands as the CI server.
yarn build
Or
.travis/build.sh
Resources
Technologies In Use
- https://facebook.github.io/react/
- https://github.com/facebookincubator/create-react-app
- http://recharts.org/
- https://react-md.mlaursen.com/
Design and Patterns
This project is built using:
The server approach was added using:
Thinking about integrating with:
Engines
- Running node version 6.11 or above.
License
MIT


