|
|
||
|---|---|---|
| .. | ||
| images | ||
| model | ||
| ABCA-Optimization-Writeup.docx | ||
| Dockerfile | ||
| README.md | ||
| abca.ink | ||
| exported.zip | ||
README.md
Activity Based Costing Analysis Overview
In this simplified factory floor model, cost associated with product processing is calculated and analyzed.
Each incoming product seizes one unit of resource A, then one unit of resource B, then is processed by a machine. Afterwards, A is released, the product is conveyed to the exit, and then B is released just before the exit.
Whenever the product is in the system, the “Existence” cost applies ($ per hour). While a resource unit is being seized by a product, its “Busy” cost is allocated to the product, otherwise the “Idle” cost is applied (which is uniformly distributed to all products). Processing at the machine and conveying have direct fixed costs, which are different for equipment with different performances.
Cost accumulated by a product is broken down into several categories for analysis and optimization. You can change the factory floor parameters on the fly and see how they affect the product cost.
Complexity
- Production rate, cost of resources A & B are configurable.
- Capacities of resource A, B, processing time of the machine and conveyor speed can be adjusted dynamically in order to keep the total cost per product at minimum.
- Regular simulation optimization (SO) is not capable of adaptive change of parameters in order to produce optimum results over time
Observation space
Although there are many aspects of the simulator, the arrival rate is what
is used to by the brain to make decisions.
Action space
- Number of resource A and B
- process time, conveyor speed (these could be continuous values)
Reward
The reward is optimized based on minimizing the total cost per product (this may need modification to maintain a desired production goal in a particular scenario).
Create a Brain
To start a new brain for this model:
- Create an account or sign into Bonsai.
- Click Create brain button in the top left, then select Empty brain in the dialog.
- Name your new brain (e.g., “costing-analysis”).
- Click Create Brain. This will create a new brain for you.
Copy the contents of abca.ink in to the Teach tab for your new brain.
Do not click Train yet.
Running the Model
To run the model for training, you have to first setup the connector to work
with the Bonsai Platform. Pick your workspace-id and access-key and
insert them in the main Bonsai connector in the Anylogic simulation. For this
simulation, you can find the connector in the Project tab under
Activity Based Costing Analysis (Bonsai) -> Main -> Agents -> bonsaiConnector.
After that is correctly set up, you can right-click on TrainingSimulation
and then click the Run button. This will register the simulation with the
Bonsai platform. You can now go back to the Bonsai UI where you created your
brain.
Click the Train button. The simulator with the name matching your simulator will appear (in the example above, this is called AnyLogic - ABCA). Click the name of your simulator.
If this is the first start of your brain it may take a few minutes for the brain to generate the appropriate parameters and connect to the simulator. Once the connection is made you will see your first episodeStart event fire in the ModelExecuter handler.
You may decide to let your training run for a bit, particularly across multiple episode start events, to get an understanding of how the model behaves under various configuration parameters provided by the brain. You will also want to make sure your number of iterations stay below 1000, or the brain will struggle to learn. If needed, you can implement custom logic in the halted() method in ModelExecuter to help drive behavior. Halted indicates to the brain that the simulator has reached a state that it cannot progress from.
After you have tested locally, stop your model. Then click Stop Training in the Bonsai UI for the brain.
Export Your Model
After you have confirmed your model can connect to the platform locally, it's time to scale your model.
AnyLogic Professional users can export their model by going to File > Export... > to standalone Java application in the menu bar.
Select HeadlessExperiment in the dialog and the directory where the exported files will reside.
If you need additional assistance with exporting a model, please see the Exporting a model as a standalone Java application topic in the AnyLogic Help topics.
If you are not able to export your model to a standalone Java application you may use the example exported.zip file to use for scaling.
Scale Your Model
Once you have exported your model, you can zip the entire contents of the folder that contains the exported application.
For example, if your folder structure is:
Activity Based Costing Analysis Exported
└─── lib
|    |── AnyLogic Model End User Agreement.pdf
|    └── ... jar files ...
|─── Activity Based Costing Analysis_linux.sh
|─── ... jar files ...
└─── readme.txt
Then you only need to zip the parent Activity Based Costing Analysis Exported folder.
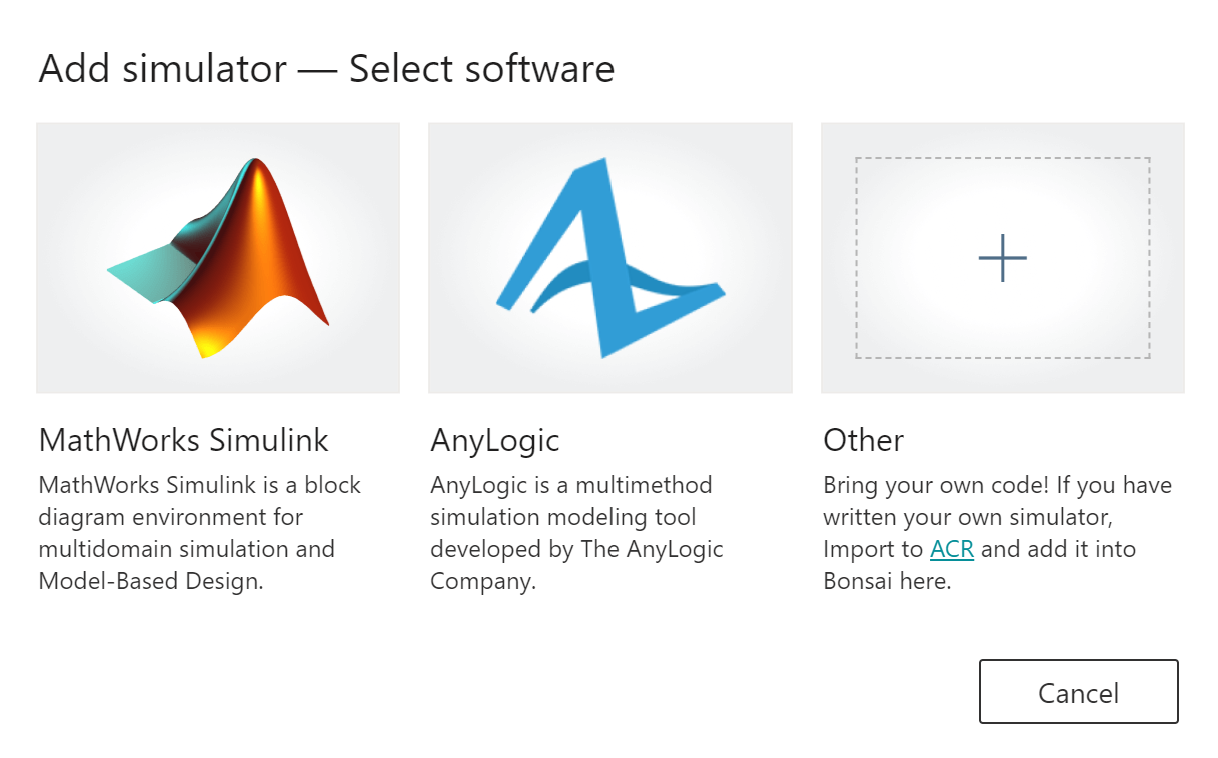
Back in the Bonsai UI, next to Simulators, click the Add sim button.
This will open a dialog

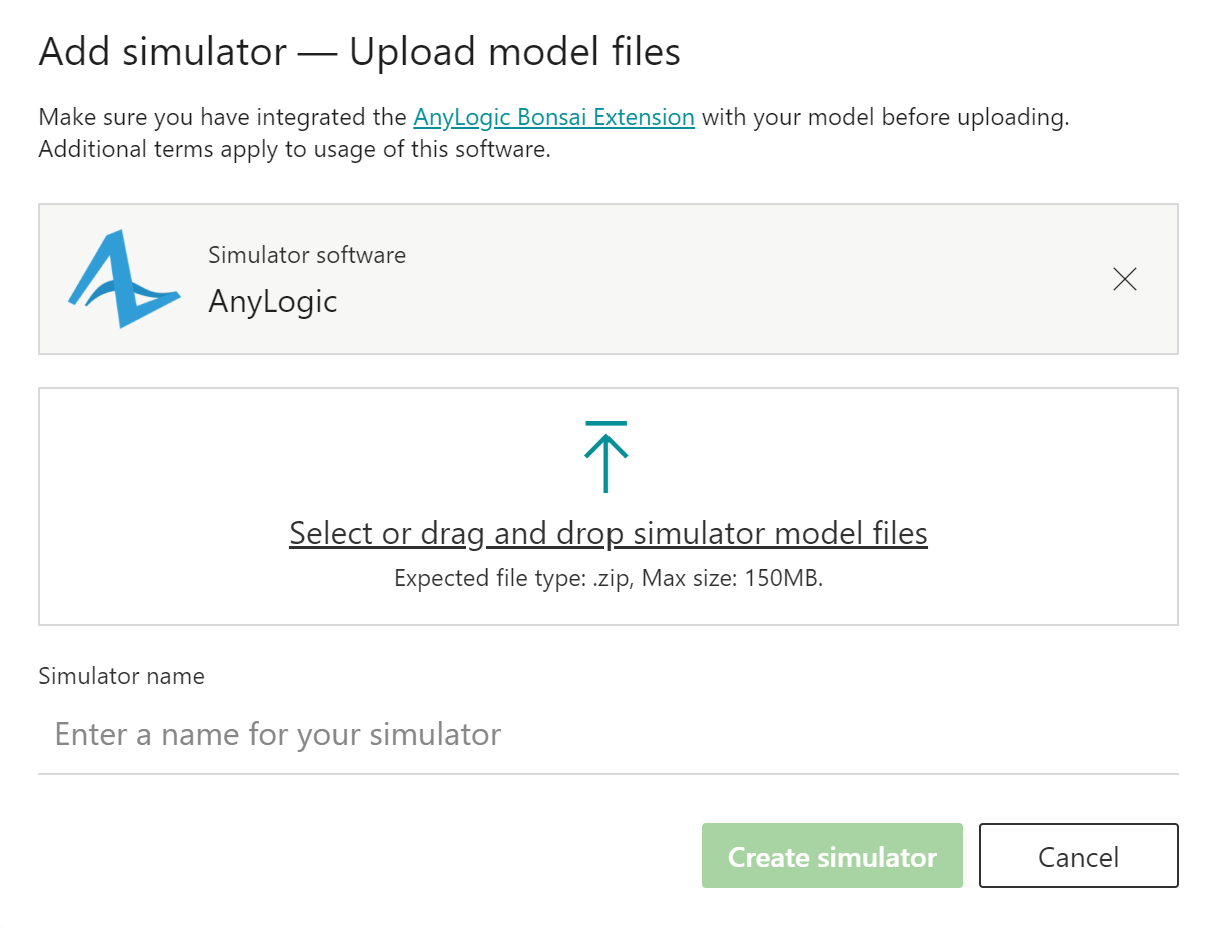
Select AnyLogic.

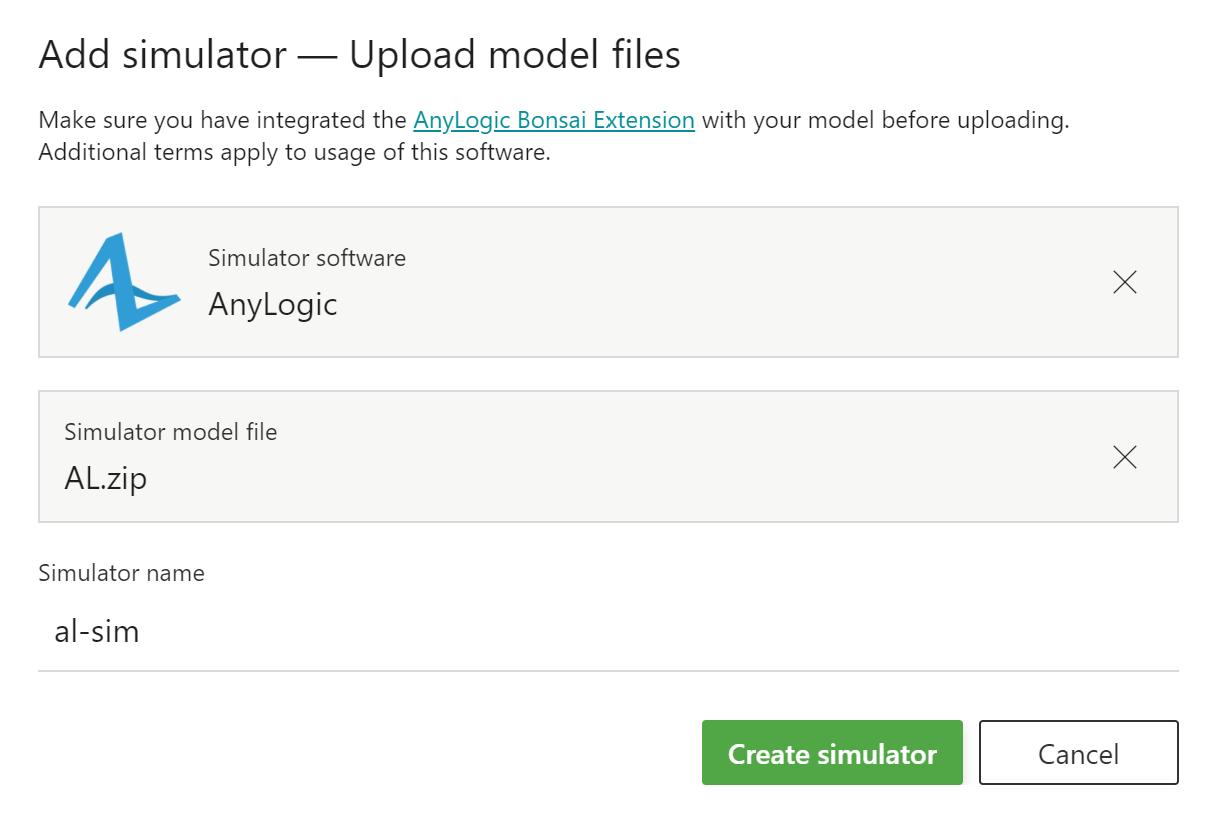
Select or drag the zip file containing the exported model.

Give your simulator a name, then click Create simulator.
After the simulator is created you will see the new simulator appear under the Simulators section.
Now click the Teach tab.
In the simulator definition, just after the open brackets, add a package statement using the name of the simulator you gave during the Add Simulator dialog above.
simulator Simulator(action: Action, config: SimConfig): SimState {
	package "<simulator_name_from_upload>"
}
Now click Train. Since you indicated the package name you do not need to select a simulator from the dropdown like you did when you started locally.
In a few minutes time you will see several simulators connect to and train your brain.
Sample Results
You can read about how the Bonsai brain performed against the default
AnyLogic optimizer in the ABCA-Optimization-Writeup.docx file.
Using Bonsai Assessment with Your Model
Starting an Assessment session is similar to starting a training session. Start your AnimatedExperiment and wait for it to register. In the Bonsai UI, using your already-trained brain, click the Assessment button. Then select the name of your simulator