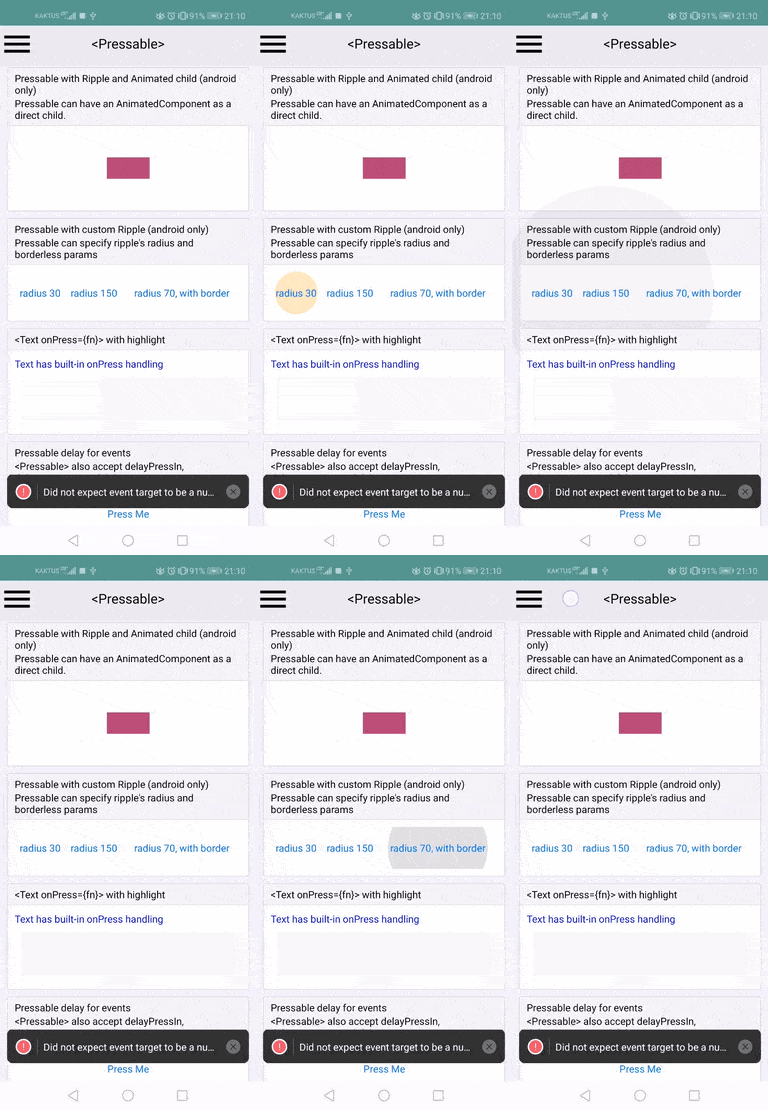
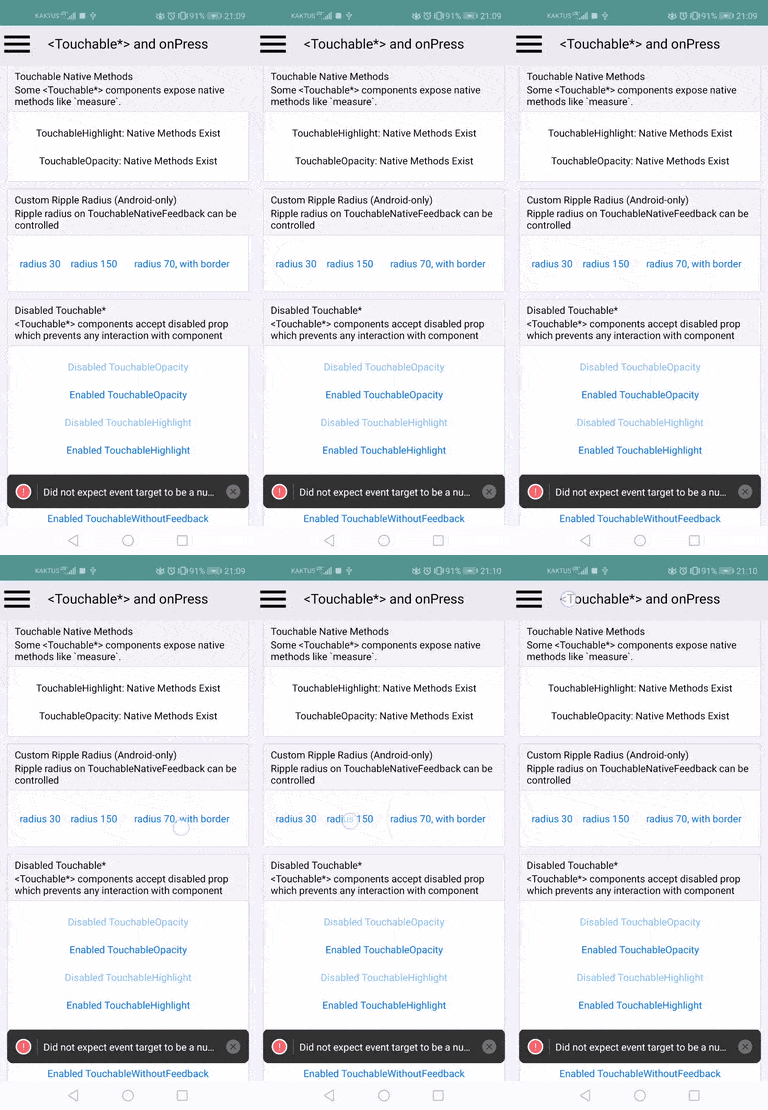
Summary: Motivation is to support ripple radius just like in TouchableNativeFeedback, plus borderless attribute. See https://github.com/facebook/react-native/pull/28009#issuecomment-589489520 In the current form this means user needs to pass an `android_ripple` prop which is an object of this shape: ``` export type RippleConfig = {| color?: ?ColorValue, borderless?: ?boolean, radius?: ?number, |}; ``` Do we want to add methods that would create such config objects - https://facebook.github.io/react-native/docs/touchablenativefeedback#methods ? ## Changelog [Android] [Added] - support borderless and custom ripple radius on Pressable Pull Request resolved: https://github.com/facebook/react-native/pull/28156 Test Plan: Tested locally in RNTester. I noticed that when some content is rendered after the touchables, the ripple effect is "cut off" by the boundaries of the next view. This is not specific to Pressable, it happens to TouchableNativeFeedback too but I just didn't notice it before in https://github.com/facebook/react-native/pull/28009. As it is an issue of its own, I didn't investigate that.  I changed the Touchable example slightly too (I just moved the "custom ripple radius" up to show the "cutting off" issue), so just for completeness:  Reviewed By: yungsters Differential Revision: D20071021 Pulled By: TheSavior fbshipit-source-id: cb553030934205a52dd50a2a8c8a20da6100e23f |
||
|---|---|---|
| .. | ||
| NativeModuleExample | ||
| RCTTest | ||
| RNTester | ||
| RNTester-tvOS | ||
| RNTesterIntegrationTests | ||
| RNTesterPods.xcodeproj | ||
| RNTesterPods.xcworkspace | ||
| RNTesterUnitTests | ||
| android/app | ||
| e2e | ||
| js | ||
| .eslintrc | ||
| Gemfile | ||
| Podfile | ||
| Podfile.lock | ||
| README.md | ||
README.md
RNTester
The RNTester showcases React Native views and modules.
Running this app
Before running the app, make sure you ran:
git clone https://github.com/facebook/react-native.git
cd react-native
yarn install
Running on iOS
Both macOS and Xcode are required.
- Install CocoaPods. We installing CocoaPods using Homebrew:
brew install cocoapods - Run
cd RNTester; pod install - Open the generated
RNTesterPods.xcworkspace. This is not checked in, as it is generated by CocoaPods. Do not openRNTesterPods.xcodeprojdirectly.
Running on Android
You'll need to have all the prerequisites (SDK, NDK) for Building React Native installed.
Start an Android emulator.
cd react-native
./gradlew :RNTester:android:app:installJscDebug
./scripts/packager.sh
Note: Building for the first time can take a while.
Open the RNTester app in your emulator.
If you want to use a physical device, run adb devices, then adb -s <device name> reverse tcp:8081 tcp:8081.
See Running on Device for additional instructions on using a physical device.
Running with Buck
Follow the same setup as running with gradle.
Install Buck from here.
Run the following commands from the react-native folder:
./gradlew :ReactAndroid:packageReactNdkLibsForBuck
buck fetch rntester
buck install -r rntester
./scripts/packager.sh
Note: The native libs are still built using gradle. Full build with buck is coming soon(tm).
Running Detox Tests on iOS
Install Detox from here.
To run the e2e tests locally, run the following commands from the react-native folder:
yarn build-ios-e2e
yarn test-ios-e2e
These are the equivalent of running:
detox build -c ios.sim.release
detox test -c ios.sim.release --cleanup
These build the app in Release mode, so the production code is bundled and included in the built app.
When developing E2E tests, you may want to run in development mode, so that changes to the production code show up immediately. To do this, run:
detox build -c ios.sim.debug
detox test -c ios.sim.debug
You will also need to have Metro running in another terminal. Note that if you've previously run the E2E tests in release mode, you may need to delete the RNTester/build folder before rerunning detox build.
Building from source
Building the app on both iOS and Android means building the React Native framework from source. This way you're running the latest native and JS code the way you see it in your clone of the github repo.
This is different from apps created using react-native init which have a dependency on a specific version of React Native JS and native code, declared in a package.json file (and build.gradle for Android apps).