Dev to staging for April 22 hotfix |
||
|---|---|---|
| .github | ||
| .vscode | ||
| assets | ||
| docs | ||
| locales/en | ||
| misc | ||
| src | ||
| .gitignore | ||
| .prettierrc.yaml | ||
| .pylintrc | ||
| .vscodeignore | ||
| CHANGELOG.md | ||
| CONTRIBUTING.md | ||
| LICENSE | ||
| PRIVACY.md | ||
| README.md | ||
| ThirdPartyNotices.txt | ||
| gulpfile.js | ||
| jest.config.js | ||
| package-lock.json | ||
| package.json | ||
| package.nls.json | ||
| tsconfig.json | ||
| tslint.json | ||
| webpack.config.js | ||
README.md
Device Simulator Express, a Microsoft Garage project
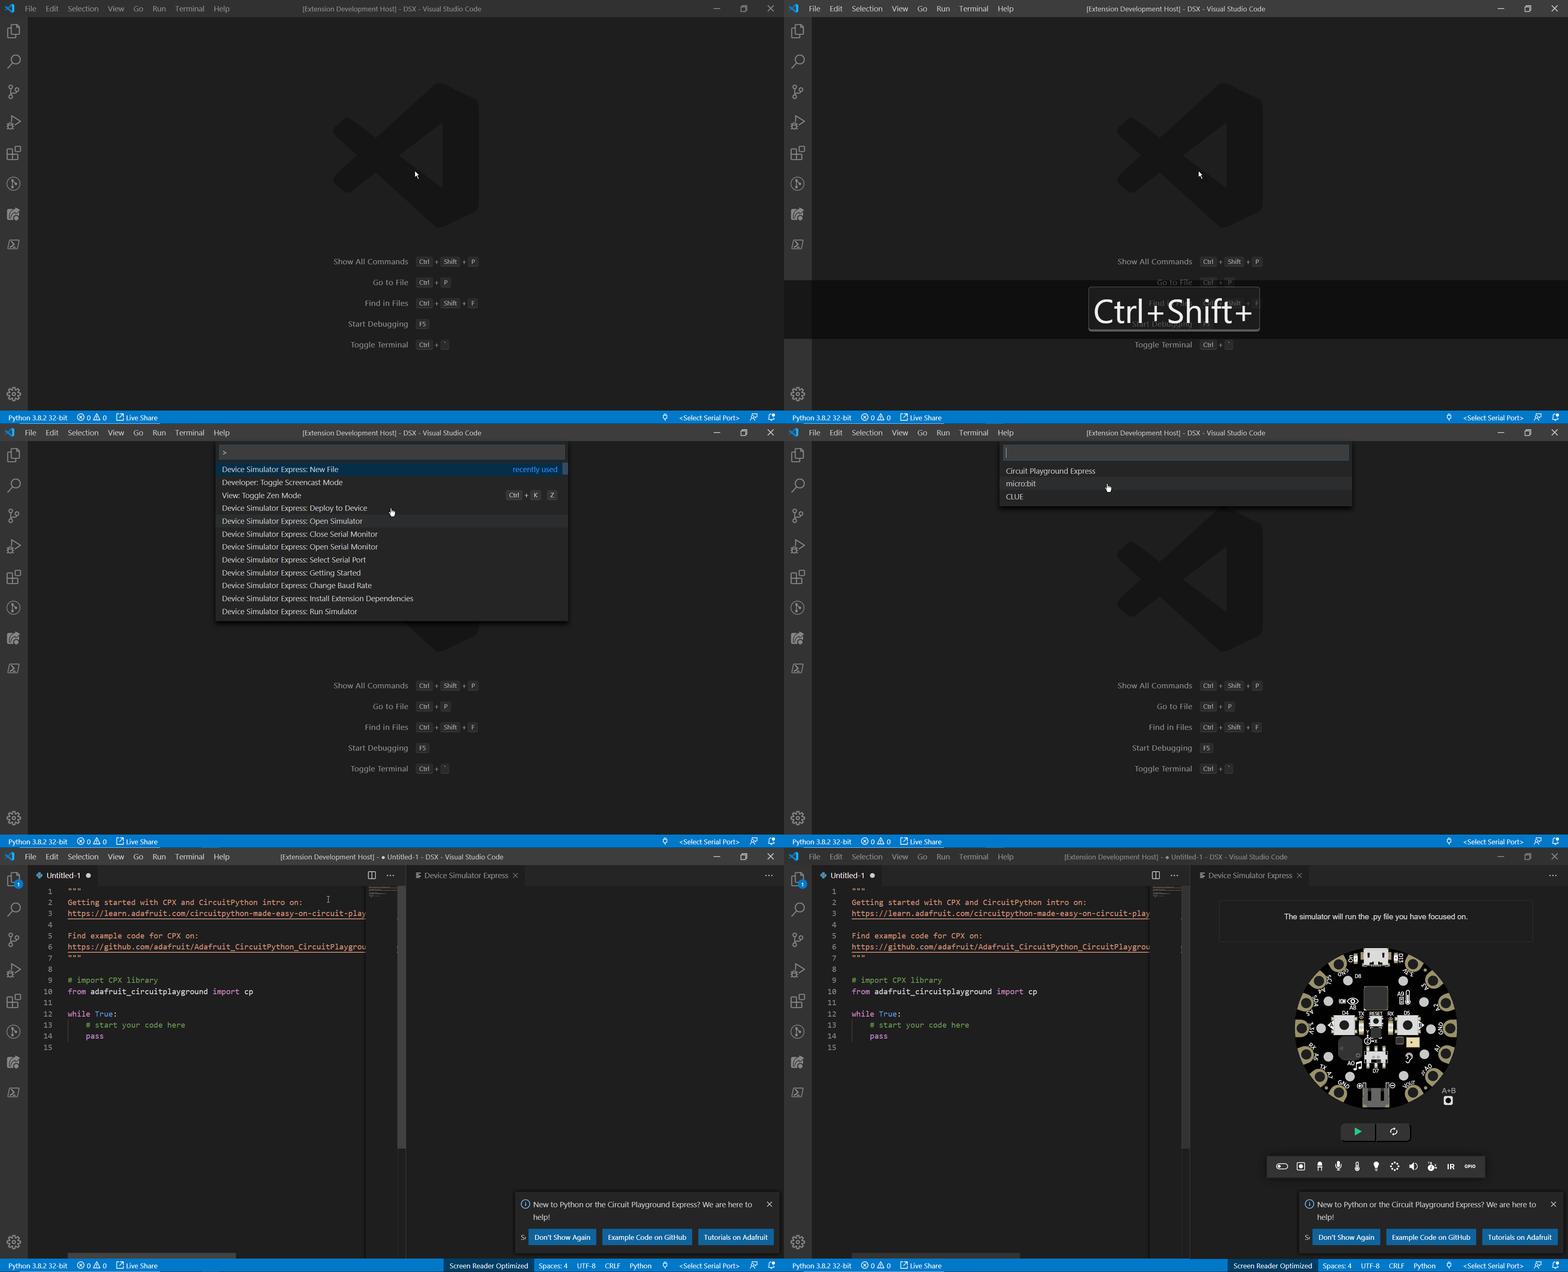
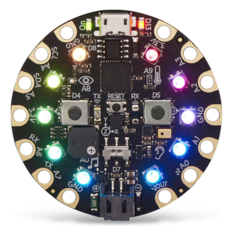
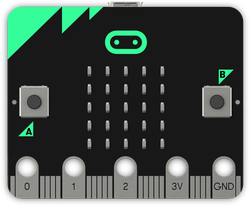
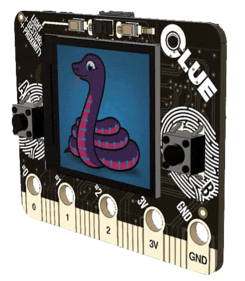
Make without limit! Device Simulator Express, a Microsoft Garage project, allows you to code microcontrollers without the hardware on hand! You can program your Adafruit Circuit Playground Express (CPX), your BBC micro:bit or the Adafruit CLUE! Test and debug your code on the device simulator and see the same result when you plug in your actual microcontroller. Curious about the output of the device, the serial monitor allows you to observe the device output.
Table of Contents
- Devices we support
- Prerequisites
- Adafruit Circuit Playground Express (CPX) Simulator
- BBC micro:bit Simulator
- Adafruit CLUE Simulator
- How to use
- Contribute
- Provide feedback
- Privacy and Telemetry Notice
- Third Party Notice
- Troubleshooting Tips
- License
- Notes
Devices we support
Build Status
| Branch | Build Status |
|---|---|
| dev | |
| staging | |
| master |
Prerequisites
The following dependencies are required to install before launching Device Simulator Express.
You will be prompted to install the Python dependencies during the first use.
- Visual Studio Code
- Python 3.7+: Make sure you've added Python and pip to your PATH in your environment variables. (1)
- Python VS Code extension: This will be installed automatically from the marketplace when you install Device Simulator Express.
Adafruit Circuit Playground Express (CPX) Simulator
Features
- IntelliSense and syntax highlighting for CircuitPython code for the CPX library
- Template file generation
- Integrated Python Debugging for the Simulator
- Serial monitor (available on Windows and Mac only)
- Output panel for the simulator
- Deploy CircuitPython code to the physical device.
- Simulation of the CPX device, including:
- Green LED
- Red LED
- Push Buttons A and B
- Slider Switch
- Speaker: Play .wav file
- 10 NeoPixels
- Light sensor
- Motion sensors
- Acceleration detection
- Device shake detection
- Temperature sensor
- 7 Capacitive Touch sensors
The simulator supports most of the sensors on CPX except IR transmitter & Receiver, Sound Sensor (microphone), Speaker (Play Tone) and the "tap" on Motion Sensor.
The code related to these sensors can still run on the actual CPX board and be deployed using Device Simulator Express.
As we only support CPX library now, other libraries (i.e. simpleio) can’t run on the simulator. But they will work on the actual device!
Useful Links
- Tutorials and Example Code for Adafruit CPX:
- Format Adafruit CPX device:
Keyboard Shortcuts
In Device Simulator Express, you can use keyboard to interact with the device:
- Push Button: A for Button A, B for Button B, C for Buttons A & B
- Capacitive Touch Sensor: Shift + 1 ~ 7 for GPIO pins A1 - A7
- Slider Switch: Shift + S
- Refresh the simulator: Shift + R
- Run the simulator: Shift + F
BBC micro:bit Simulator
Features
- IntelliSense and syntax highlighting for MicroPython code for the micro:bit library
- Template file generation
- Integrated Python Debugging for the Simulator
- Deploy MicroPython code to the physical device
- Serial monitor (available on Windows and Mac only)
- Simulation of the micro:bit device, including:
- 25 LEDs
- Push Buttons A and B
- Light sensor
- Motion sensors
- Acceleration detection including gesture detection
- Temperature sensor
Useful Links
- Tutorials and Example Code for BBC micro:bit:
Keyboard Shortcuts
- Push Button: A for Button A, B for Button B, C for Buttons A & B
- Refresh the simulator: Shift + R
- Run the simulator: Shift + F
Adafruit CLUE Simulator
Features
- IntelliSense and syntax highlighting for CircuitPython code for the following drivers and libraries:
adafruit_clueadafruit_slideshowadafruit_display_shapesadafruit_display_textadafruit_bitmap_fontadafruit_fancyledneopixeldisplayio
- Template file generation
- Integrated Python Debugging for the Simulator
- Deploy CircuitPython code to the physical device
- Serial monitor (available on Windows and Mac only)
- Simulation of the CLUE device, including:
- 240x240 color screen
- Push Buttons A and B
- Sensors for:
- Temperature
- Light
- Color
- Acceleration
- Humidity
- Pressure
- Proximity
- Gestures
- Gyro
- Magnetic Field
Useful Links
- Tutorials and Example Code for Adafruit CLUE:
Keyboard Shortcuts
- Push Button: A for Button A, B for Button B, C for Buttons A & B
- Refresh the simulator: Shift + R
- Run the simulator: Shift + F
How to use
To use Device Simulator Express, install the extension from the marketplace and reload VS Code.
To access many of the commands, you need to open the command palette. This can be done with Ctrl + Shift + P for Windows and Linux / Cmd + Shift + P for Mac. It can also be accessed from the toolbar by going to View -> Command Palette.
I. Take a look at the "Device Simulator Express: Getting Started" Command.
- Type in
"Device Simulator Express: Getting Started"in the command palette (Ctrl + Shift + P / Cmd + Shift + P to open the command palette). - Choose the the device you want to play with from the dropdown.
- Read, copy and learn some of the things you can do with the simulator!

II. Start with the "Device Simulator Express: New File" Command.
- Type in
"Device Simulator Express: New File"in the command palette (Ctrl + Shift + P / Cmd + Shift + P to open the command palette). - Select the device you want to use.
- Name and save your file somewhere, and we’re good to go!
- Start with some examples: you can find examples files and tutorials inside the comments at the top of the file.

III. Start from an existing Python file.
- Open the folder or your .py file in Visual Studio Code.
- Run
Device Simulator Express: Open Simulatorfrom the command palette or icon in the editor toolbar. - Select the device you want to use.
IV. Run your code on the simulator.
- Run
Run Simulatorfrom the command palette or use thePlaybutton on the simulator webview.

V. Deploy your code to the physical device
Before deploying the Python code to your CPX device, you need to format your device by following these tutorials:
-
For the CPX:
- Download the firmware with the .uf2 file (link: https://learn.adafruit.com/adafruit-circuit-playground-express/circuitpython-quickstart).
- Download the lastest versions of the cpx libraries (link: https://learn.adafruit.com/welcome-to-circuitpython/circuitpython-libraries).
-
For the micro:bit:
- Download the firmware with the .hex file (link: https://microbit.org/get-started/user-guide/firmware/).
-
For the CLUE:
- Download the latest versions of the cpx libraries and follow the instructions here (link:https://learn.adafruit.com/adafruit-clue/circuitpython).
- Plug in your device (make sure it’s formatted properly already).
- Run the command
"Device Simulator Express: Deploy to Device".

VI. Use the Serial Monitor for your device (available on Windows and Mac only)
- Plug in your device (make sure it’s formatted properly already).
- Run the command
"Device Simulator Express: Open Serial Monitor". - Select your baud rate for the serial port.
- The
print()statements in your code will show in the output console.
VII. Debug your project on the simulator
- Add breakpoints in your code
- Press F5 to enter the debugging mode, and you can start debugging line by line!
Commands
Device Simulator Express provides several commands in the Command Palette (F1 or Ctrl + Shift + P / Cmd + Shift + P for Mac OS) for working with *.py files:
Device Simulator Express: Getting Started: Opens a page in VS Code that helps users get started with the extension. Here, users can browse through code that they can use to play with the simulators.Device Simulator Express: Run Simulator: Runs Python code on the simulator.Device Simulator Express: New File: Opens an unsaved .py file with template code, also opens the simulator for the selected device.Device Simulator Express: Open Simulator: Opens the simulator in the simulator window for the selected deviceDevice Simulator Express: Deploy to Device: Copies the current file to the selected device.Device Simulator Express: Open Serial Monitor: Opens the serial monitor in the integrated output window.Device Simulator Express: Close Serial Monitor: Stops the serial monitor and releases the serial port.Device Simulator Express: Change Baud Rate: Changes the baud rate of the selected serial port. For Adafruit CPX, the default baud rate is 115200.Device Simulator Express: Select Serial Port: Changes the current serial port.
Contribute
See here for steps to run the extension locally.
Provide feedback
To add a review for our extension, please do so on the Visual Studio Marketplace
To report issues, provide feedback or requests, please use this link: Provide Feedback.
We would love to hear from you about your experience to keep improving our project.
Privacy and Telemetry Notice
Data Collection
The software may collect information about you and your use of the software and send it to Microsoft. Microsoft may use this information to provide services and improve our products and services. You may turn off the telemetry as described in the repository. There are also some features in the software that may enable you and Microsoft to collect data from users of your applications. If you use these features, you must comply with applicable law, including providing appropriate notices to users of your applications together with a copy of Microsoft's privacy statement. Our privacy statement is located at https://go.microsoft.com/fwlink/?LinkID=824704. You can learn more about data collection and use in the help documentation and our privacy statement. Your use of the software operates as your consent to these practices.
Disable Telemetry
The Microsoft Device Simulator Express Extension for Visual Studio Code collects usage
data and sends it to Microsoft to help improve our products and
services. Read our
privacy statement to
learn more. This extension respects the telemetry.enableTelemetry
setting which you can learn more about at
https://code.visualstudio.com/docs/supporting/faq#_how-to-disable-telemetry-reporting.
To disable telemetry, follow these steps:
- Open File (Open Code on macOS)
- Select Preferences
- Select Settings
- Search for
telemetry - Uncheck the Telemetry: Enable Telemetry setting
Third Party Notice
A ThirdPartyNotices.txt file is provided in the extension's source code listing the appropriate third-party notices.
Troubleshooting Tips
- The first time you install the extension, you'll need to execute the
runcommand at least once in order to access auto-completion. - While running a code file, if you get an error saying it can't find the file, make sure you've clicked on a valid Python code file before running it.
- To open the output panel again after closing it go to VS Code menu:
View -> Output. - If you try to deploy to the CPX while it's plugged in but you still get an error saying it cannot find the board, make sure your device is formatted correctly and that its name matches
CIRCUITPY. - If you can't get the Simulator communication working while debugging, try to open your
Settingsand check the port used under"Device Simulator Express: Debugger Server Port". You can either change it (usually ports above 5000 should work) or try to free it, then start debugging again. - When you are using the serial monitor, if you get some unusual error messages, unplug the device and reload the VS Code windows.
- If you're using Ubuntu and having some problems with setting up the environment, try reviewing this article's "Step 1" section on how to set up Python 3 on Ubuntu 16.04. Then, ensure that you've run
sudo apt-get install -y python3-venvto allow for virtual environment creation.
License
Device Simulator Express, a Microsoft Garage project

Copyright (c) Microsoft Corporation. All rights reserved.

MIT License

Permission is hereby granted, free of charge, to any person obtaining a copy
of this software and associated documentation files (the "Software"), to deal
in the Software without restriction, including without limitation the rights
to use, copy, modify, merge, publish, distribute, sublicense, and/or sell
copies of the Software, and to permit persons to whom the Software is
furnished to do so, subject to the following conditions:

The above copyright notice and this permission notice shall be included in all
copies or substantial portions of the Software.

THE SOFTWARE IS PROVIDED "AS IS", WITHOUT WARRANTY OF ANY KIND, EXPRESS OR
IMPLIED, INCLUDING BUT NOT LIMITED TO THE WARRANTIES OF MERCHANTABILITY,
FITNESS FOR A PARTICULAR PURPOSE AND NONINFRINGEMENT. IN NO EVENT SHALL THE
AUTHORS OR COPYRIGHT HOLDERS BE LIABLE FOR ANY CLAIM, DAMAGES OR OTHER
LIABILITY, WHETHER IN AN ACTION OF CONTRACT, TORT OR OTHERWISE, ARISING FROM,
OUT OF OR IN CONNECTION WITH THE SOFTWARE OR THE USE OR OTHER DEALINGS IN THE
SOFTWARE.
Notes
- Make sure that when you type python in a terminal, the command is recognized and you have the correct version. The easiest way to do it is to select the "Add to PATH" option directly when you install Python. Otherwise you can search how to insert it manually.
- You can choose to see the prompt or not by changing the extension configurations.


