|
|
||
|---|---|---|
| Assets | ||
| README.md | ||
| screenshot01.jpg | ||
| screenshot02.jpg | ||
| screenshot03.jpg | ||
| screenshot04.jpg | ||
README.md
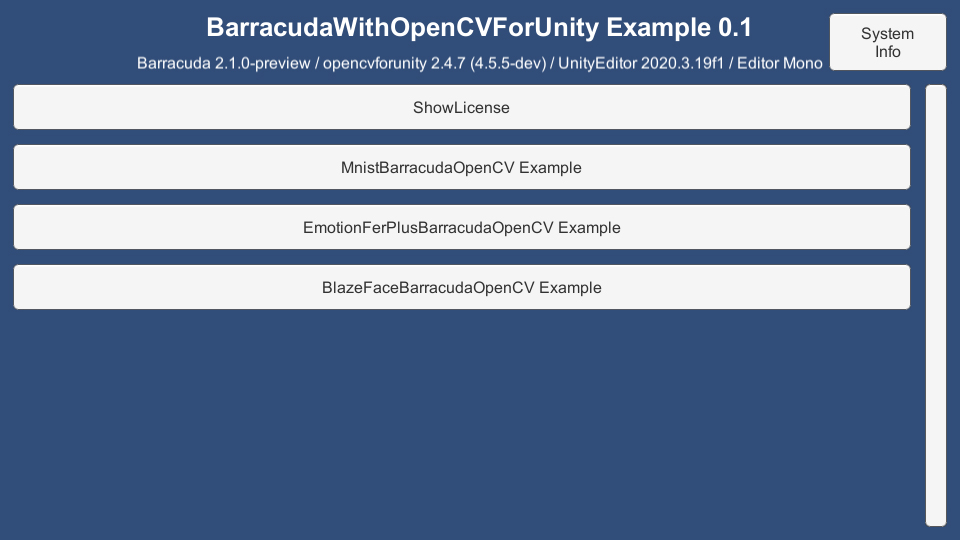
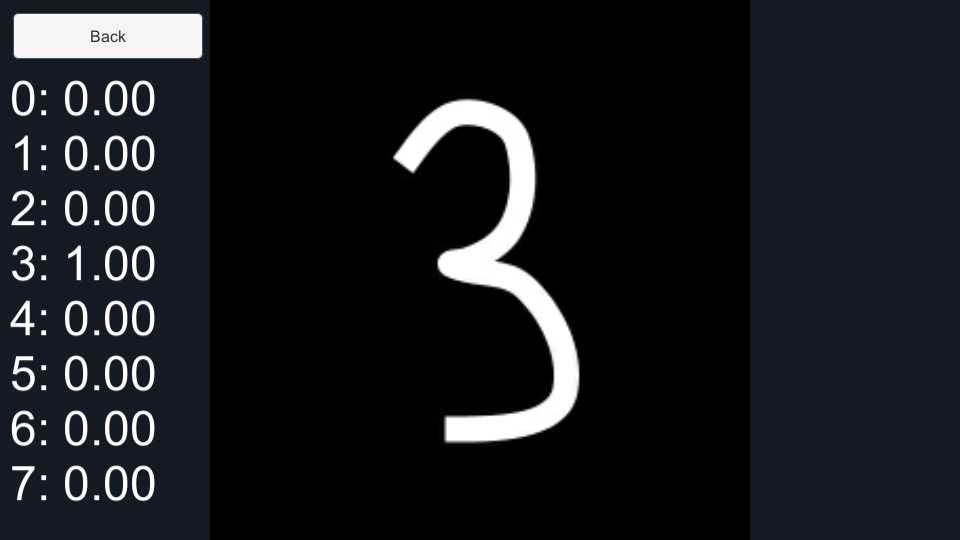
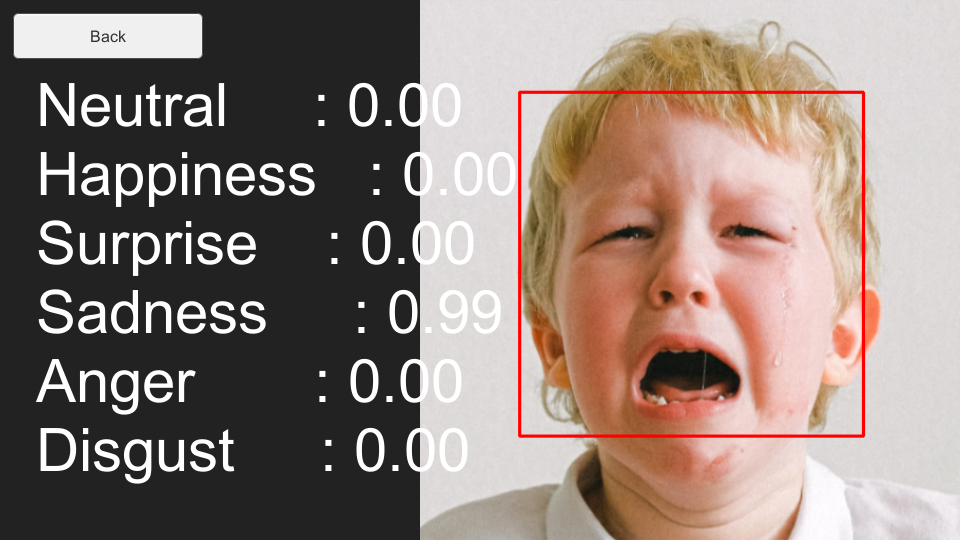
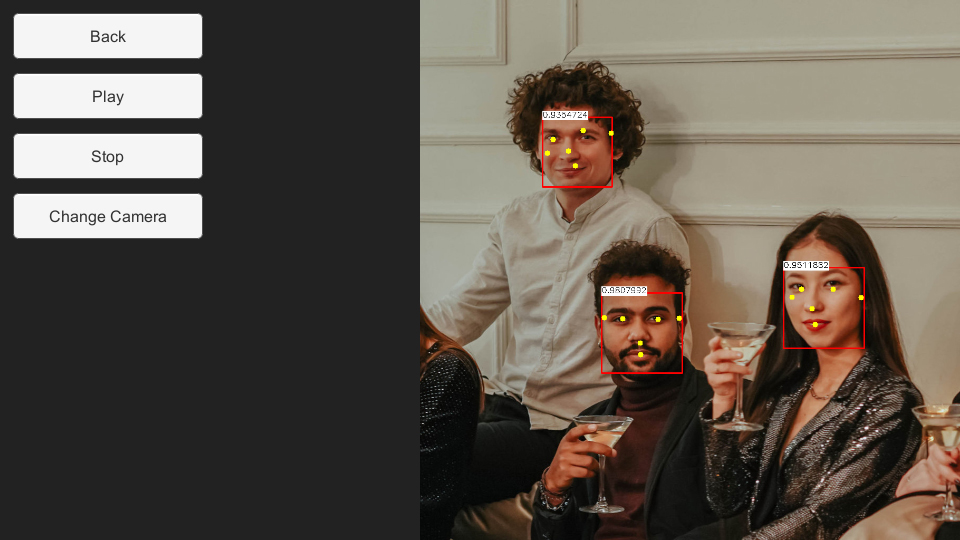
Barracuda With OpenCVForUnity Example
- An example of integrating Barracuda with OpenCVForUnity.
- A rewritten version of Keijiro's Barracuda examples (https://github.com/search?q=user%3Akeijiro+Barracuda).
Environment
- Windows / Android (Pixel3a) / iOS (iPhoneSE2)
- Unity >= 2020.3.19f1+
- Scripting backend MONO / IL2CPP
- [Barracuda] 2.1.0-preview+
- OpenCV for Unity 2.4.7+
Demo
Setup
- Download the latest release unitypackage. BarracudaWithOpenCVForUnityExample.unitypackage
- Create a new project. (BarracudaWithOpenCVForUnityExample)
- Install Barracuda from Package Manager.
- Install Keijiro's package.
- Import OpenCVForUnity.
- Setup the OpenCVForUnity. (Tools > OpenCV for Unity > Set Plugin Import Settings)
- Import the BarracudaWithOpenCVForUnityExample.unitypackage.
- Change the "Player Settings (Androd)" Inspector as follows.
- Graphics APIs : Vulkan (Remove "OpenGLES 3" from the Graphics APIs list)
- Change the "Player Settings (iOS)" Inspector as follows.
- Camera Usage Description : "Required for camera support."
- Add the "Assets/BarracudaWithOpenCVForUnityExample/*.unity" files to the "Scenes In Build" list in the "Build Settings" window.
- Build and Deploy to Android and iOS.
How to install Keijiro's package
This package uses the scoped registry feature to resolve package dependencies. Please add the following sections to the manifest file (Packages/manifest.json).
To the scopedRegistries section:
{
  "name": "Keijiro",
  "url": "https://registry.npmjs.com",
  "scopes": [ "jp.keijiro" ]
}
To the dependencies section:
"jp.keijiro.mediapipe.blazeface": "1.1.1"
After changes, the manifest file should look like below:
{
  "scopedRegistries": [
    {
      "name": "Keijiro",
      "url": "https://registry.npmjs.com",
      "scopes": [ "jp.keijiro" ]
    }
  ],
  "dependencies": {
    "jp.keijiro.mediapipe.blazeface": "1.1.1",
...


