2.3 KiB
2.3 KiB
VideoPlayer With OpenCVForUnity Example
Overview
This example shows how to convert VideoPlayer texture to OpenCV Mat using AsyncGPUReadback.
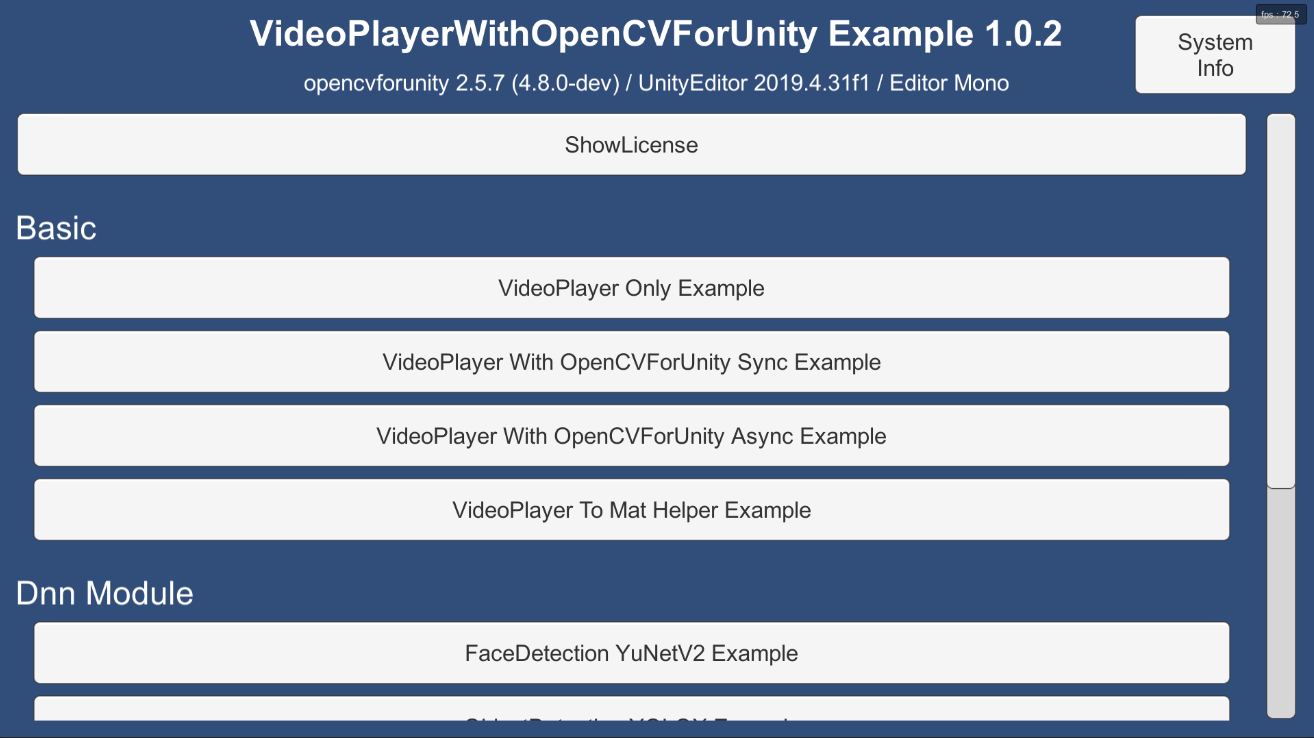
- VideoPlayerOnlyExample
- VideoPlayerWithOpenCVForUnitySyncExample
- VideoPlayerWithOpenCVForUnityAsyncExample
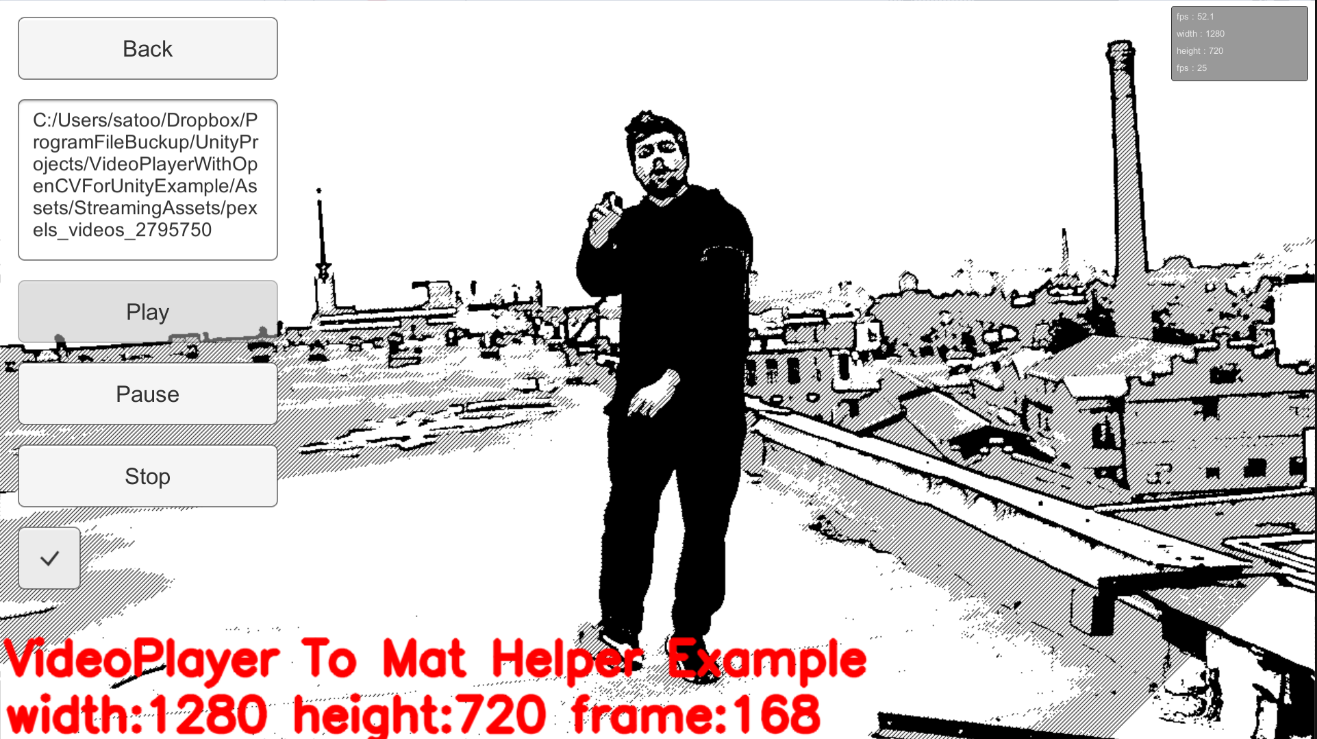
- VideoPlayerToMatHelperExample
- FaceDetectionYuNetV2Example
- ObjectDetectionYOLOXExample
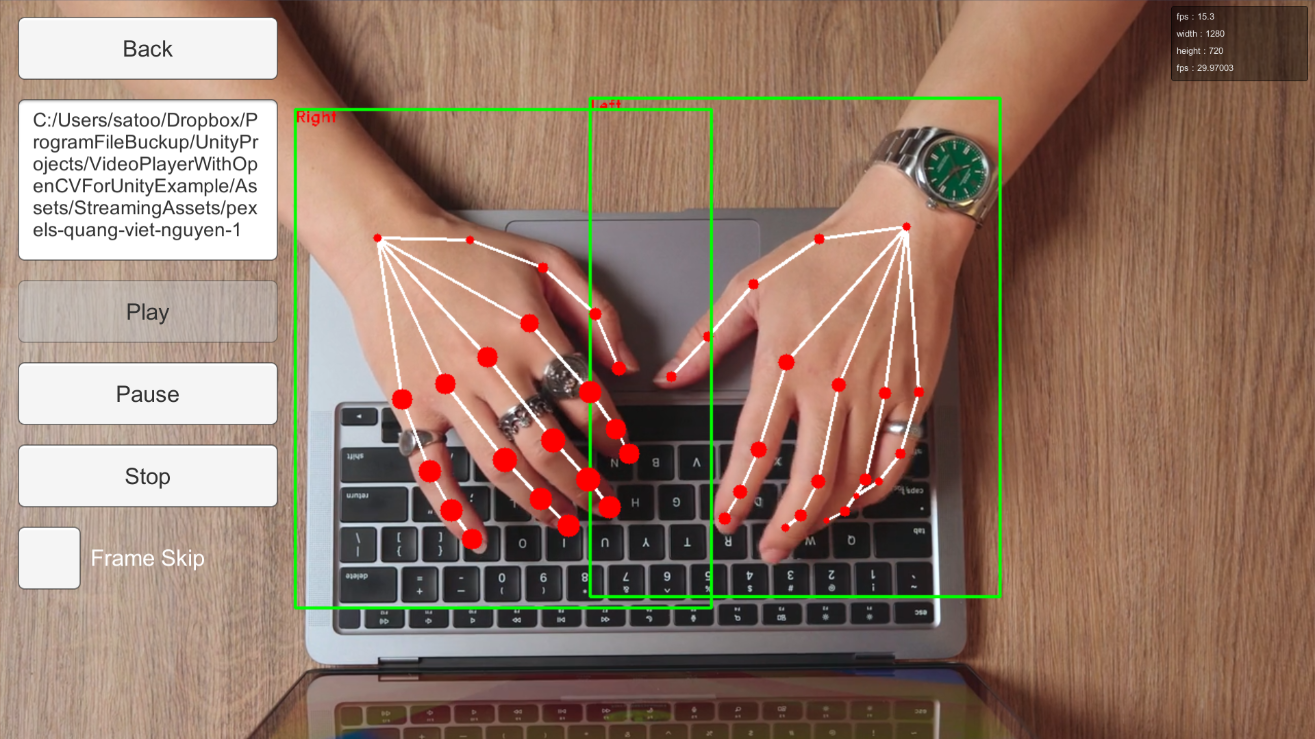
- HandPoseEstimationMediaPipeExample
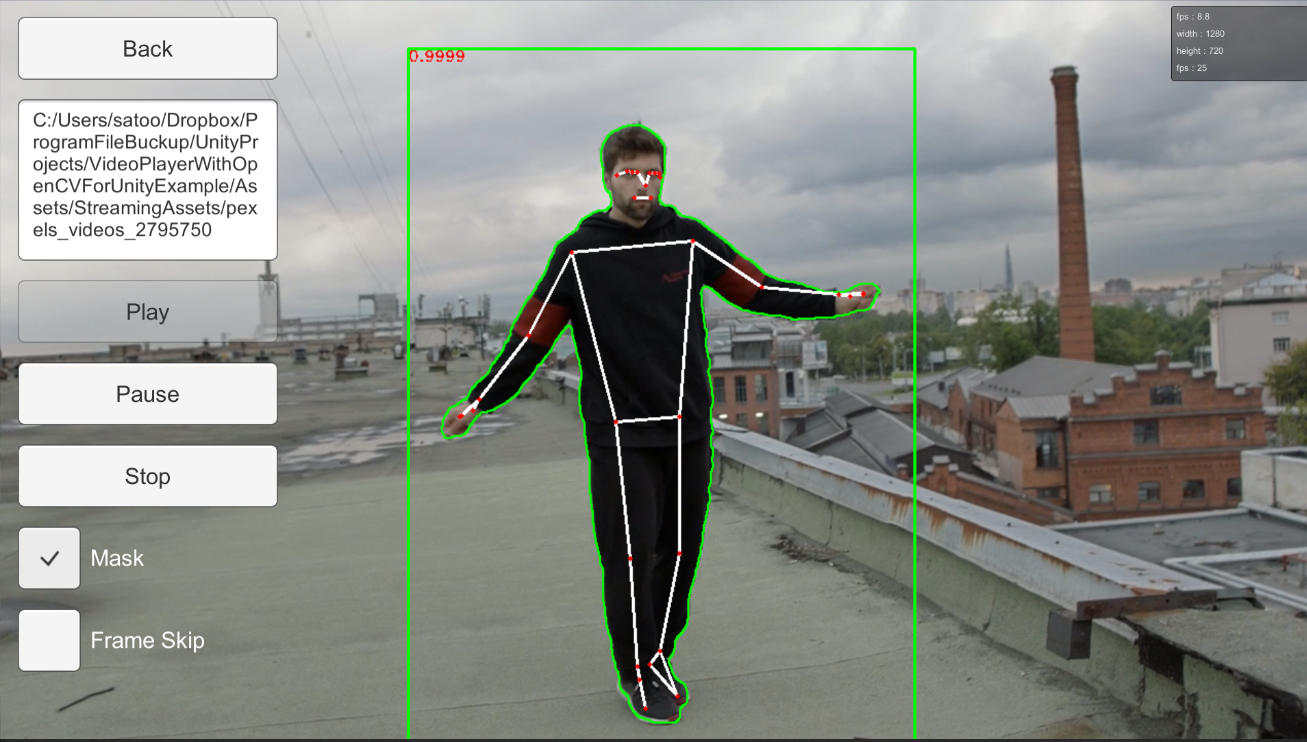
- PoseEstimationMediaPipeExample
- VideoCaptureTrackingExample
- VideoPlayerTrackingExample
Environment
- Unity 2020.3.48f1+
- OpenCV for Unity 2.5.9+
Demo
- WebGL (simd) https://enoxsoftware.github.io/VideoPlayerWithOpenCVForUnityExample/webgl_example_simd/index.html
- WebGL (simd, threads) https://enoxsoftware.github.io/VideoPlayerWithOpenCVForUnityExample/webgl_example_simd_threads/index.html
- Android https://github.com/EnoxSoftware/VideoPlayerWithOpenCVForUnityExample/releases
Setup
- Download the latest release unitypackage. VideoPlayerWithOpenCVForUnityExample.unitypackage
- Create a new project. (VideoPlayerWithOpenCVForUnityExample)
- Import OpenCVForUnity.
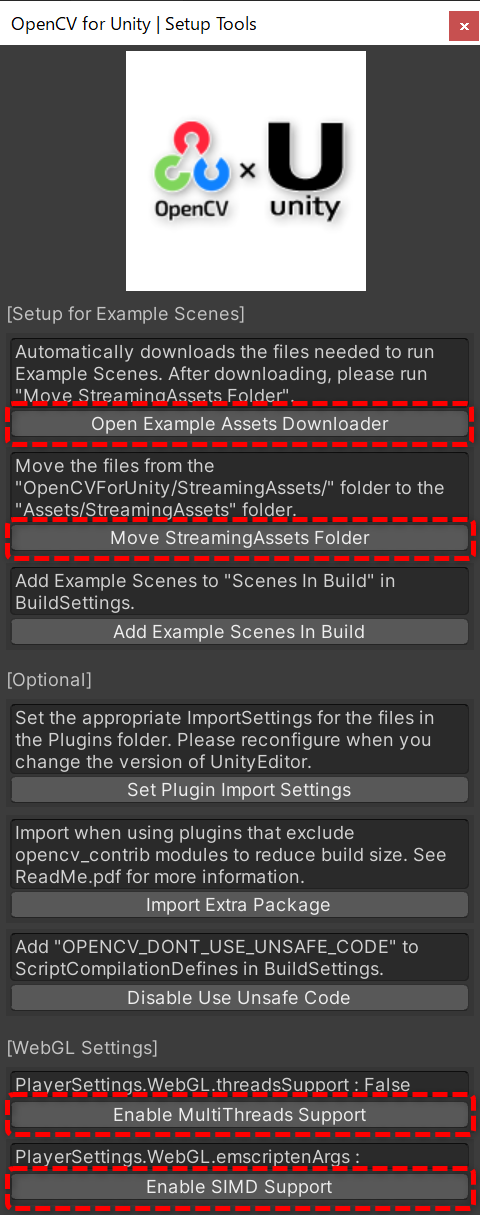
- Select MenuItem[Tools/OpenCV for Unity/Open Setup Tools].
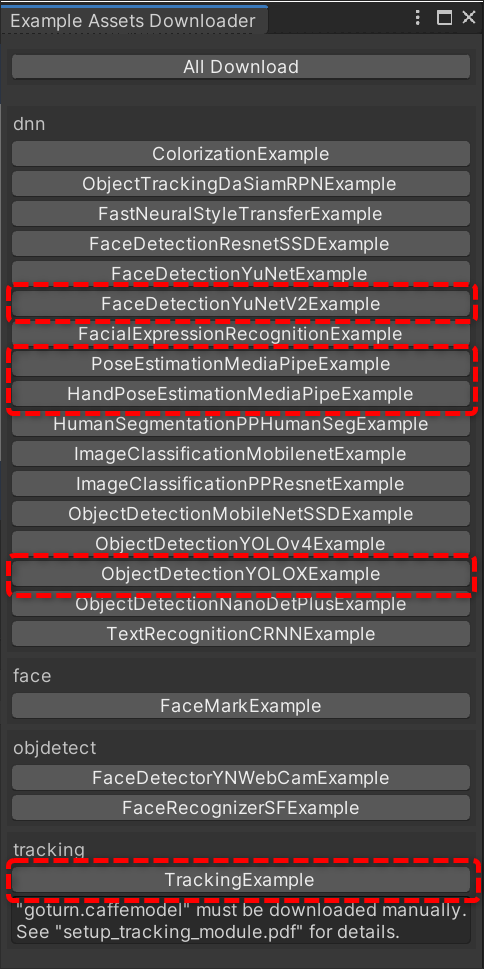
- Click the [Open Example Assets Downloader] button, then click the [FaceDetectionYuNetV2Example],[ObjectDetectionYOLOXExample],[HandPoseEstimationMediaPipeExample],[PoseEstimationMediaPipeExample],[TrackingExample] buttons.
- Click the [Move StreamingAssets Folder] button.
- [WebGL] Click the [Enable MultiThreads Support] button or the [Enable SIMD Support] button. Set [Project Settings]-[Other Settings]-[Color Space] to [Gamma].
- Import the VideoPlayerWithOpenCVForUnityExample.unitypackage.
- Add the "Assets/VideoPlayerWithOpenCVForUnityExample/*.unity" files to the "Scenes In Build" list in the "Build Settings" window.
- Build and Deploy.
