Feature/doc example |
||
|---|---|---|
| .yamato | ||
| ChannelClientNodeApp~ | ||
| Documentation~ | ||
| Editor | ||
| .gitignore | ||
| .npmignore | ||
| CHANGELOG.md | ||
| CHANGELOG.md.meta | ||
| Editor.meta | ||
| LICENSE.md | ||
| LICENSE.md.meta | ||
| README.md | ||
| README.md.meta | ||
| package.json | ||
| package.json.meta | ||
README.md
Channel Client Examples
Code Walkthrough
- Make a public API for the ChannelService (currently internal). See
Editor/ChannelServiceAPI.cs- Currently in trunk all ChannelService API are internals.
- Make an example implementing 2 new routes, one binary and the other using string. See See
Editor/ChannelServiceExample.cs- This adds a new menu item:
Tools/Register Custom Ping Pong Channelsthat can be use to restart the server and register all listeners.
- This adds a new menu item:
ChannelClientNodeApp~contains a node application that will connect to Unity on the specified routes and send a bit of data.
How to connect?
- By default, if you use this package the
ChannelServicewill be started (basically the Websocket server will be listening for connection) automatically and some handlers will be registered each domain reload. - The connection address in is : 127.0.0.1:XXXX. Connecting port is dynamic (!). This should be streamlined...
- To bypass the fact that the port is dynamic, the StartChannelService function of
ChannelServiceAPIcreates a file<UserAppData>/Local/Unity/Editor/ChannelService.infoand writes the address and port in that file.
The Demo
- Start Unity
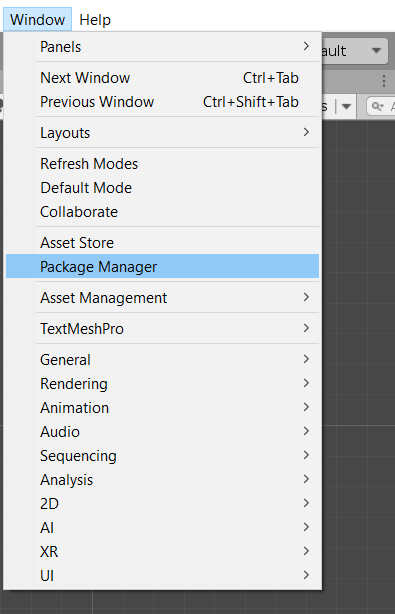
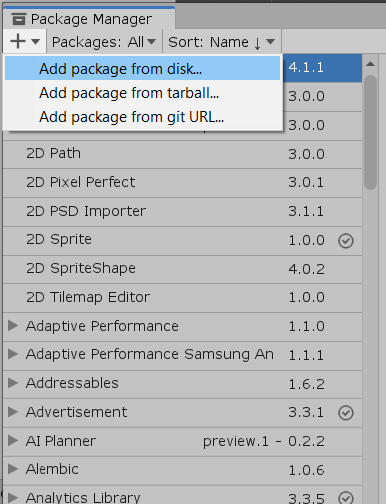
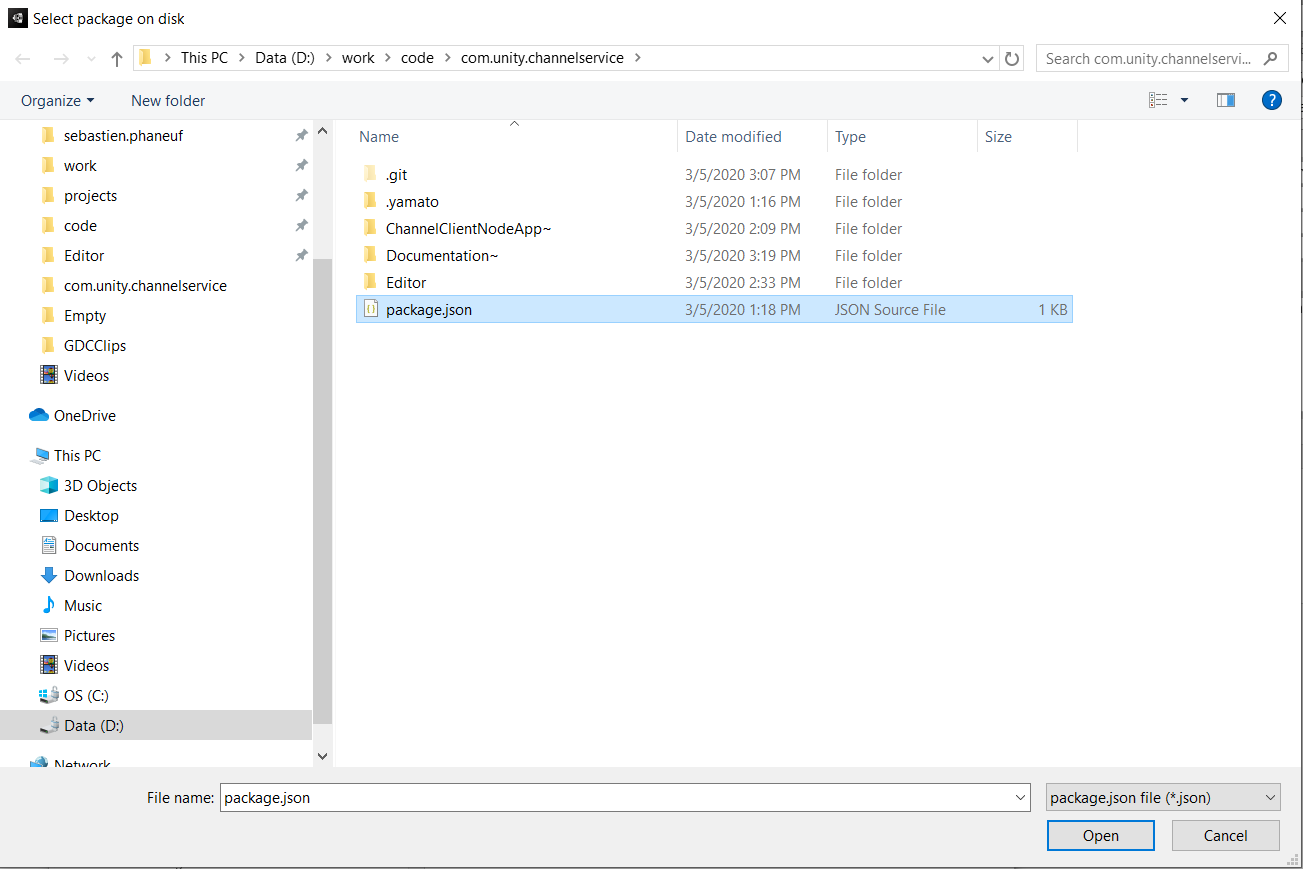
- Ensure you add the
com.unity.channelservicepackage.
- See that the console prints these messages:
-
Install nodejs
-
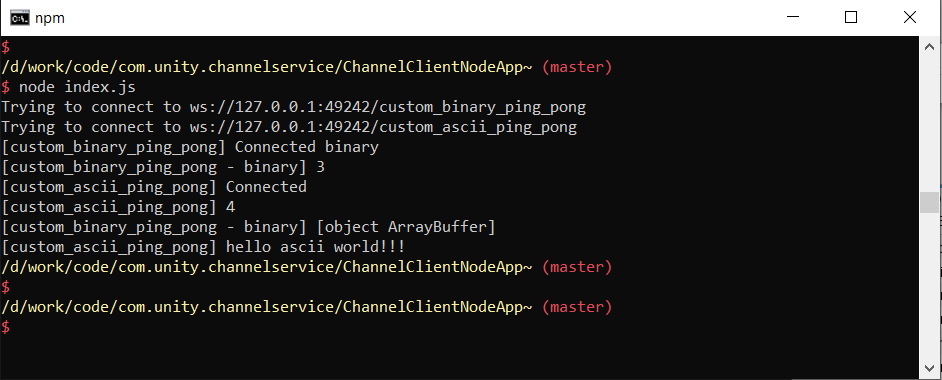
Open a command console and be sure to
cdto theChannelClientNodeApp~. Typenode index.js. -
You should see the following:


