|
|
||
|---|---|---|
| src | ||
| .gitignore | ||
| CODE_OF_CONDUCT.md | ||
| LICENSE | ||
| README.md | ||
| appveyor.yml | ||
README.md
dotnet-repl
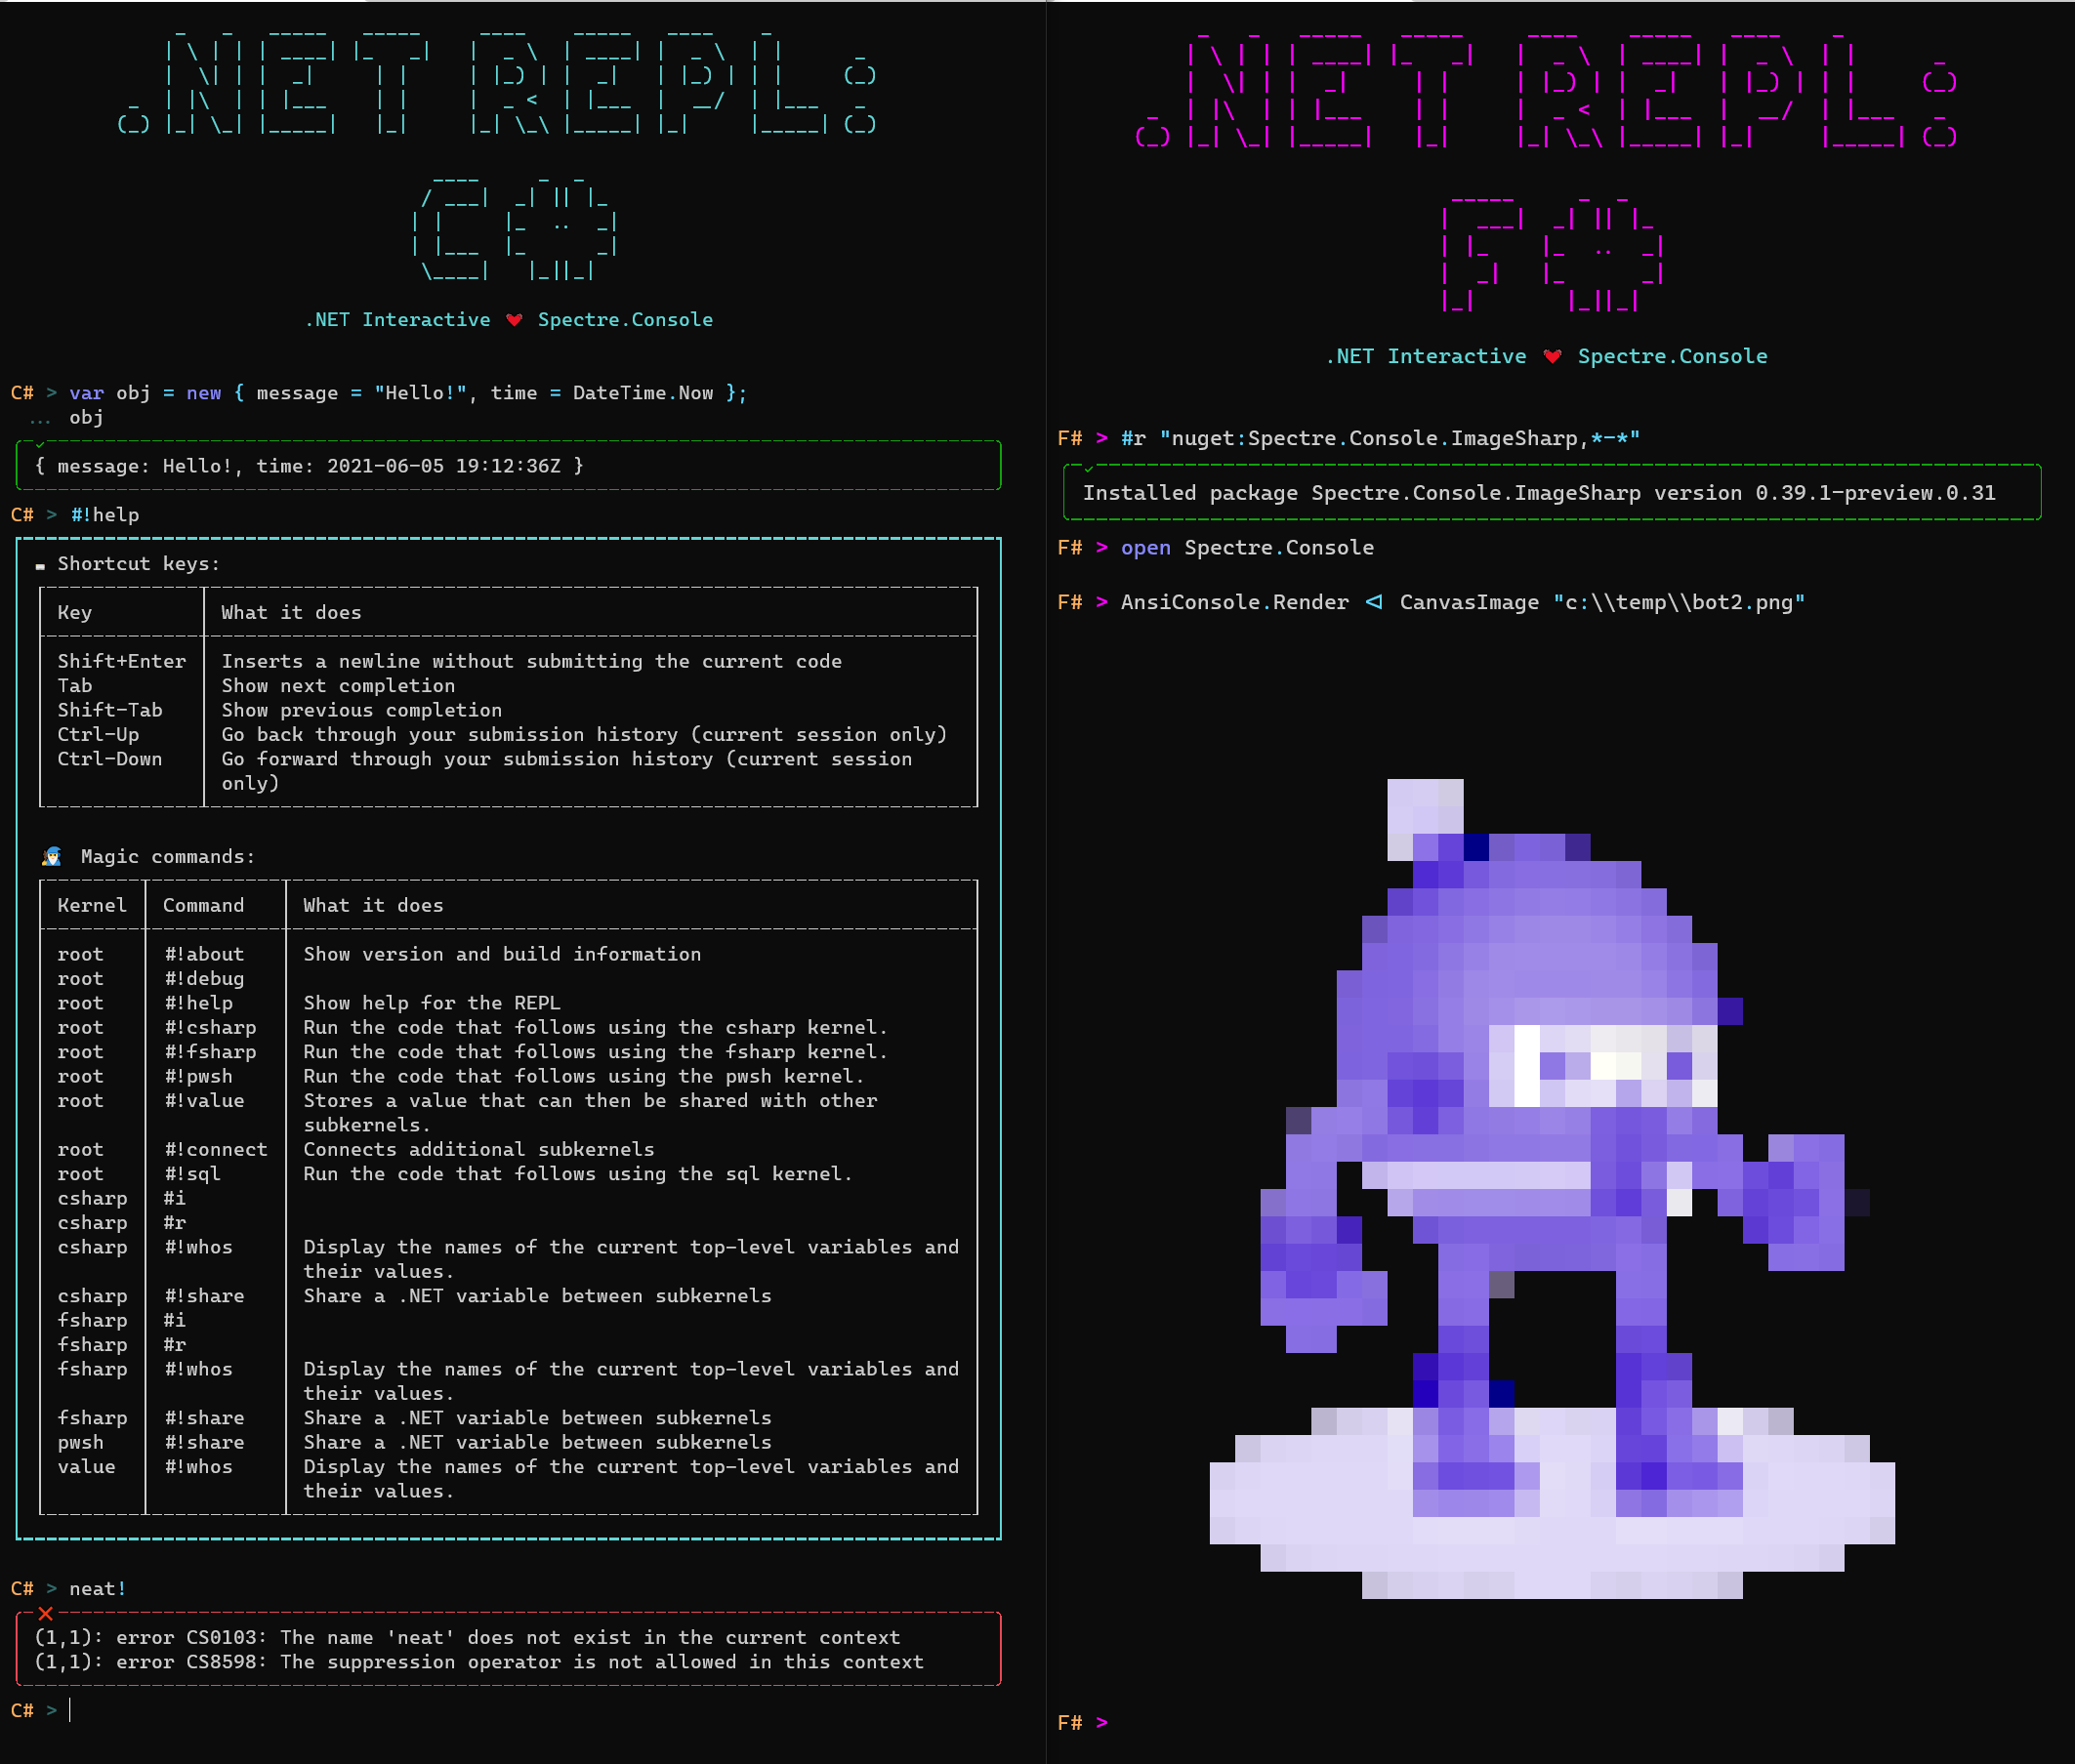
This project is an experiment using .NET Interactive and Spectre.Console to create a polyglot .NET REPL for use on the command line.
This is a personal project. Hopefully you enjoy it and find it useful. Contributions are welcome.
Installation
To install dotnet-repl, run the following in your terminal:
> dotnet tool install -g dotnet-repl
Features
Here's what you can do with it:
Code in C#
You can start dotnet-repl in one of a number of different language modes. The default is C#, so the following two commands are equivalent:
> dotnet repl --default-kernel csharp
> dotnet repl
Once the REPL has started, you can type C# code at the prompt and run it by pressing Enter. (Note that this is the C# scripting dialect, which is also used in Visual Studio's C# Interactive Window and in .NET Interactive Notebooks.)

One notable feature of C# scripting is the ability to specify a return value for a code submission using a "trailing expression":

Code in F#
You can also start up the REPL in F# mode:
> dotnet repl --default-kernel fsharp

📝 Submit multi-line entries
By pressing Shift-Enter, you can add multiple lines before running your code using Enter. This can be useful for creating multi-line code constructs, including declaring classes.

Another handy aspect of multi-line entries is that you no longer need to use the the F# Interactive convention of terminating a line with ;; to indicate that the accumulated submission should be run. Pressing Enter will submit the code, and if you need more than one line of code at a time, you can use Shift-Enter to add lines before submitting.

🚥 Switch languages within the same session

🎁 Add NuGet packages
You can use #r nuget to install a package for the duration of the current session.

Initialize your REPL session using a notebook
You can use a notebook file (either .ipynb or .dib) as an initialization script for the REPL.
> dotnet repl --notebook /path/to/notebook.ipynb

Run a notebook as a script
You might also want to just use a notebook as a non-interactive script. You can do this by adding the --exit-after-run flag.
> dotnet repl --notebook /path/to/notebook.ipynb --exit-after-run
💁♀️ Ask for help
You can see help for the REPL by running the #!help magic command. I won't print it here because it's a work in progress. Just give it a try.
⌨ Keyboard shortcuts
dotnet-repl supports a number of keyboard shortcuts. These will evolve over time but for now, here they are:
| Keybinding | What it does |
|---|---|
Enter |
Submit and run the current code |
Shift+Enter |
Inserts a newline without submitting the current code |
Tab |
Show next completion |
Shift-Tab |
Show previous completion |
Ctrl-Up |
Go back through your submission history (current session only) |
Ctrl-Down |
Go forward through your submission history (current session only) |
🧙♂️ Magic commands
Because dotnet-repl is built on .NET Interactive, it supports "magic commands". You can recognize a magic command by the #! at the start of a line.
You can see the list of supported magic commands by running the #!help magic command.

