5.9 KiB
galaxy.js-mobile-gamepad 🎮
A JavaScript library for controlling an HTML5 game using WebRTC (falling back to WebSockets).
Used in conjunction with galaxy.js.
Note: This project is not ready for prime time. Not an official Mozilla project. Pre-alpha everything. Anything and everything at your own risk.
Downloads
Client
Host
Use in your own game
Disclaimer: this isn't ready for prime time yet. Use at your own risk.
-
On the static server, open
client.html(which will loadgamepad-client.min.js). -
In your game, insert this script:
<script src="{static_server}/gamepad-host.min.js"> -
Add a few lines to your game for pairing the gamepad, getting its state, and adding event listeners. Refer to the sample games for more complete examples. Below is some code to get you started:
var pad = Gamepad.create();

pad.pair().then(function (controllerPeer) {
  console.log('Connected to controller');
}).then(initControls).catch(function (e) {
  console.trace(e.stack ? e.stack : e);
});

function initControls() {
  window.requestAnimationFrame(function () {
    // In your game loop check `pad.state`, or you can listen to events.
  });

  pad.on('buttonpress', function (key) {
    // Some button pressed.
  }).on('buttondown', function (key) {
    // Some button pushed down.
  }).on('buttonup', function (key) {
    // Some button released.
  }).on('buttonchange', function (key, isPressed) {
    // Some button changed.
  });

  pad.on('buttonpress.select', function (key) {
    // SELECT button pressed.
  }).on('buttondown.select', function (key) {
    // SELECT button pushed down.
  }).on('buttonup.select', function (key) {
    // SELECT button released.
  }).on('buttonchange.select', function (key, isPressed) {
    // SELECT button changed.
  });
}

// Totally optional, but when the user stops playing your game,
// for example, you can call `destroyControls` to remove any event
// listeners you have set.
function destroyControls() {
  // Remove event listener for a particular listener function.
  pad.off('buttonpress', buttonpressHandler);

  // Remove all event listeners for a particular event type.
  pad.off('buttonpress');
}
Develop
-
Install Node dependencies:
npm installThis installs these production dependencies:
- plink-server: a simple Node-based WebSocket server – used as a signalling server for WebRTC
- plink: a simple client-side library for WebRTC data channels — used to do peer communication between a game and controllers
And these developer dependencies:
- browserify: a tool for packaging Node-flavoured CommonJS modules for the browser — used to compile JS for development and production bundles
- gulp: a streaming build system and task runner — used for such tasks as browserify compilation, code linting, distribution, and running a development server
- a bunch of related packages for build tasks
-
(Optional) Set up symlinks for updating GitHub pages:
gulp symlink-git-hooks -
(Optional) To use custom settings for your local setup, first over a settings file:
cp src/js/settings_local.js{.dist,}Any value specified in
src/js/settings_local.jswill override the defaults insrc/js/settings.js. -
To rebuild (compile and minify) the scripts while developing and serve the files from a local server:
npm run-script dev -
In another terminal session, start up the signalling server (plink-server):
npm run-script signalling-server -
Load an example game.
-
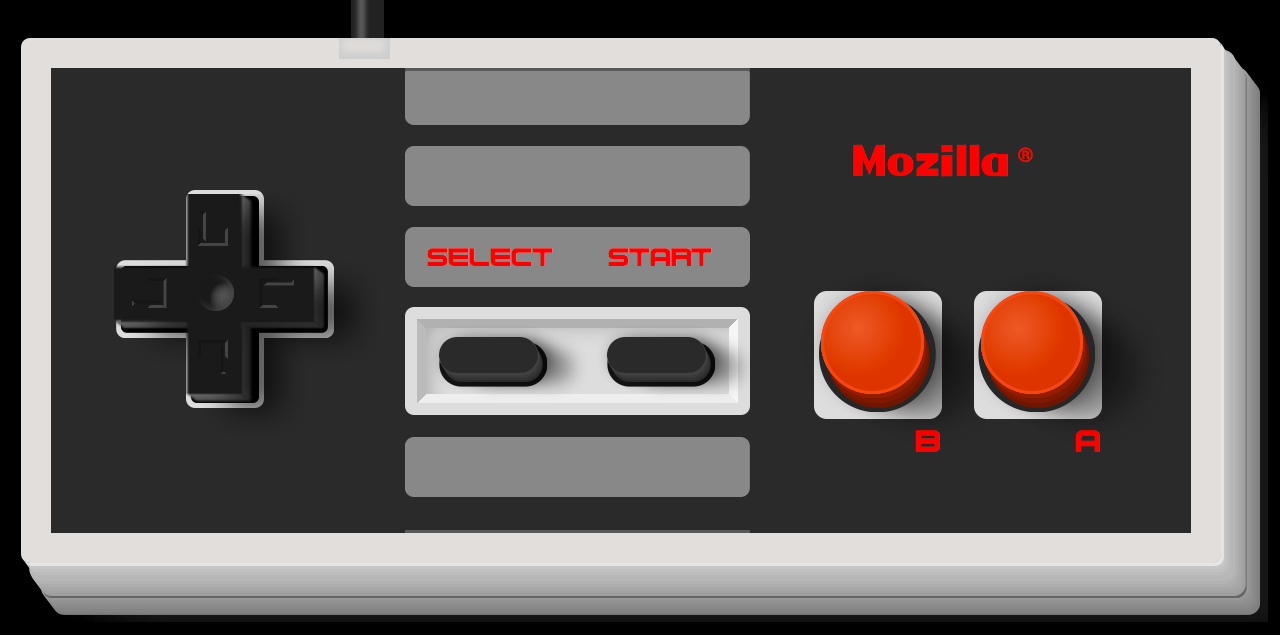
Load the Nintendo™-inspired controller.
Distribution
To build the files for distribution:
gulp dist
Several files will be written to the dist/ directory, including the main application file (uncompressed and minified):
Deploying controller to a production server
-
Install Node dependencies:
npm install --production -
Deploy the
dist/on a server (the "static server" we'll call it).
Credits
- Albin Larsson (unauthorized use of HTML5 Nintendo™ controller CodePen)
- Ivan Prieto Garrido (unauthorised, temporary use of Nintendo™ controller flat icon for webapp icon; will replace before project is official)
