Содержание
- Tutorials
- Desktop vs. Mobile View
- Themes
- Disable Line Wrapping
- Live DOM Highlighting
- Inspector
- Disable Auto-Executing of JavaScript
- Inline Docs
- Inline Editors
- Colour Palette extraction for images
- File Tree Operations
- Markdown to HTML and LESS to CSS conversion
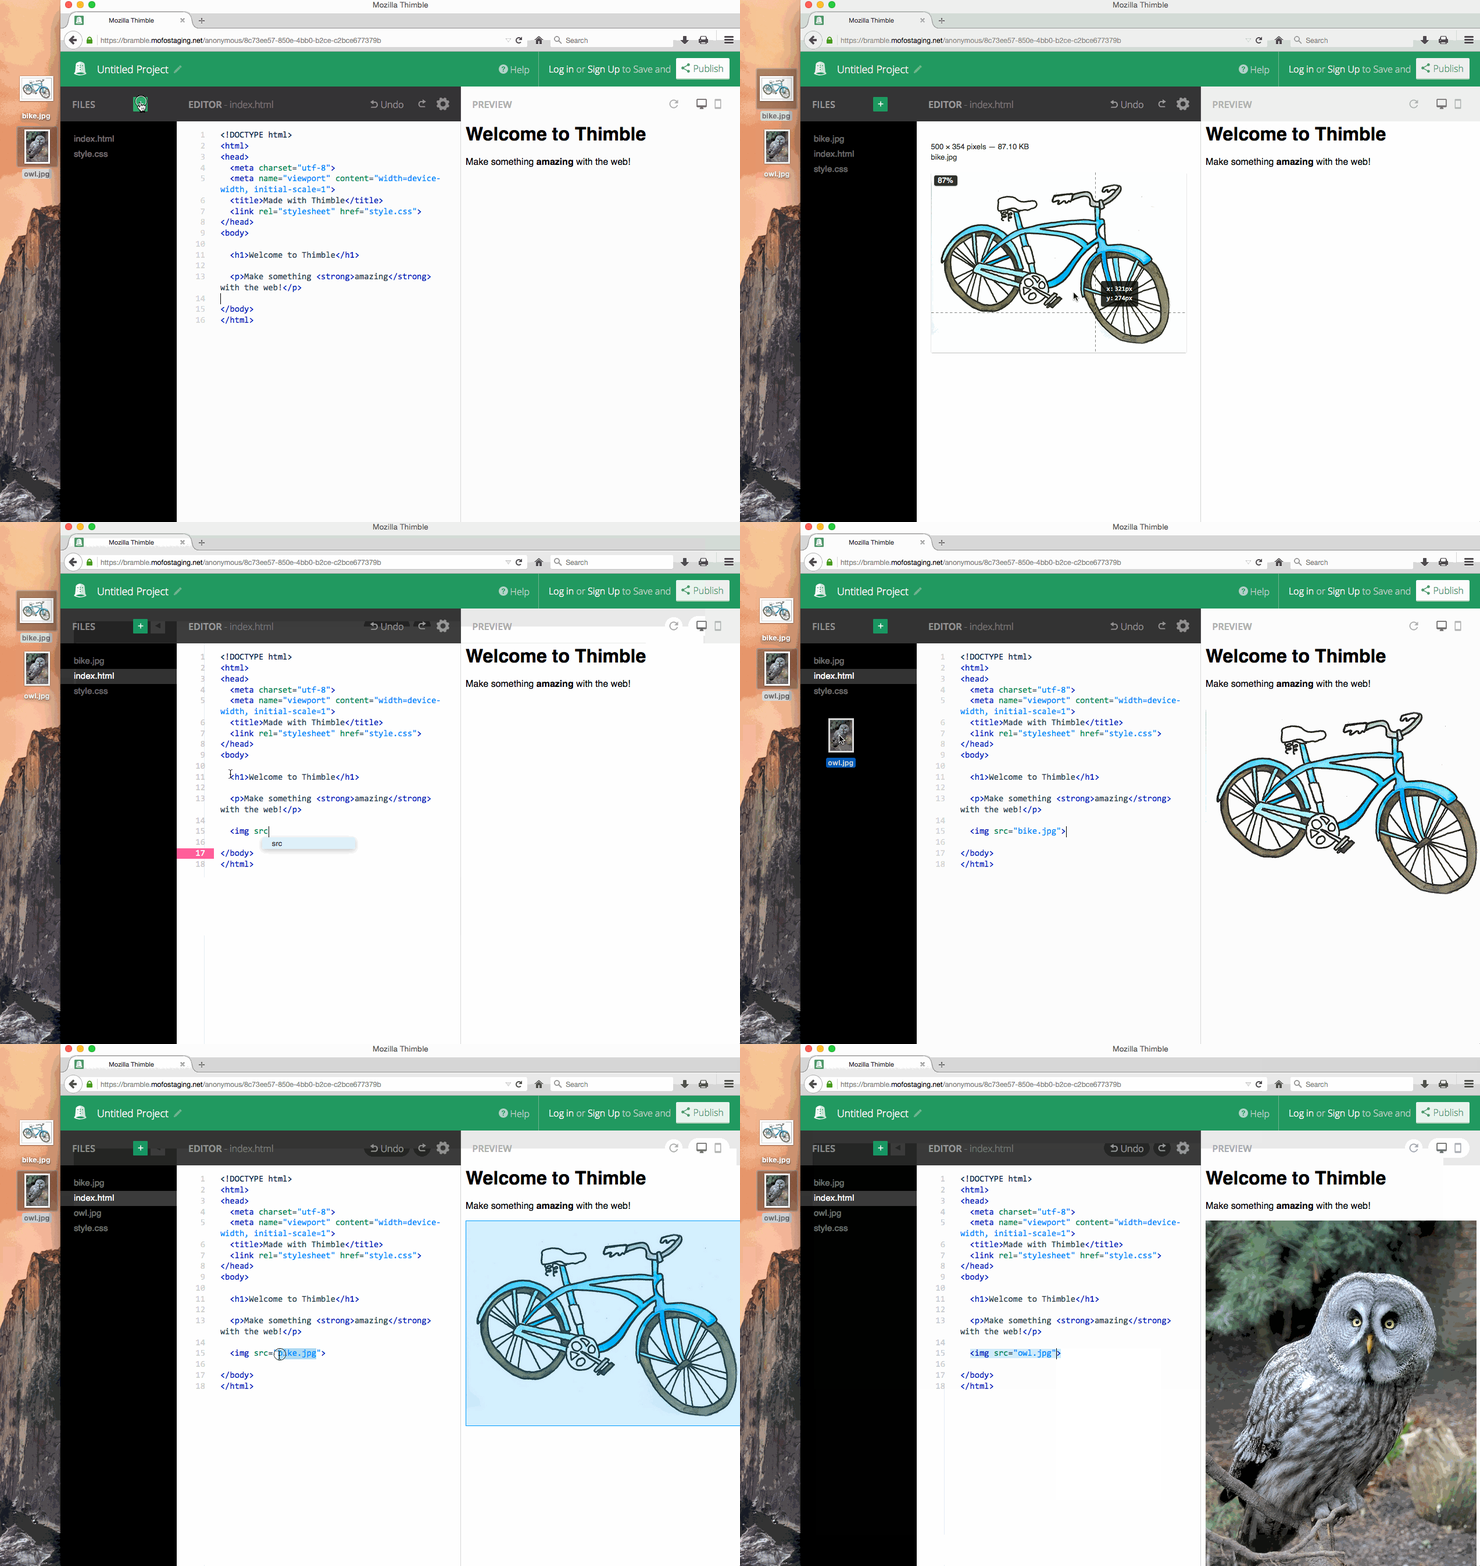
- Upload Images (or other individual files)
- Take a Selfie
- Upload Archives
- Publish and Remix
- Export a Project
Thimble is a code editor for HTML, JavaScript, and CSS, and is designed to help people teach, learn, and create the web with the web. Because it uses a forked version of Brackets, much of what you can do is the same as for using the desktop Brackets editor. Below are descriptions of some of the less-obvious features.
NOTE: if you find the following animations too small to read, you can open all of the images below in full-size by right-clicking and viewing them on their own.
Tutorials
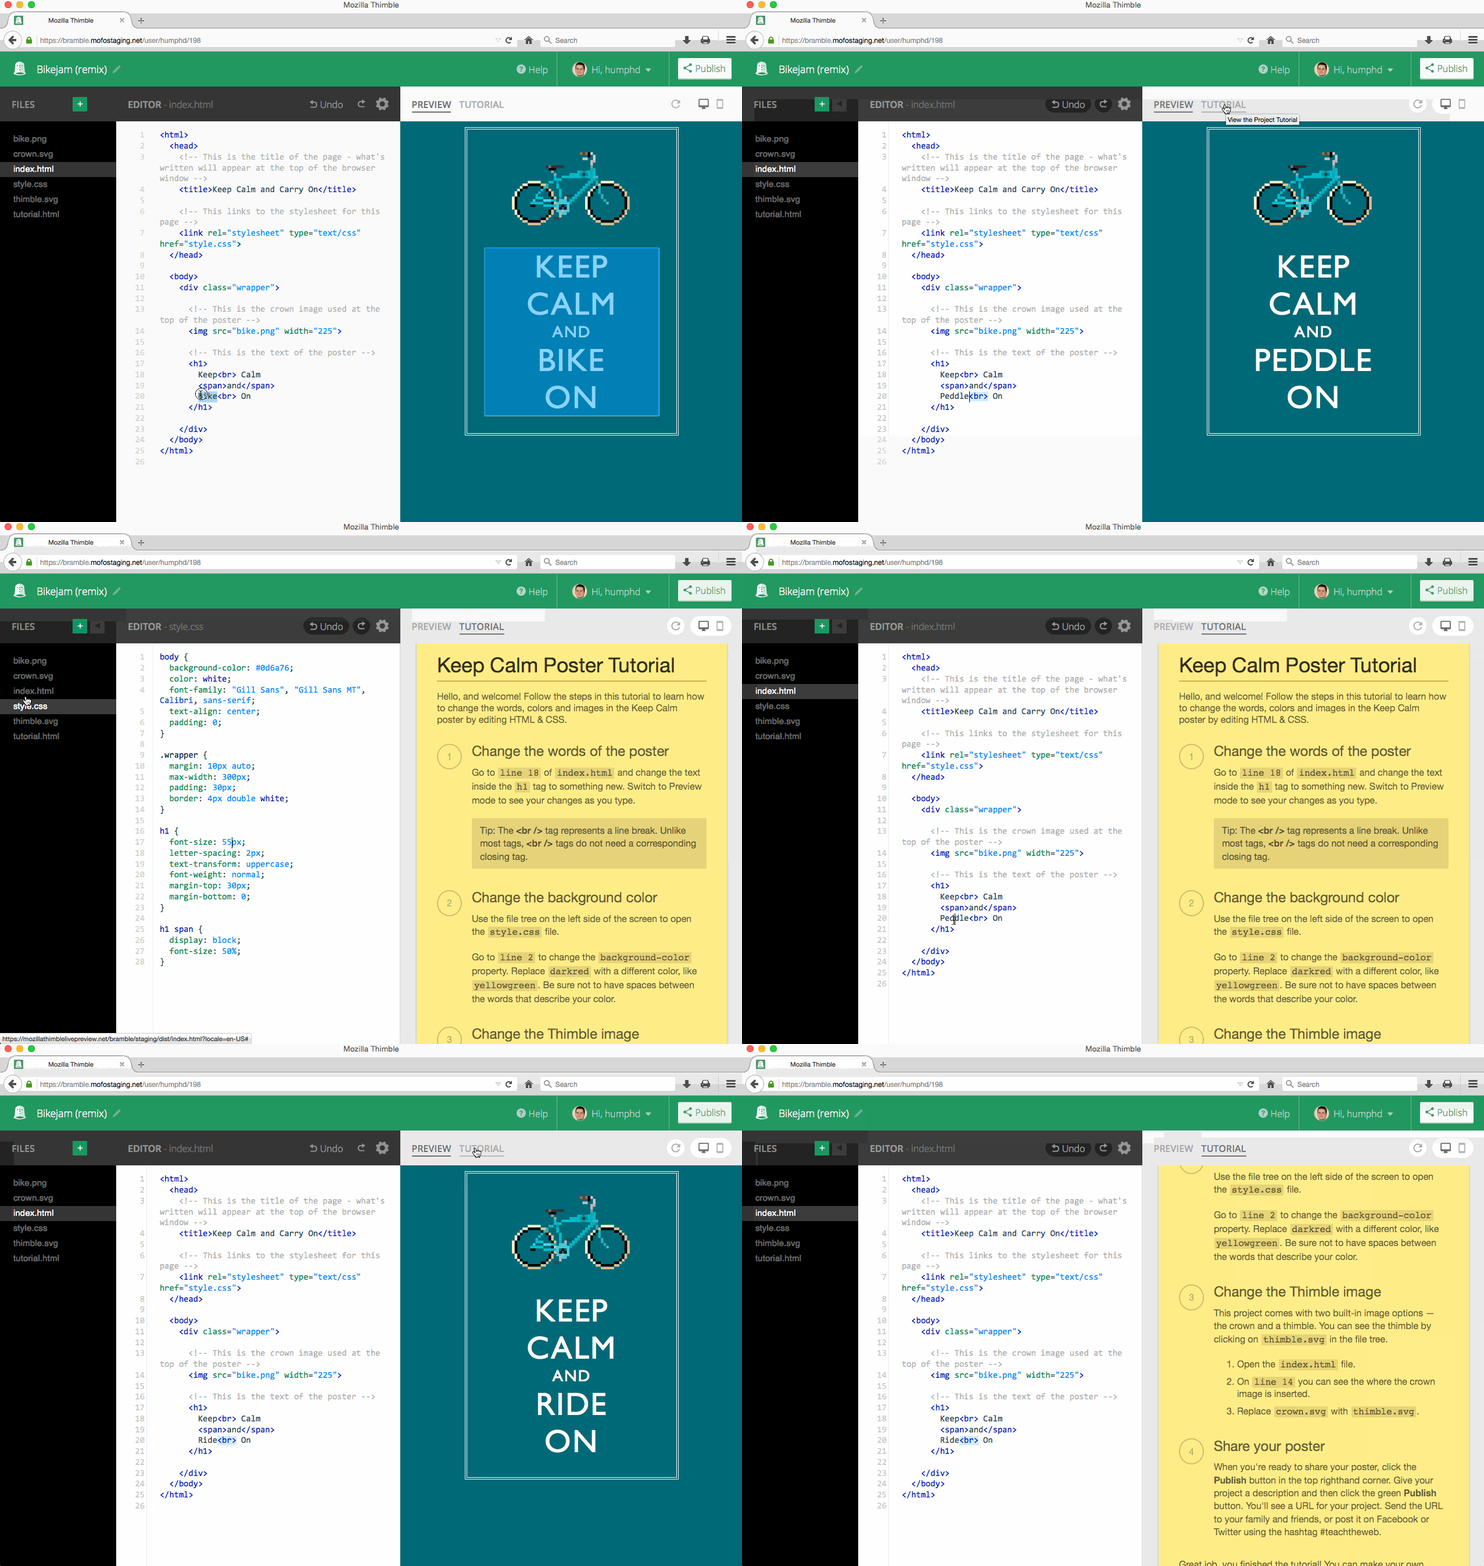
Because Thimble is geared toward teaching and learning, it allows you to bundle a tutorial.html file
along with your project. When a project has a tutorial.html file, it will get an extra option to switch
in the inline preview between a live view of the current document and the tutorial. Being able to "pin"
the tutorial is helpful so you can read a complex set of instructions and follow along in the editor.
For tutorial authors, your tutorial.html file can contain any valid HTML document, and can use
both external and internal assets. You could even have an iframe that shows documentation from some
other site.
Desktop vs. Mobile View
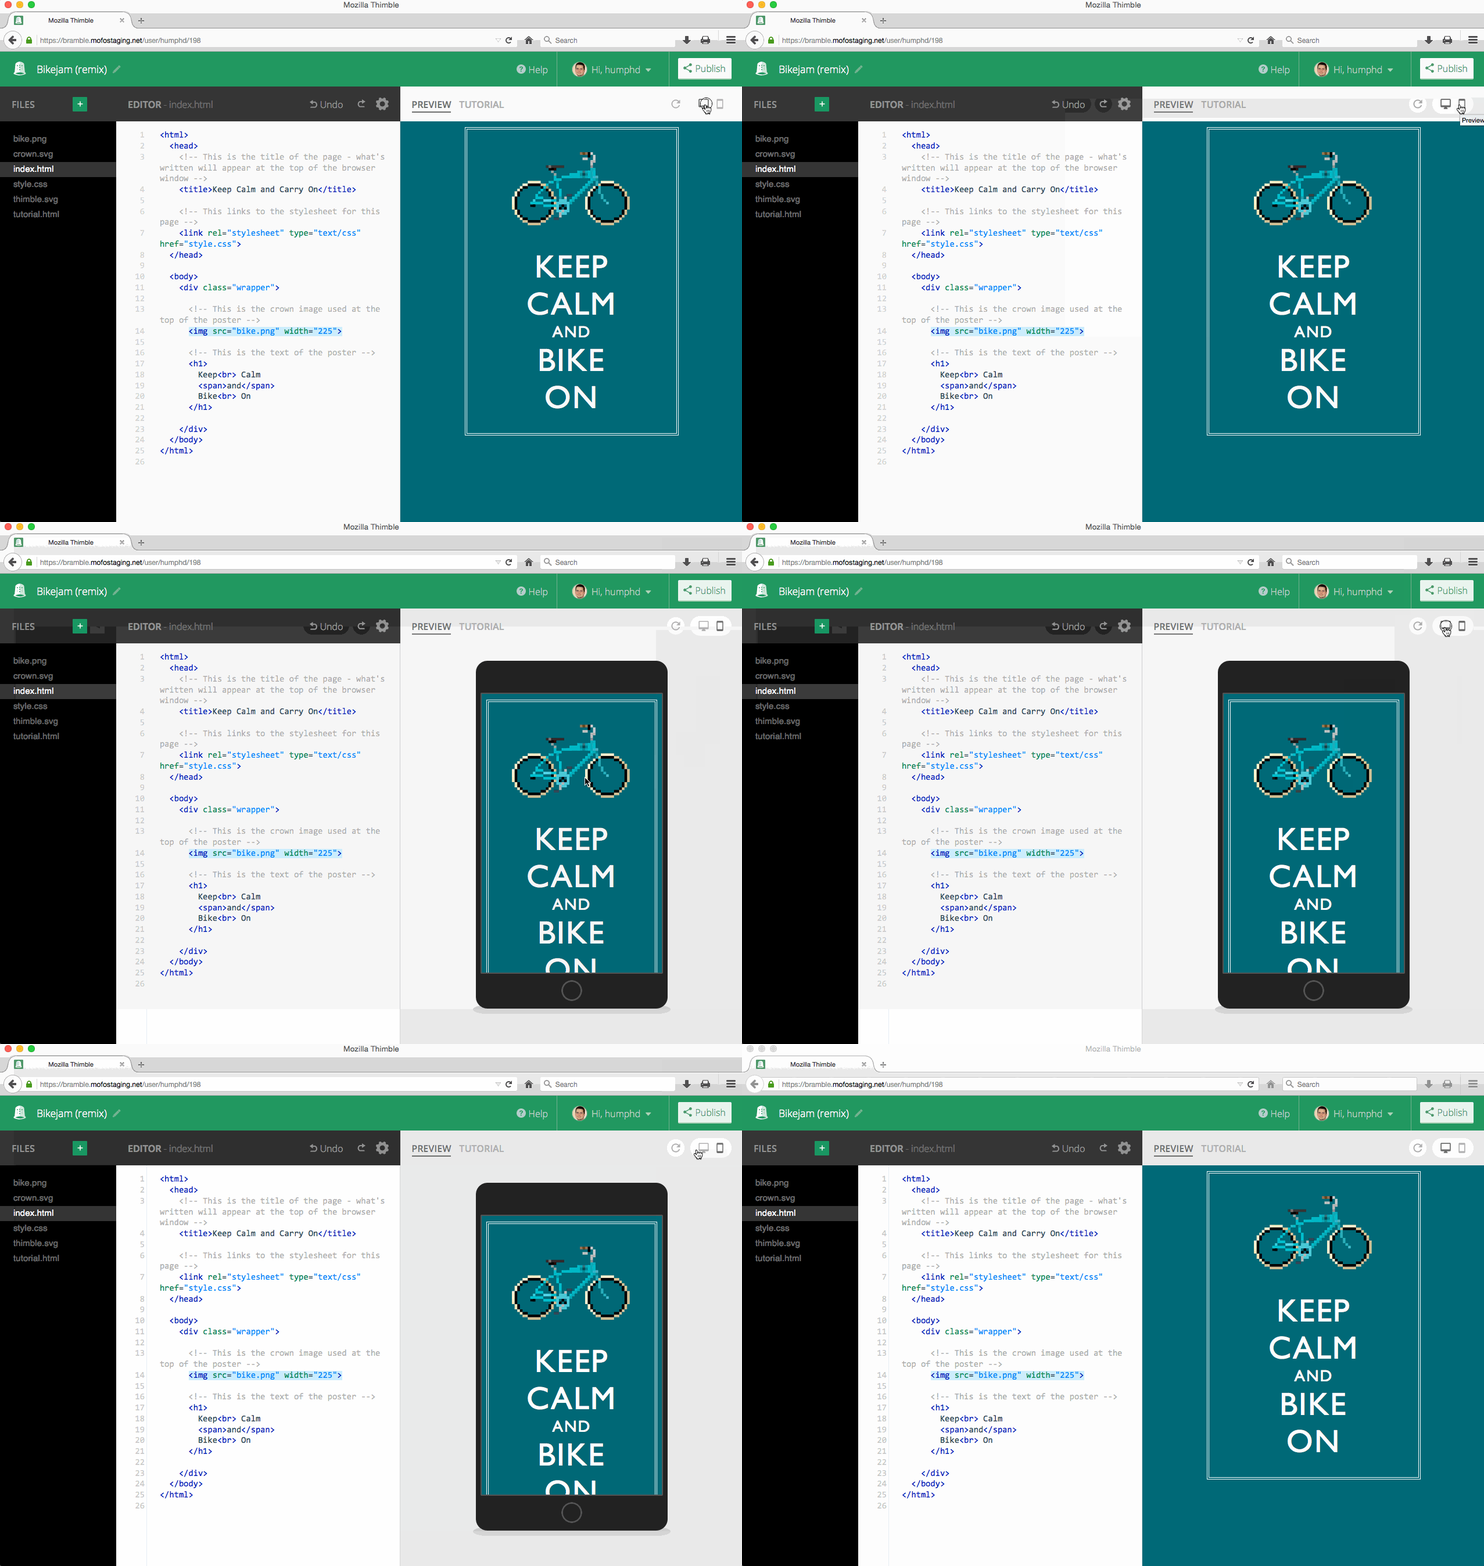
The inline preview can be switched from Desktop to Mobile mode, allowing you to see what your page would look like at different sizes:
Themes
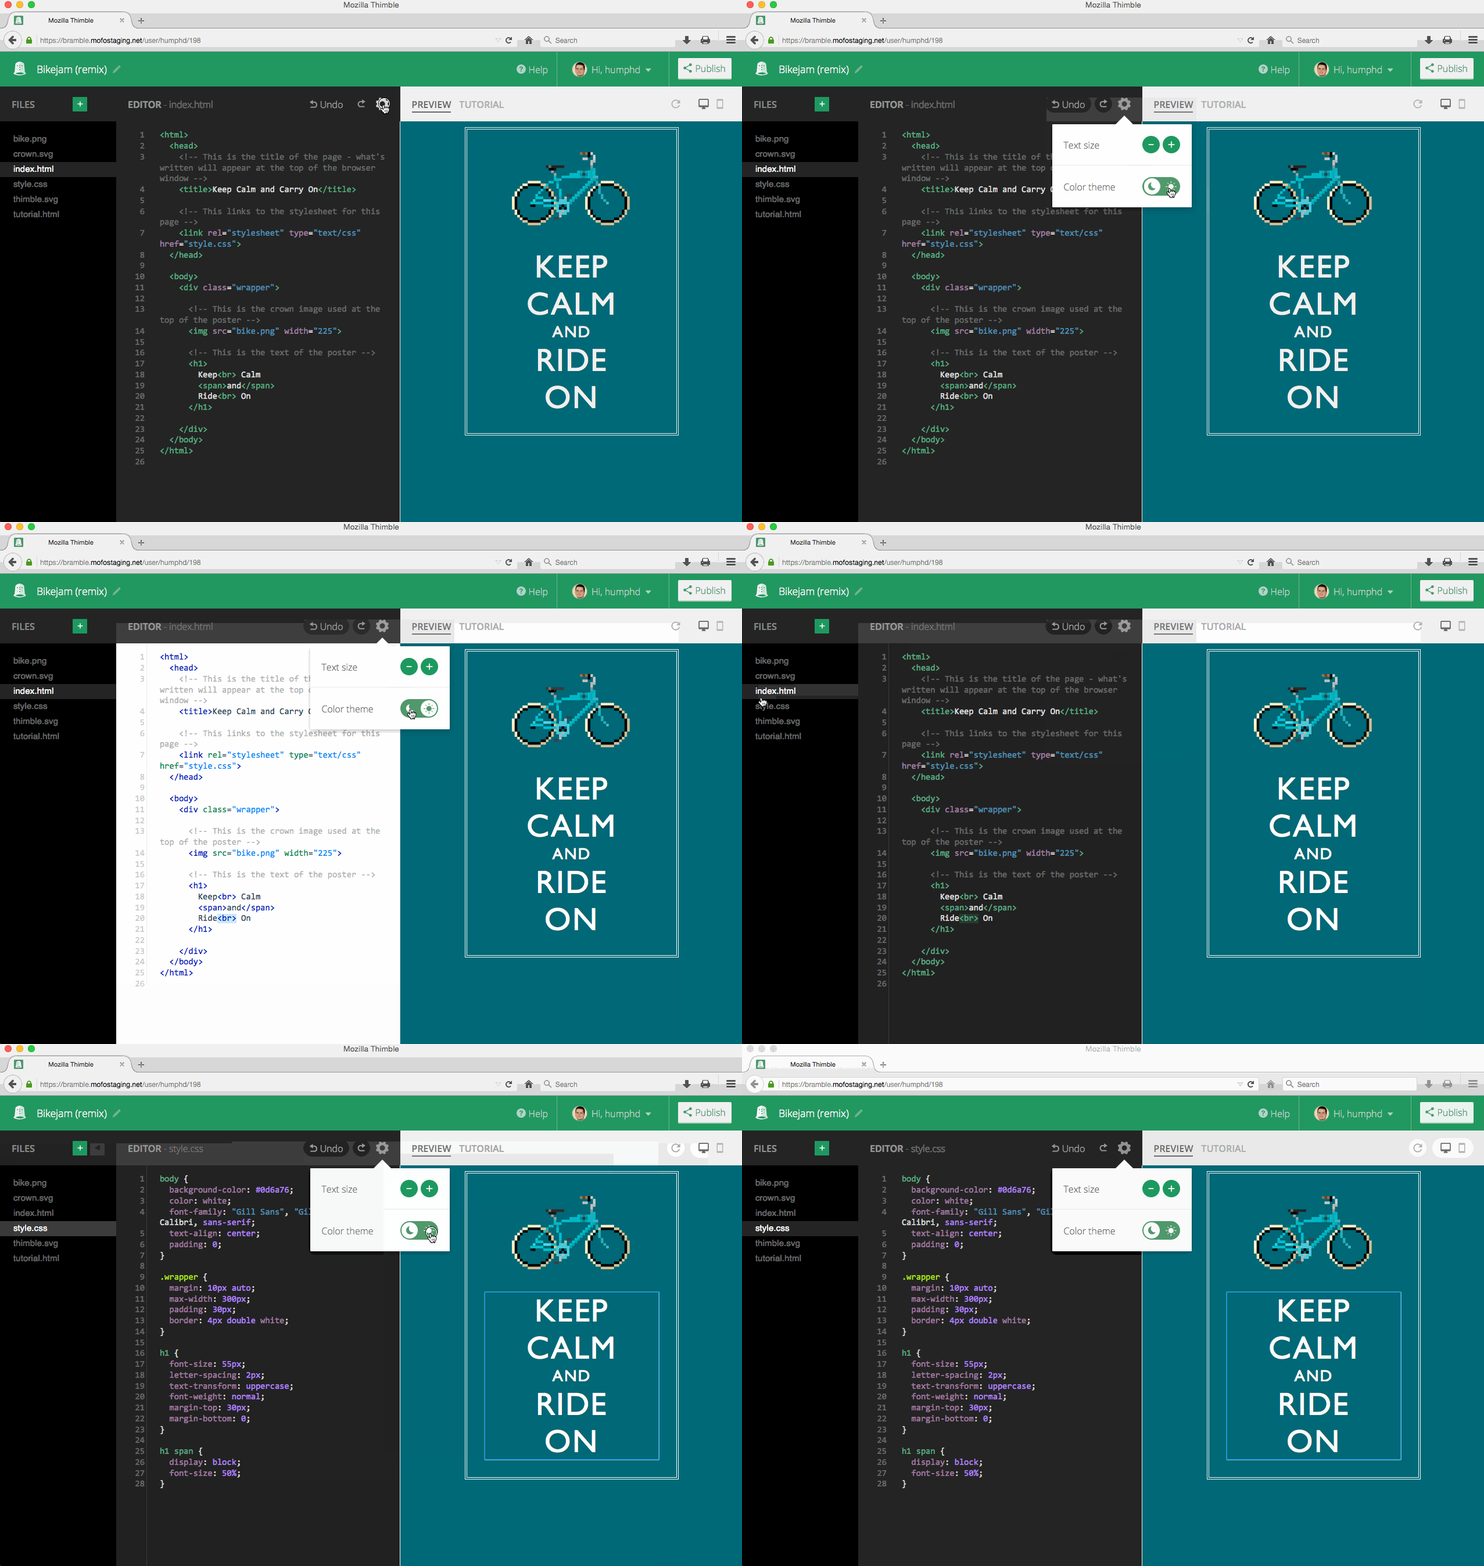
Brackets supports theming, and Thimble ships with the option to switch between a Light Theme and a Dark Theme. Your choice will be remembered between sessions.
Disable Line Wrapping
You can disable line wrapping by changing the toggle in the settings menu.
Live DOM Highlighting
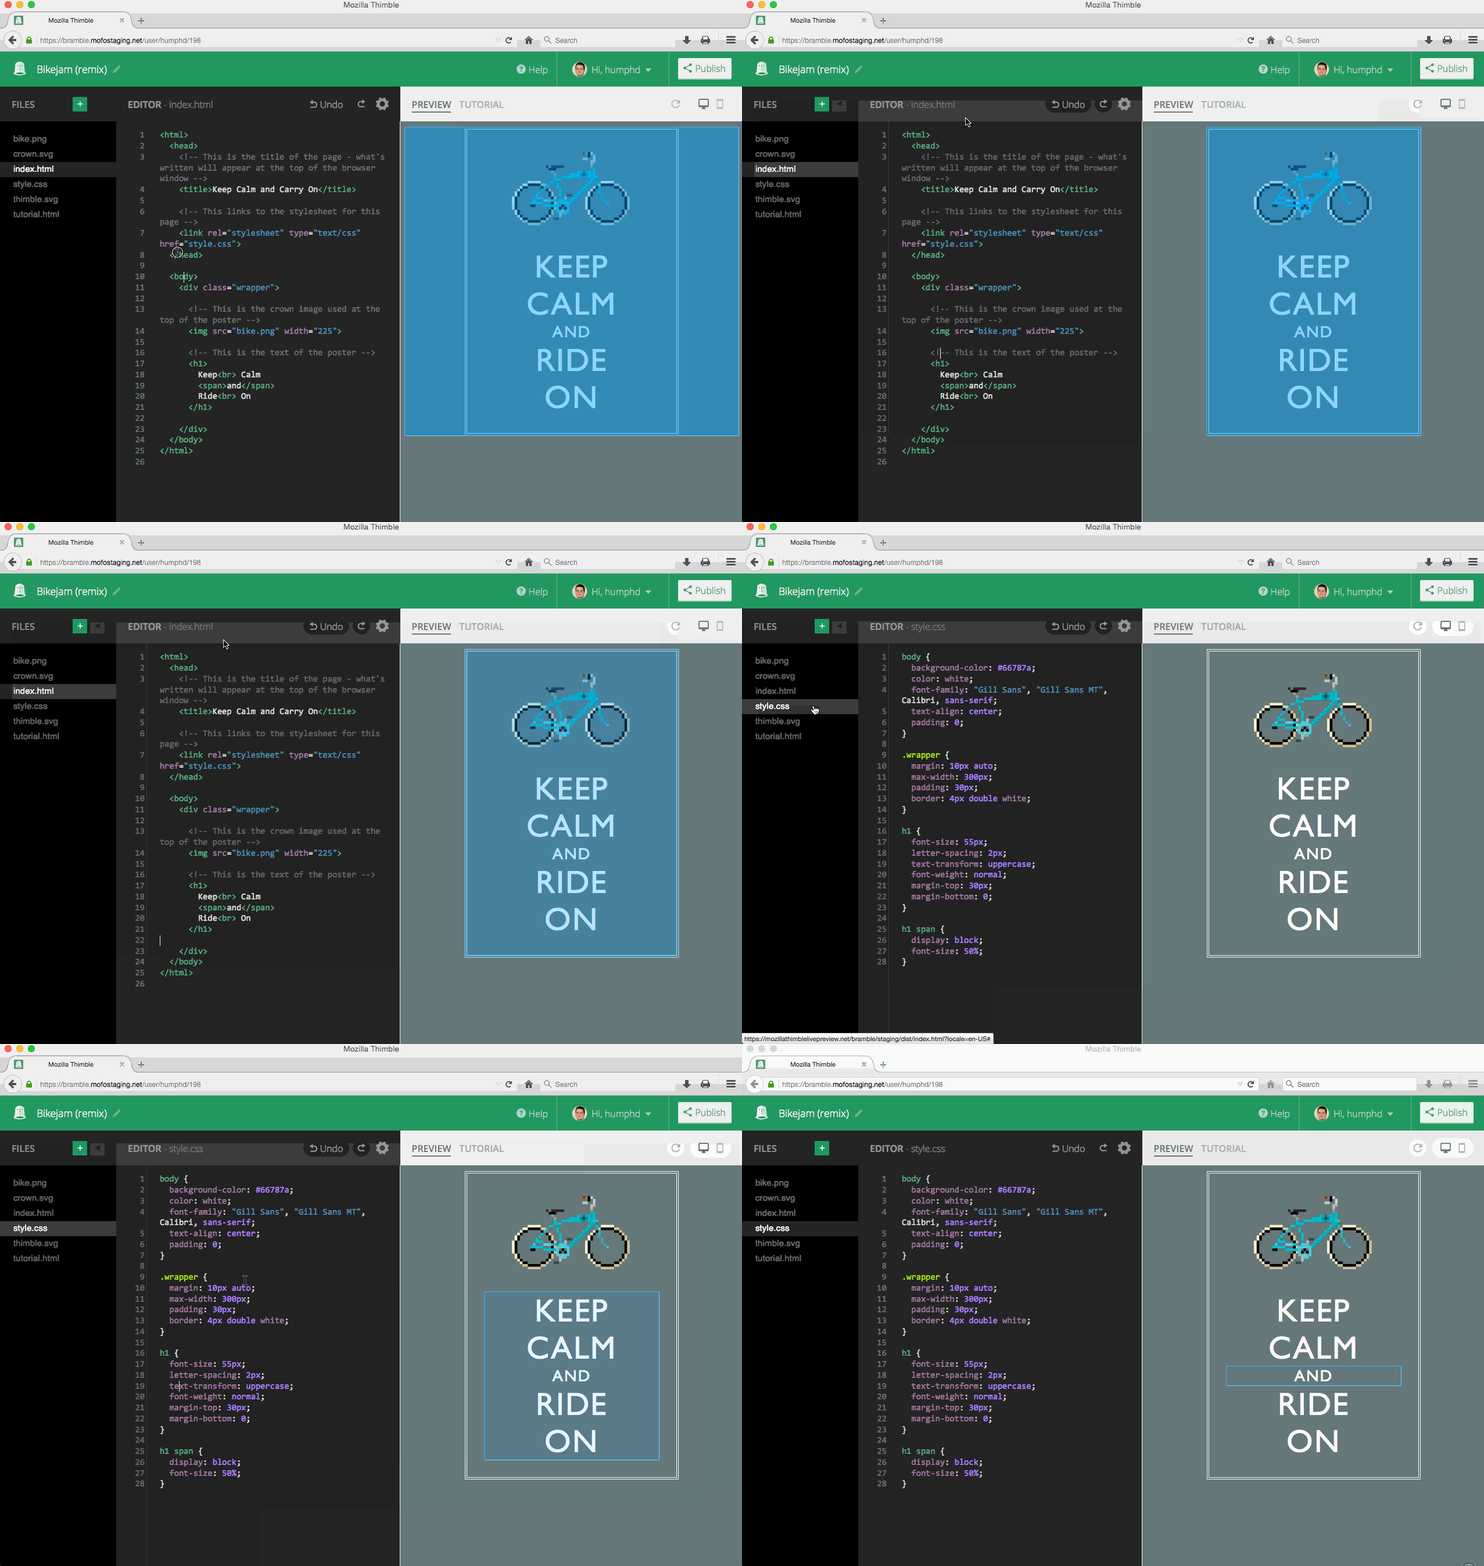
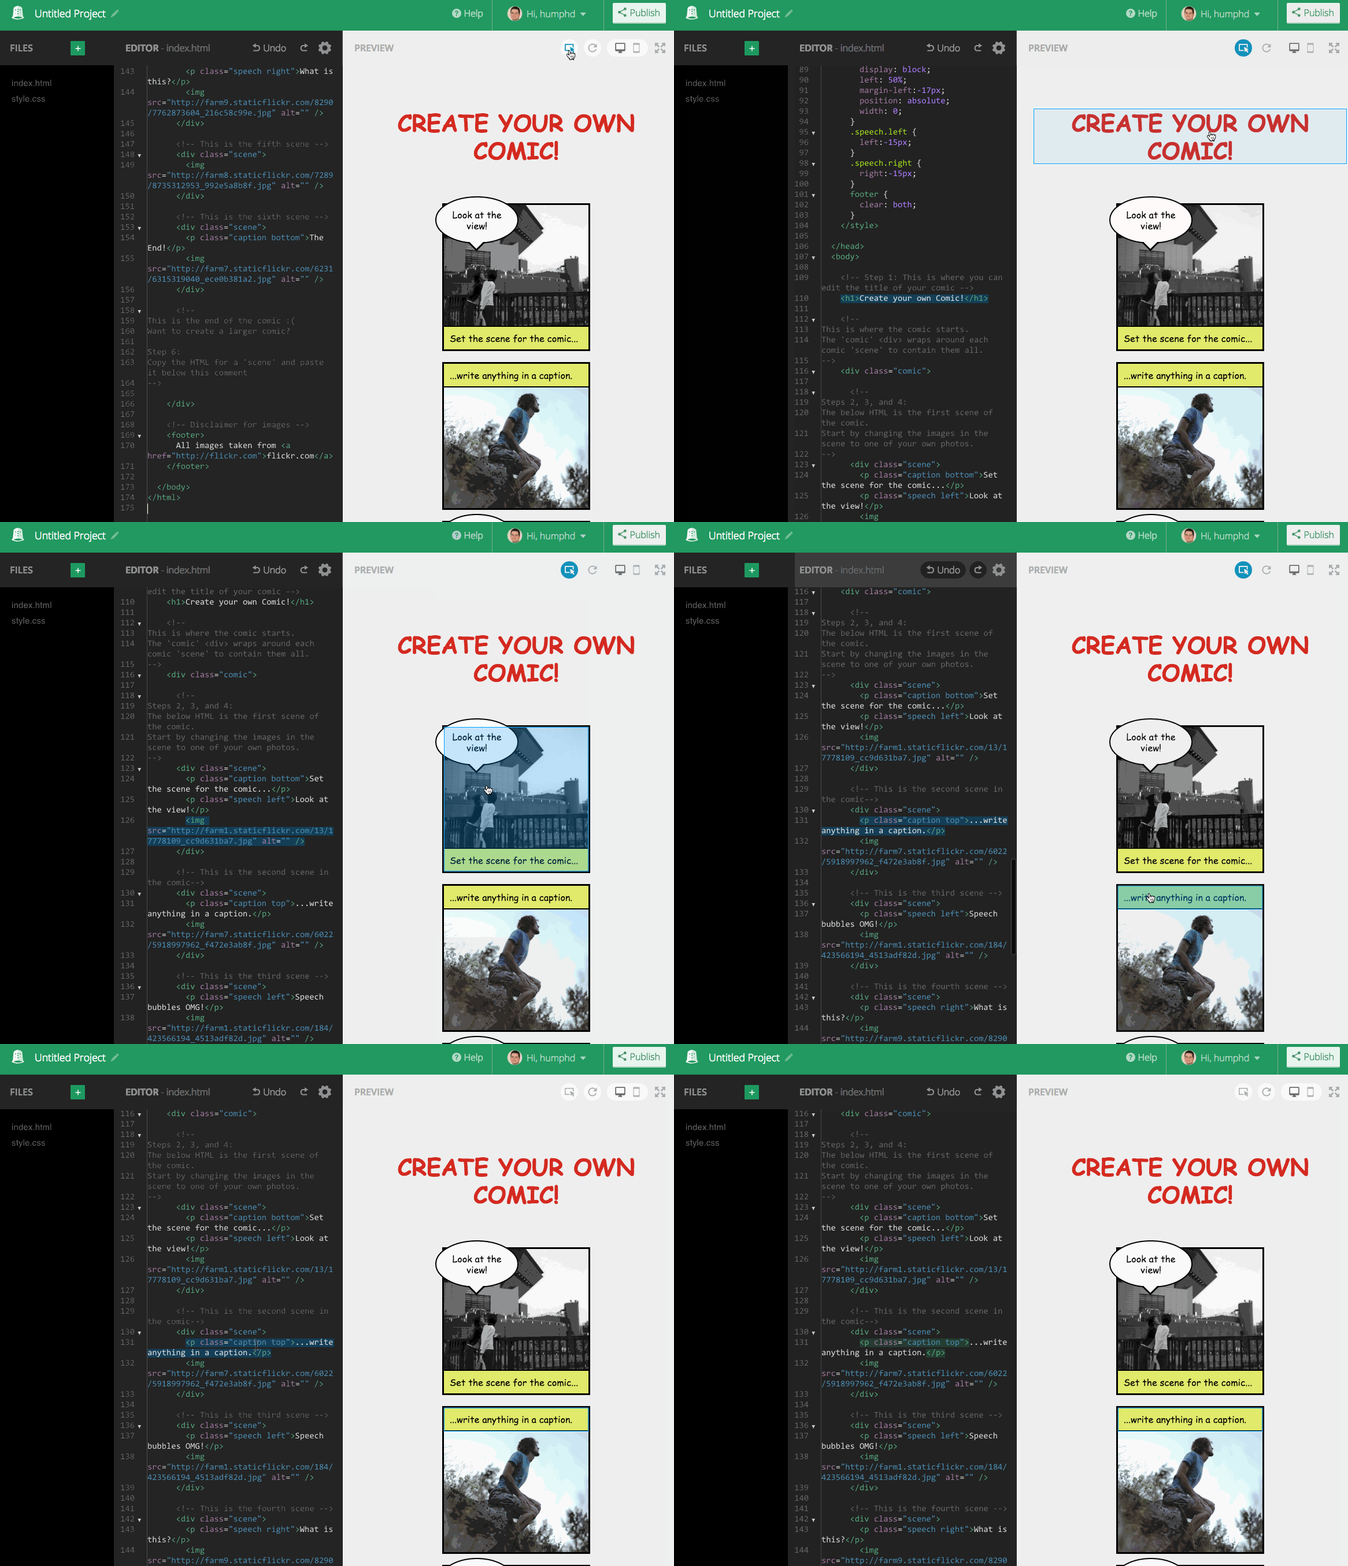
As you work in the editor, the preview will show a live representation of what you type. This includes highlighting of DOM elements that correspond to the code under your cursor. This feature works in both HTML files, where it highlights the given element, and in CSS files, where elements that use the current rule are highlighted:
Inspector
The Inspector allows you to hover your mouse over elements in the preview, and see the associated code that was used to make them in the editor. It is useful for trying to understand how a page works, or where exactly to make changes. When the Inspector is enabled, move your mouse within the preview to highlight elements and code, or click on a specific part of the page to turn off the Inspector and focus just on that code.
Disable Auto-Executing of JavaScript
Use the toggle in the settings menu to prevent JavaScript from running in your project.
Inline Docs
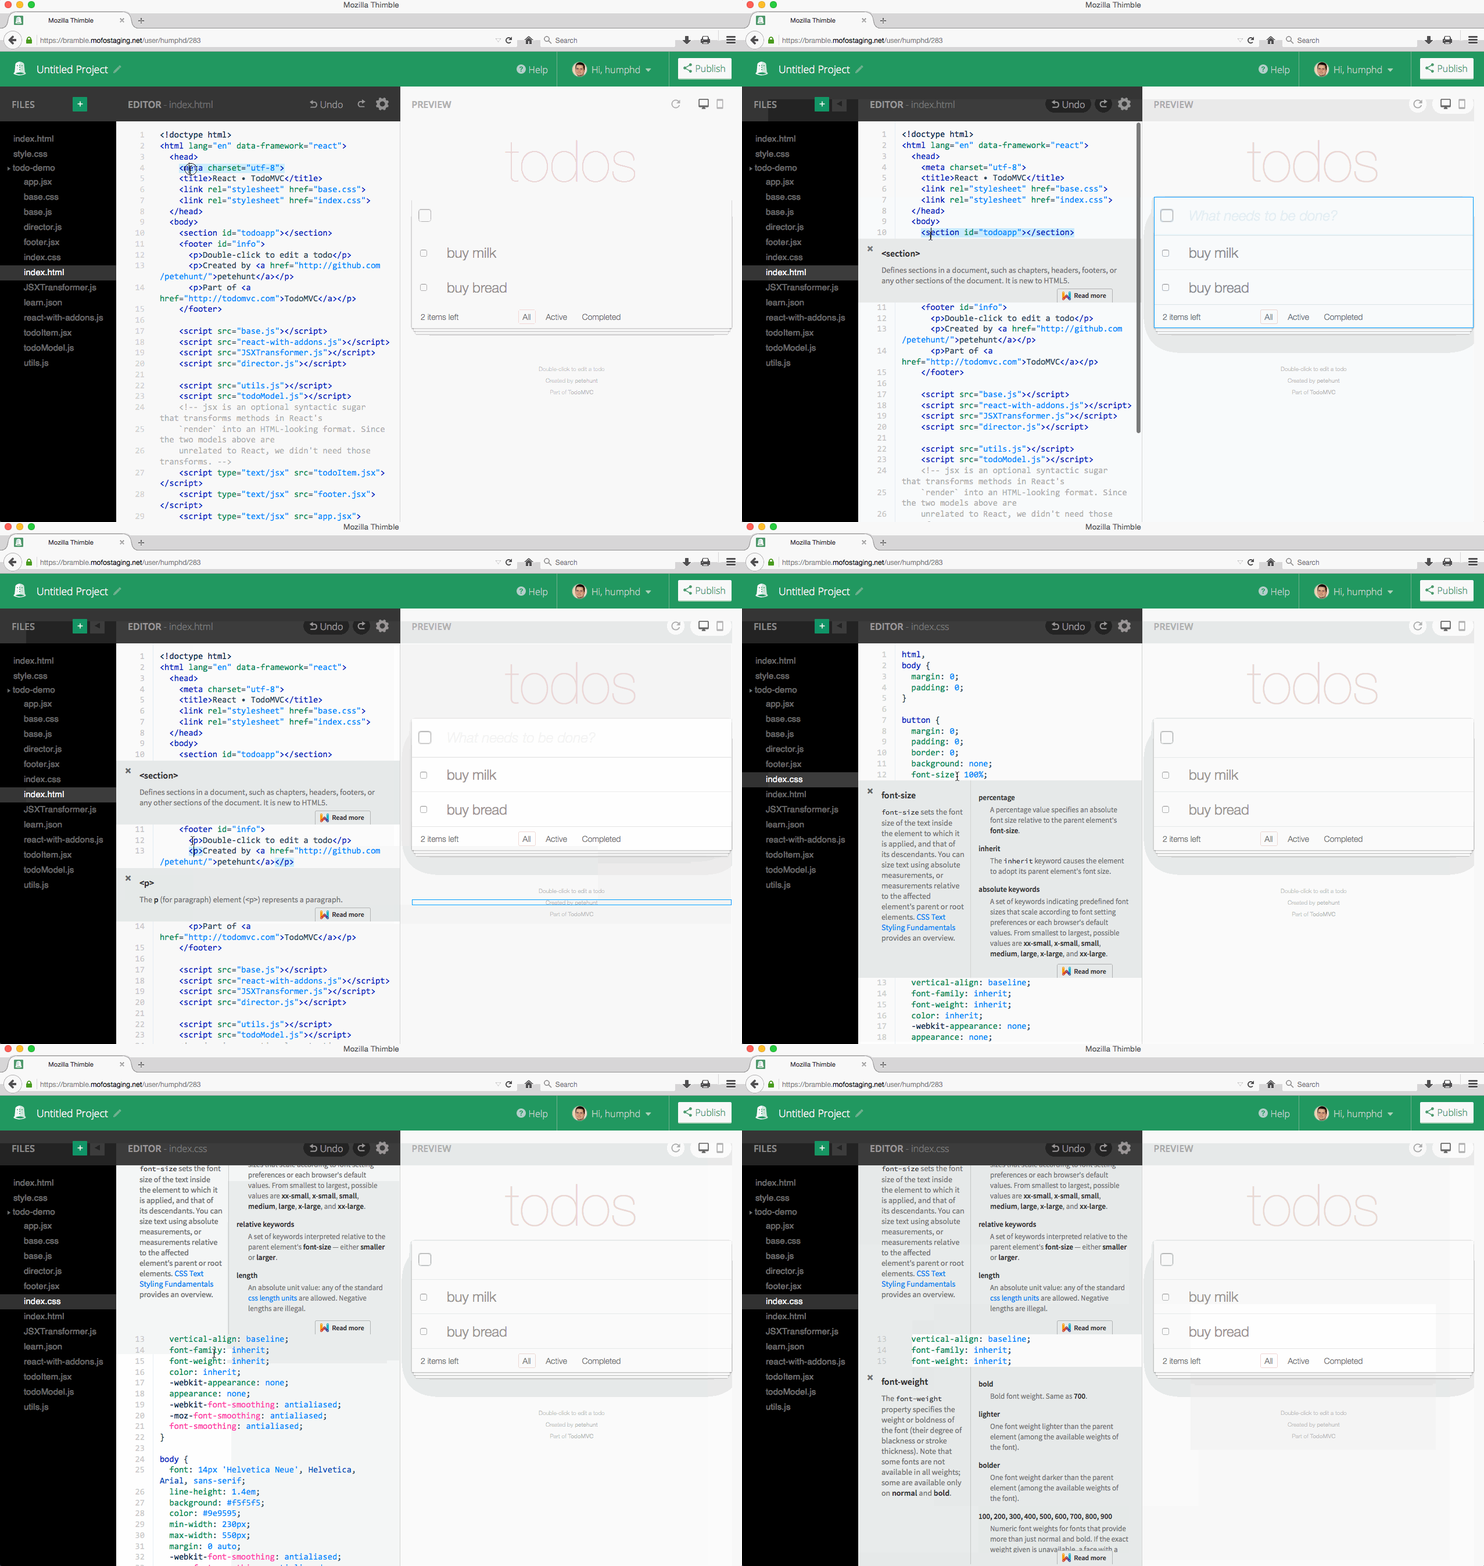
You can get HTML and CSS documentation by using Alt+K or ⌥+K (OS X) while your cursor is on top of an element or property:
Inline Editors
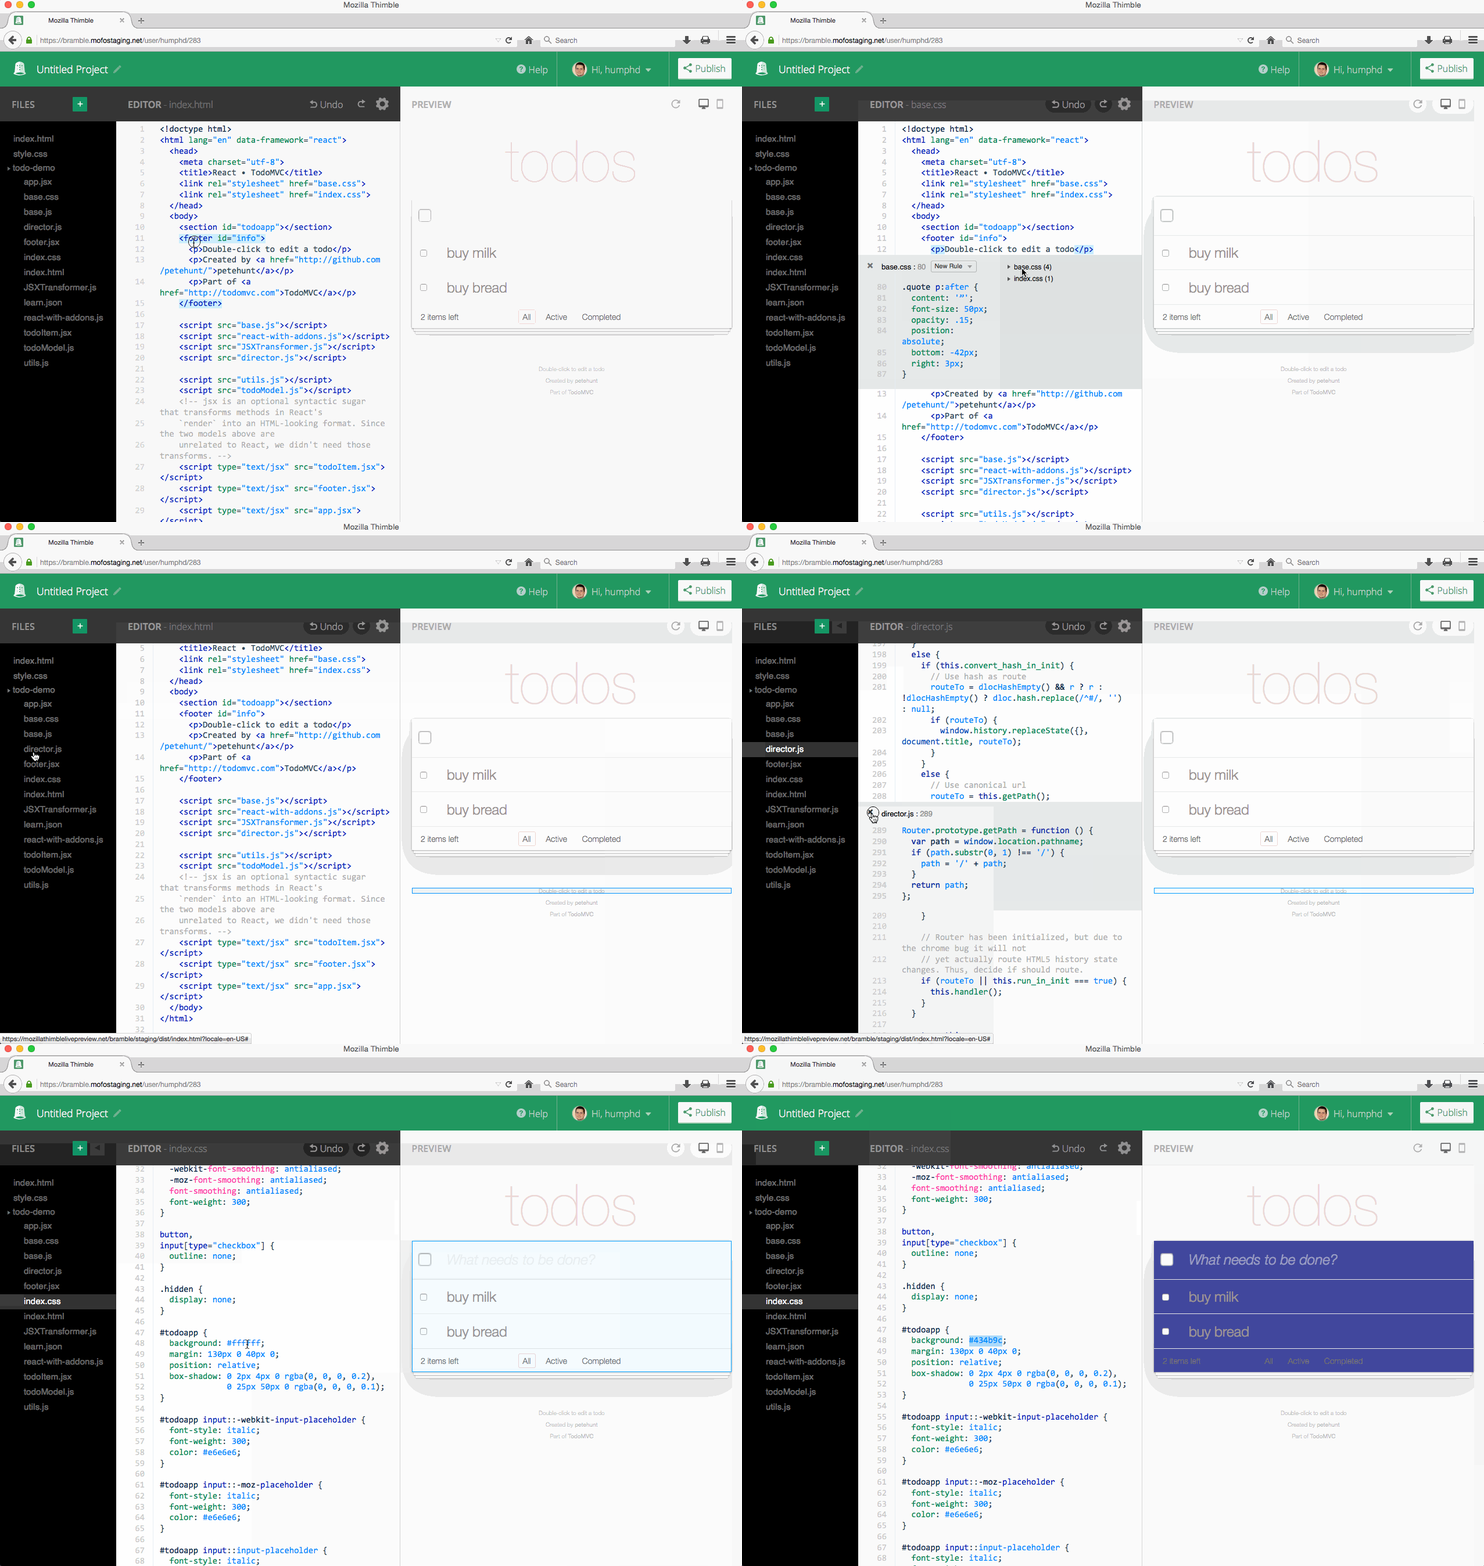
You can view and edit other parts of your project (i.e., linked content from other files) by using Inline Editors. Place your cursor over the keyword you want to apply the editor to, and press CTRL+E or CMD+E (OS X). Inline Editors work differently depending on what you select:
- HTML - you'll see all the CSS that applies to the given element, across any number of CSS files
- CSS - you can use a graphical color picker when you place your cursor on a CSS color value
- JS - you'll see the definition of whatever method, variable, etc you have selected. HINT: you can use
CTRL+JorCMD+J(OS X) to jump to its definition instead
Colour Palette extraction for images
This allows you to easily see what colors are used in any image. Drag an image into your file tree, and click on it. Thimble will automatically pull out many of the prominent colors used in the image and show you their hexadecimal codes.
File Tree Operations
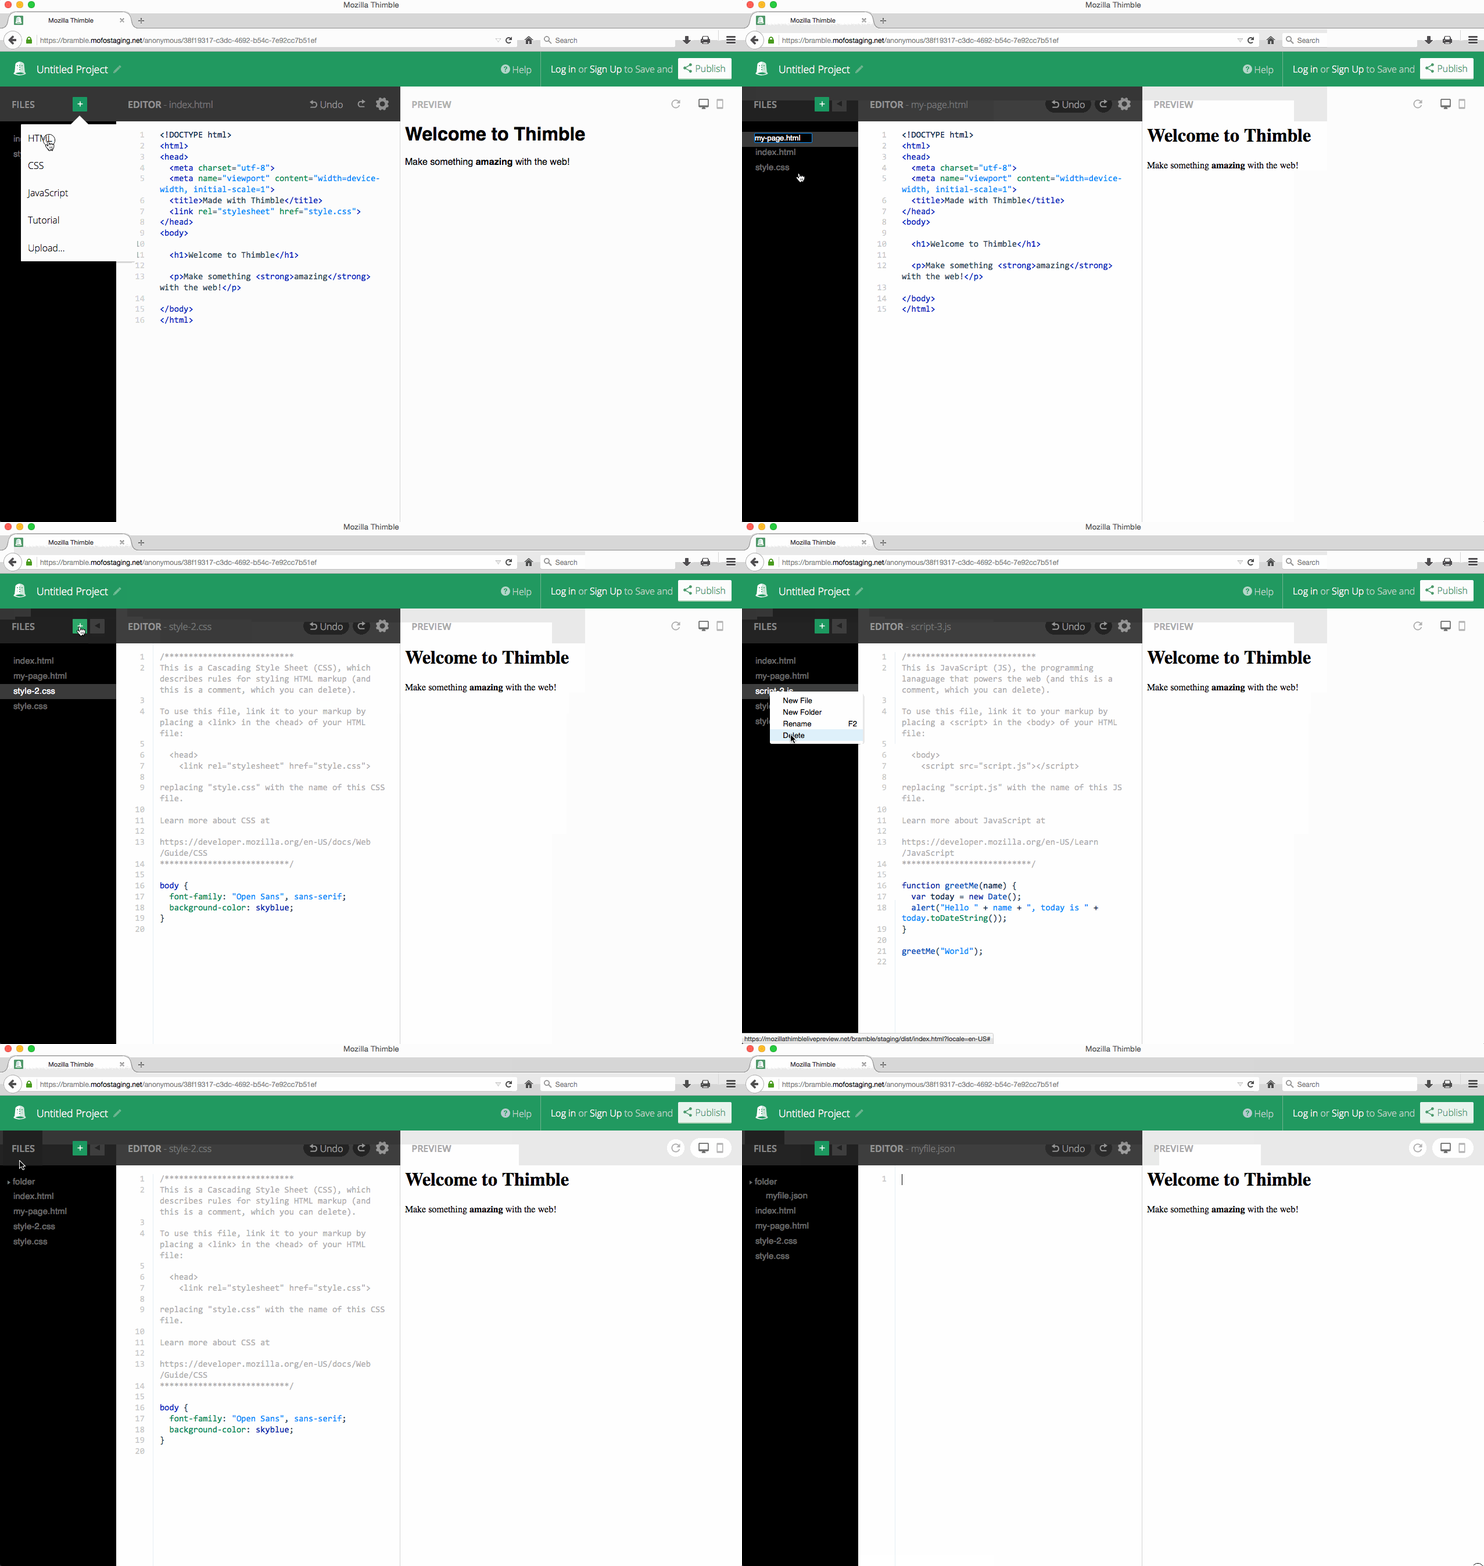
You can create, delete, and rename files and folders by right-clicking the file tree:
You can also move files to different folders by right-clicking the file you want to move, and choosing “Move To…”.
Markdown to HTML and LESS to CSS conversion
If you create *.markdown or *.md files, Thimble will automatically create HTML files to go with them, so that the browser will render them. Thimble will do the same for a limited subset of LESS files. It works the same way: any file.less will automatically create file.css, which will be autogenerated from the LESS file.
In both cases Thimble watches files in the browser filesystem, so you don't even need to change a setting or push a button for the HTML and CSS files to be created. Also, if you update those files, the generated files will also get refreshed.
Upload Images (or other individual files)
You can upload one ore more files (you can't upload a folder, but see below for how to work with .zip files), and have them get added to your current project's filesystem. Drag a file or files to the file tree or editor and drop. NOTE: the preview area is not a drag-and-drop target for uploading files. You can also use the Upload Files dialog box. Uploaded file size is capped, currently at 3M.
TIP: if you need to use a secure (i.e., https://) version of a resource (script, image, stylesheet, font, ...) and can't find one, you can drag it into your project and host it from securely as part of your published project.
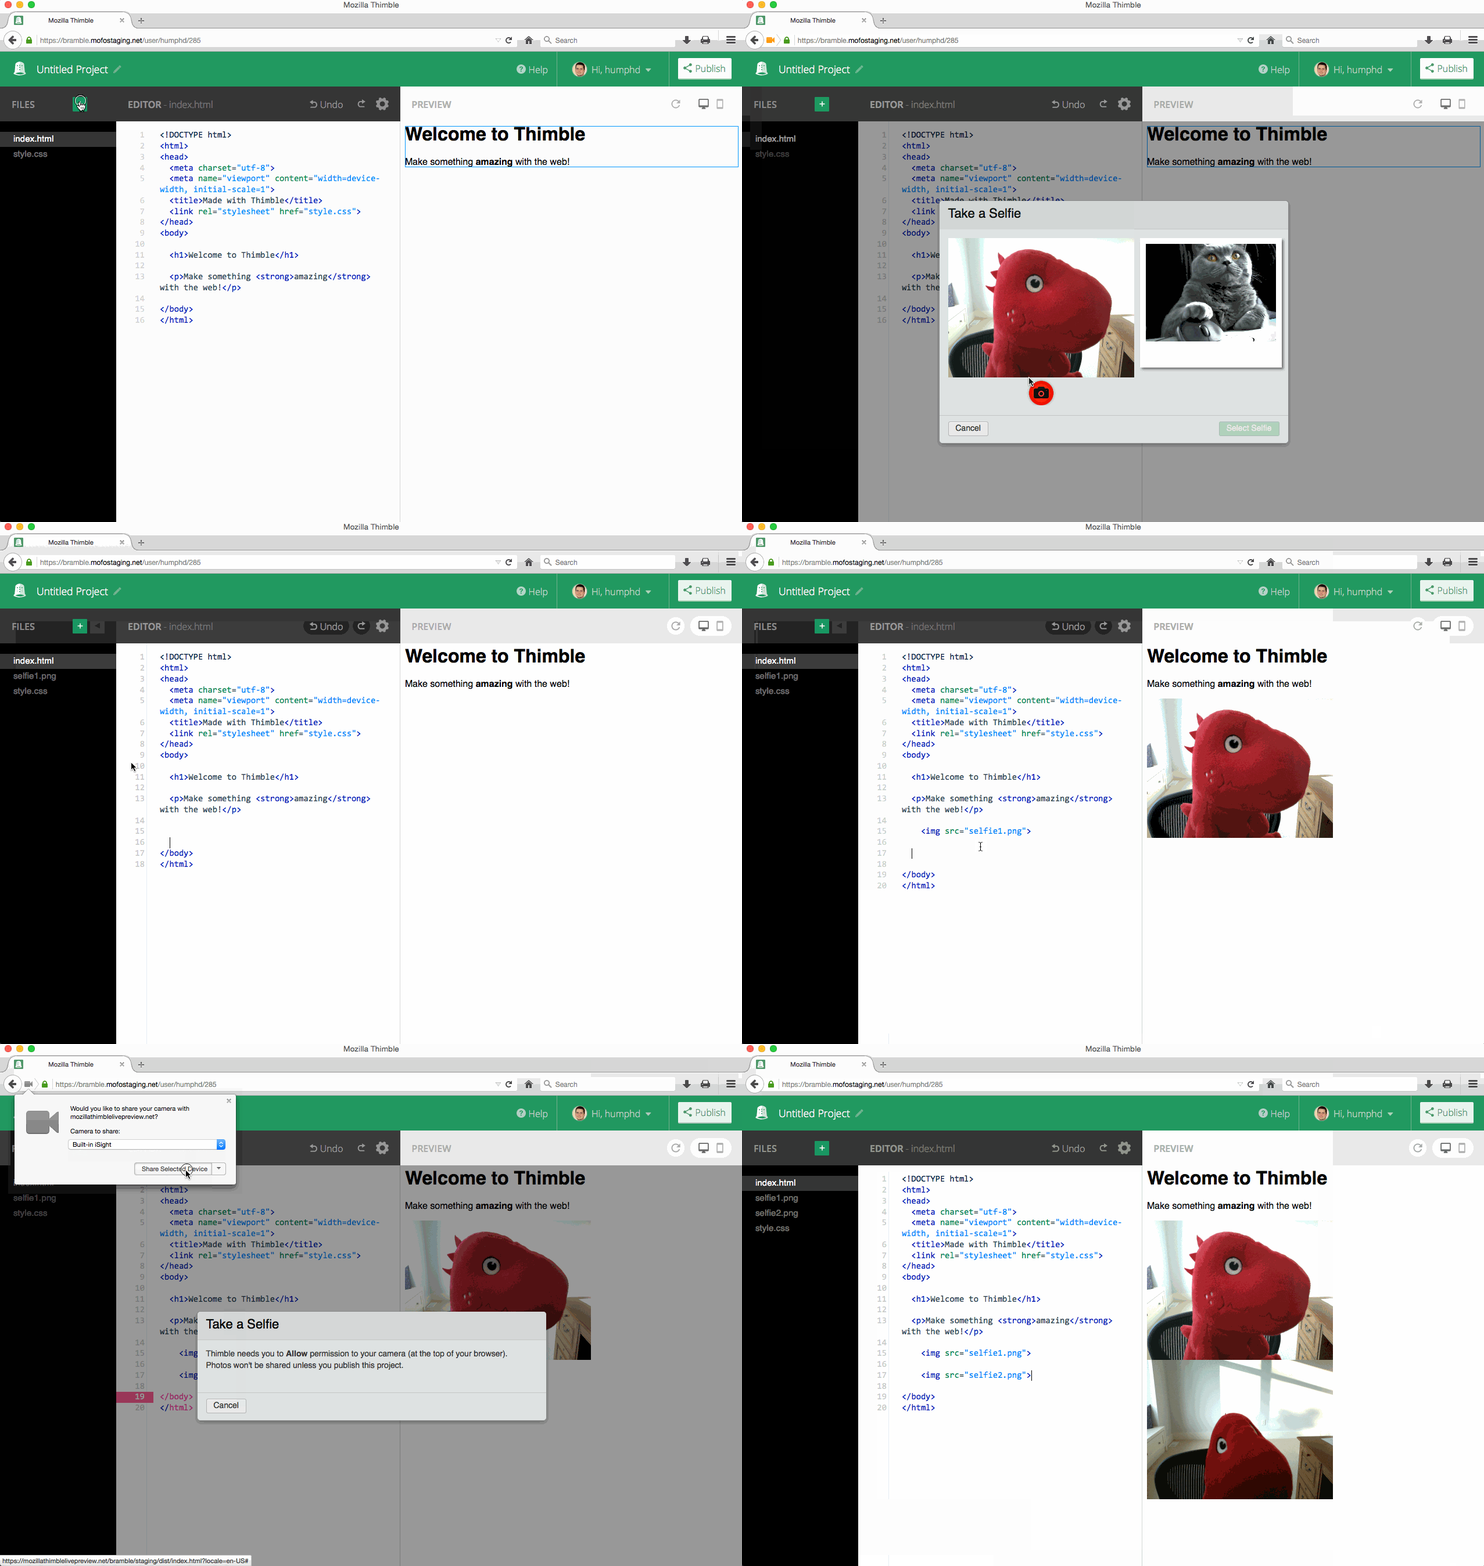
Take a Selfie
If you want a quick and fun way to add a picture to a project, you can use the Selfie feature. There are two ways to use it:
- from the Upload dialog box
- from the editor, using code completion when you type
<img src=in an HTML file orurl(in a CSS file
NOTE: not all browsers support accessing the web cam, so this feature will only work if your browser supports it.
Upload Archives
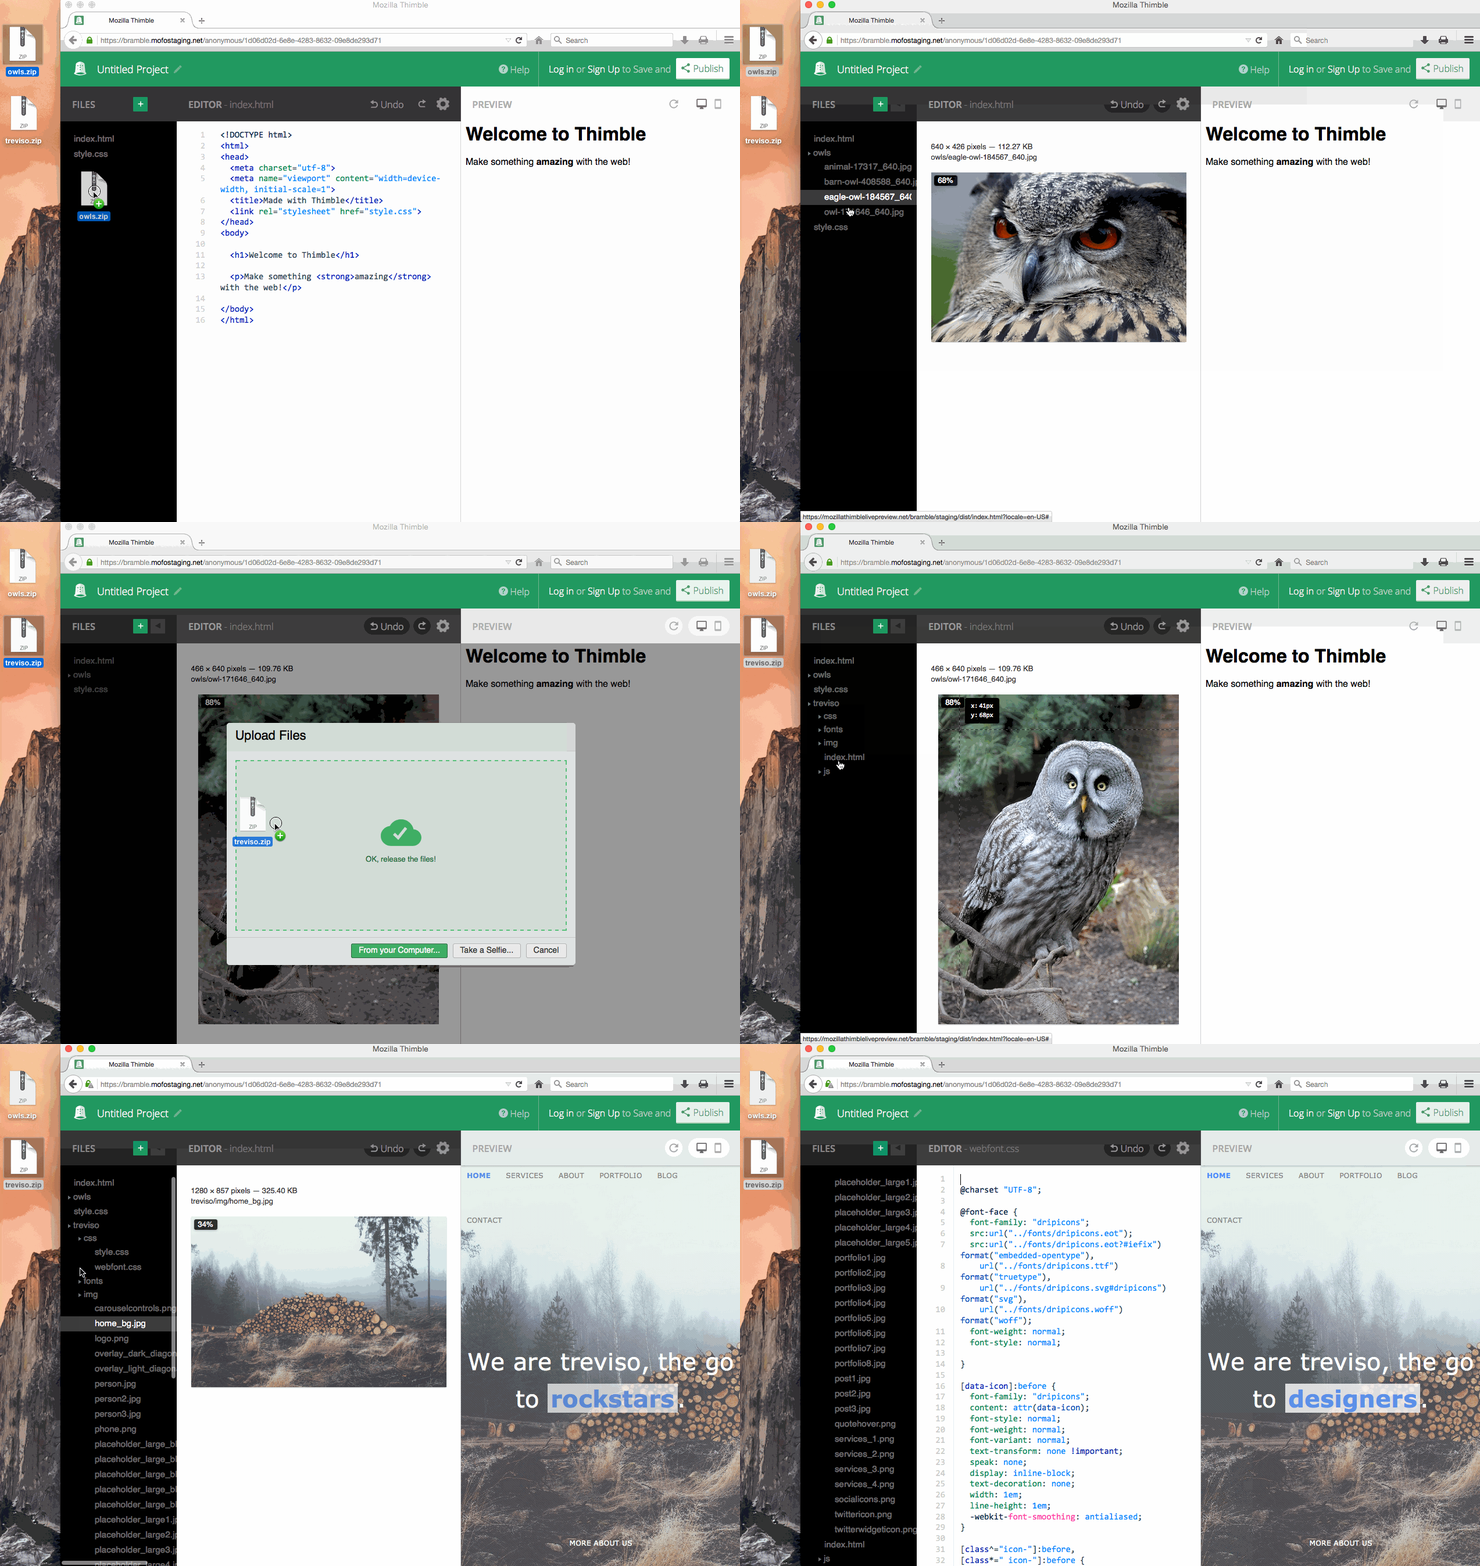
In addition to uploading a file or files, you can also upload a .zip archive. Thimble will automatically
extract the archive into the current project, replacing any files that already exist with the same name.
If the archive's files are contained with a folder, the same directory structure will be created. This is
a convenient way to seed a new project with existing files and folders.
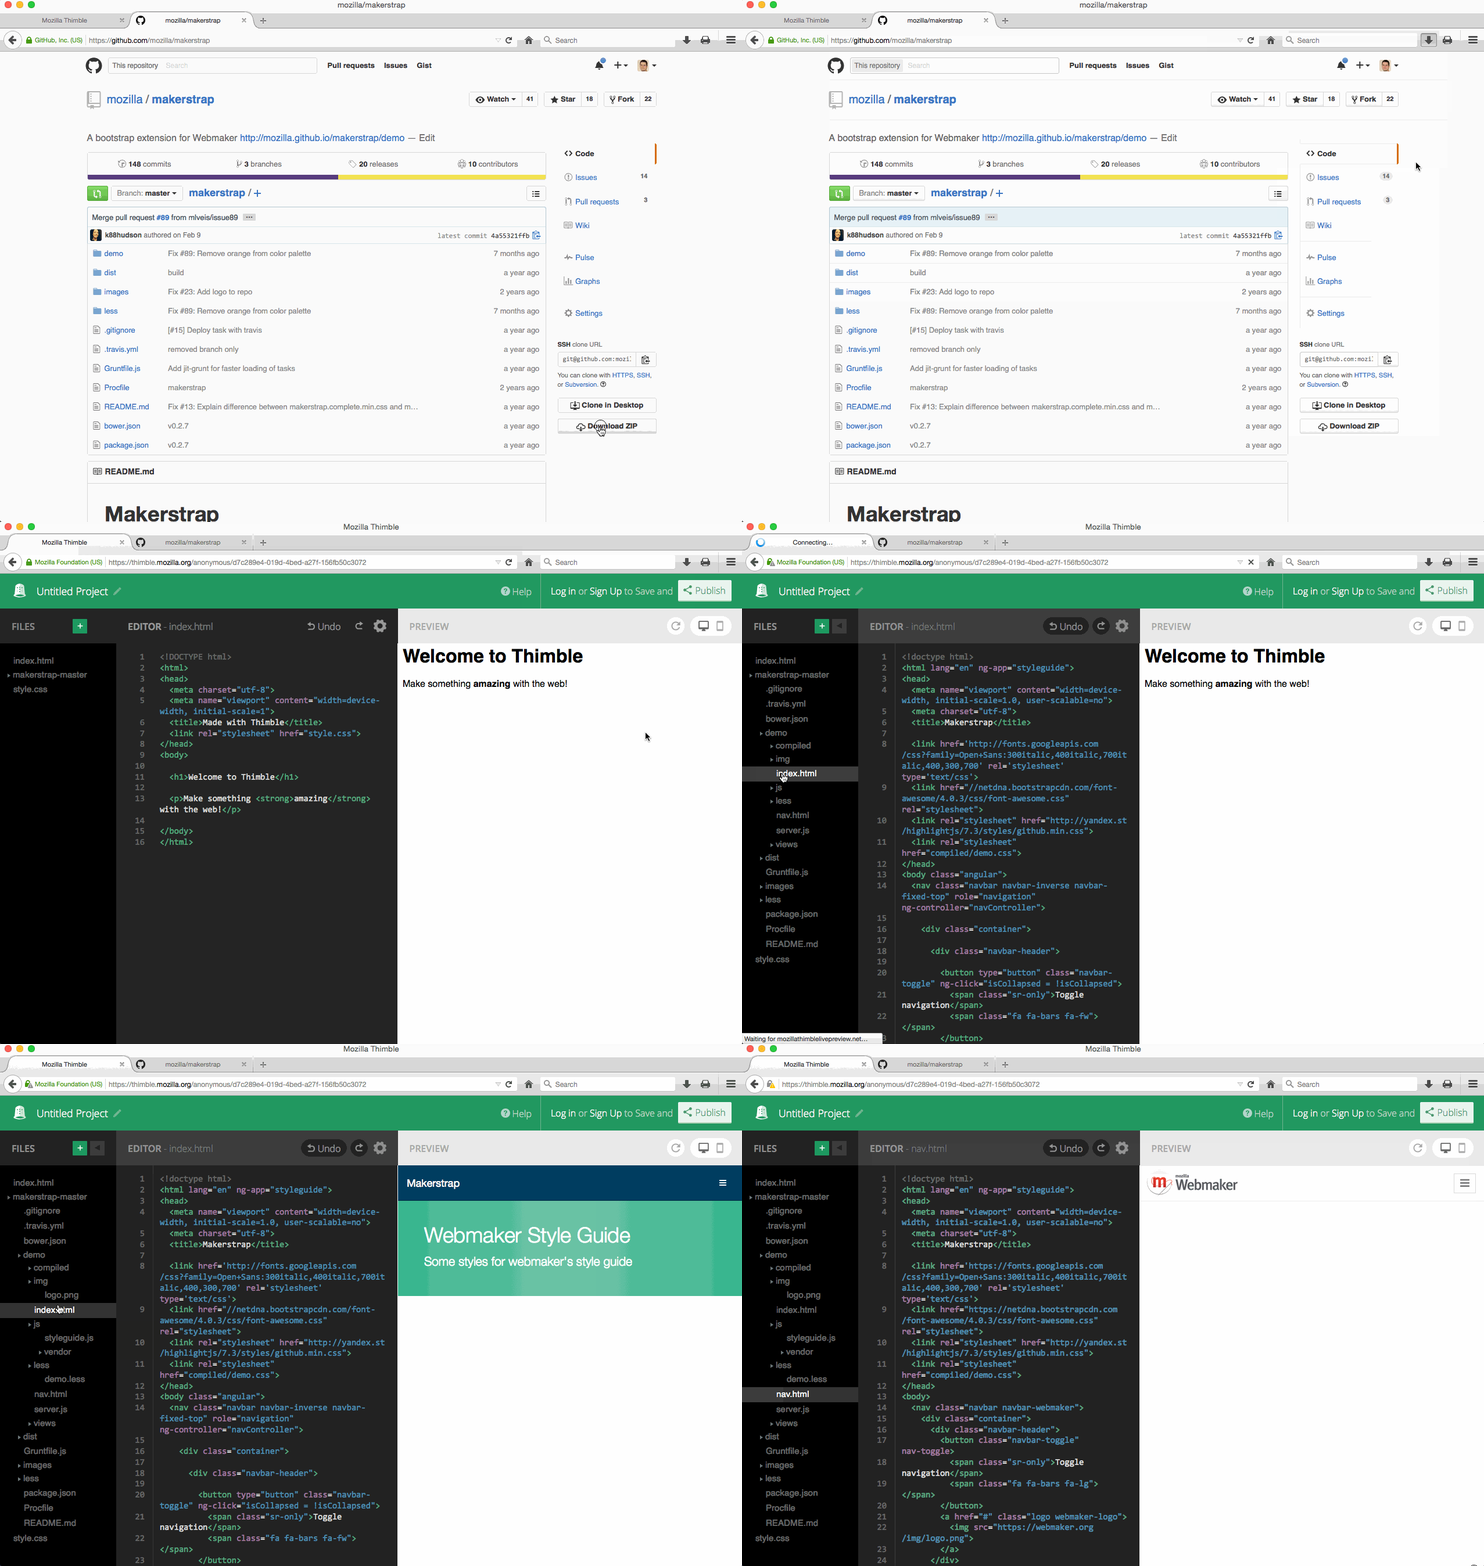
You can also easily import something from Github using their Download button, which gives a .zip file of the repo's current state:
Publish and Remix
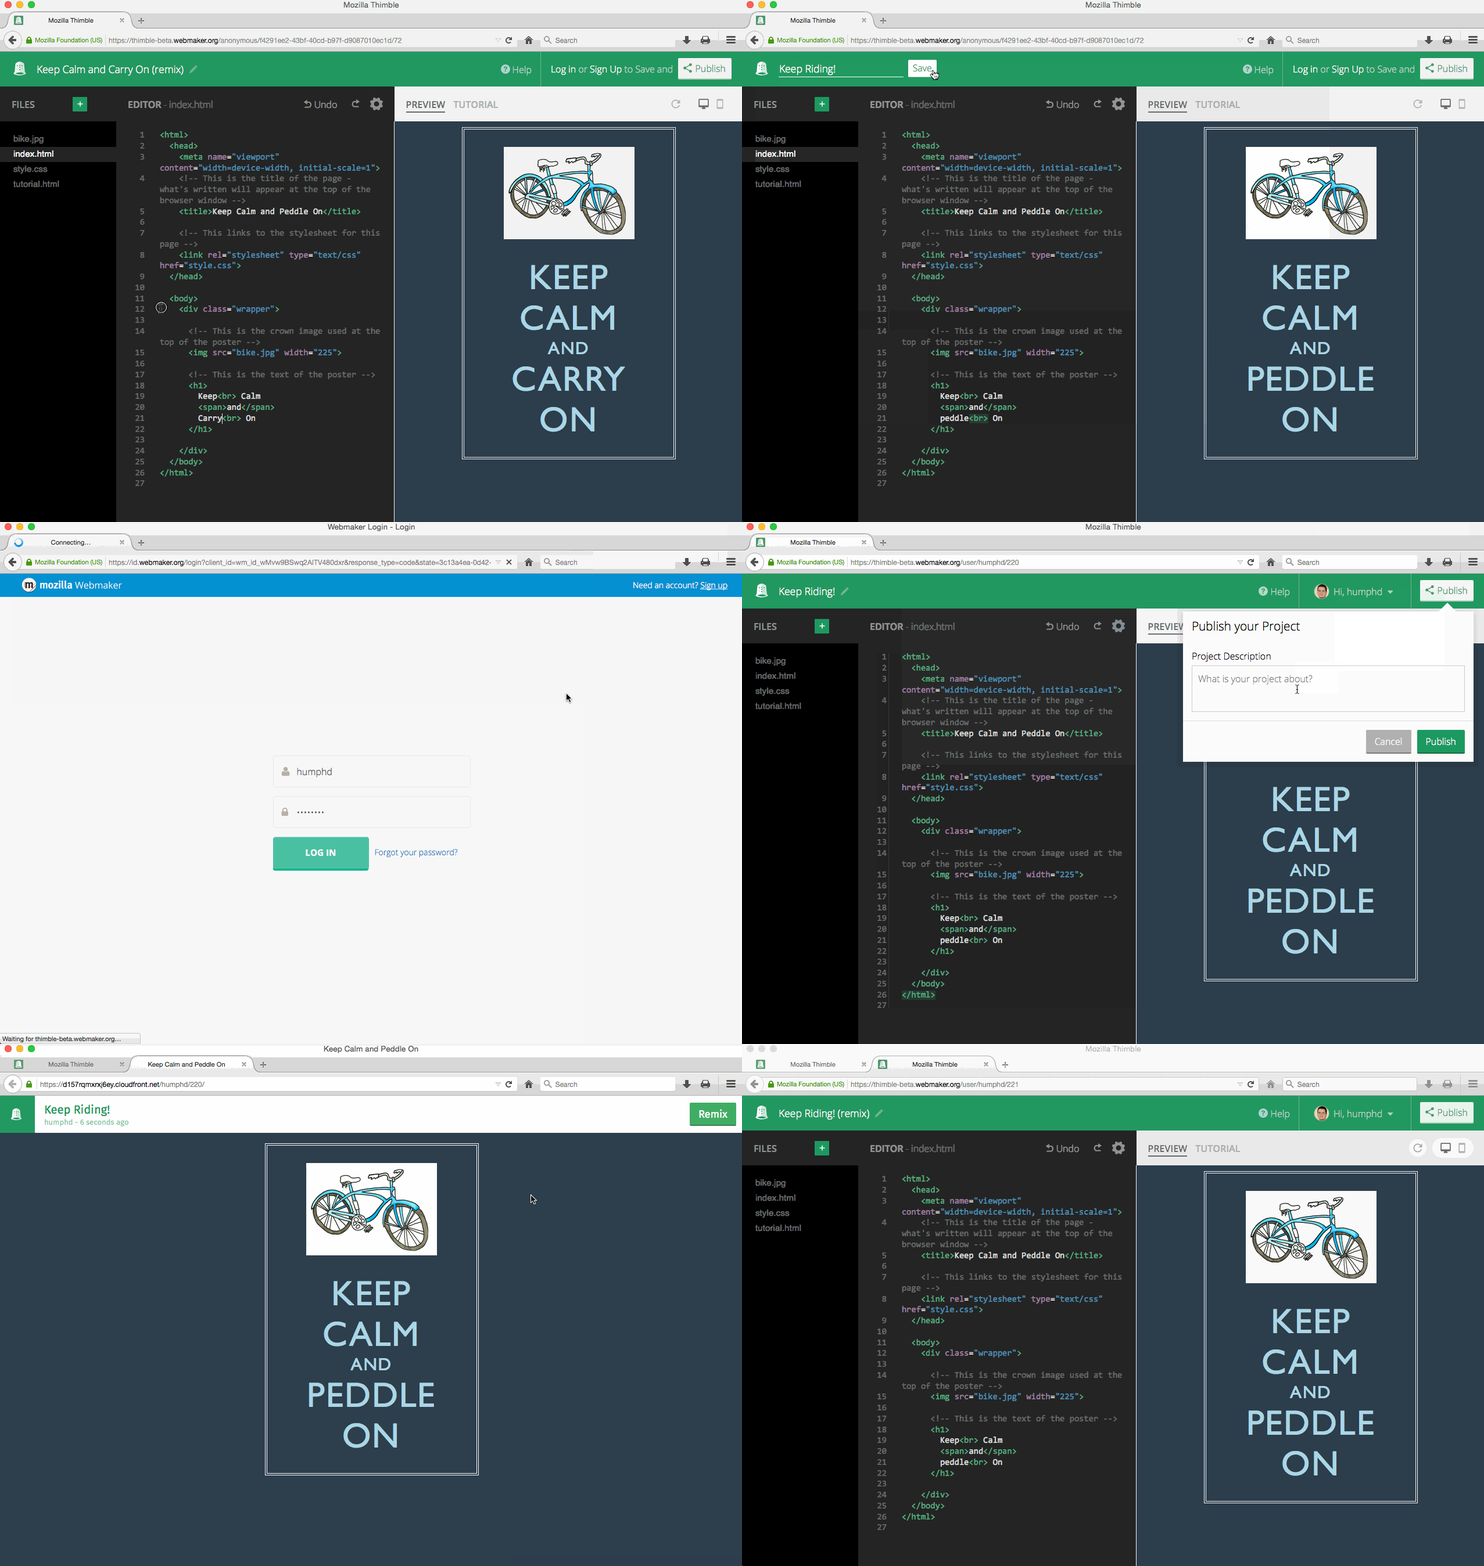
Project files are automatically saved as they change, but are not automatically published (or republished). When you're happy with your work, you can click the Publish button. You can update your project's title at the top of the editor (click the pen icon to edit), and if you want to add a description, you can do that within the Publish dialog. Once a project is published, you will be given a link that takes you to the hosted version. At the top you'll see a Remix button, which anyone can use to make a new project using yours as a starting point. If you publish a project, then make changes, and want those changes to get published as well, click the Publish button and choose Update published version. You can also choose to Unpublish something you've made:
Export a Project
Importing *.zip archives is nice because it allows you to bring pre-made content into your current project. The same is true in reverse: you can export your current project as a project.zip file, and use it elsewhere. To do so, log in and choose the Export (.zip) option.
